
This is the third and final week of a 3-part series of posts going back to the basics of fabric collage. My intent has been to explain the process in small bites (12 blog posts) and in a straight-forward, step-by-step manner. If you missed it, I started two weeks ago with the first four steps. Last week, I followed up with the second set of four steps. Now it’s time for the last set of four steps: using sheers, deciding when it’s done, machine quilting, and displaying your quilts. Click on the blog post links above or below (on the numbered blue headlines for each step) to access each of the four individual posts of this week’s Part 3.
This challenge series was first introduced last winter, running from January through March. At the end of each month, I held a Thursday Night in My Studio Live! webinar, in which I did demos and answered questions based on the topics covered that particular month.
Below are links to those recordings. There’s a short trailer you can watch before purchasing each. A reminder that if you attended those meetings, you should have received a coupon code to access the videos for free. In fact, the recordings may already be available in your account for you to review!
Thursday Night in My Studio Live!: Fabric Collage Basics 1 PURCHASE $10
Thursday Night in My Studio Live!: Fabric Collage Basics 2 PURCHASE $10
Thursday Night in My Studio Live!: Fabric Collage Basics 3 PURCHASE $10
9. Using Sheer, Netting, and other Semi-Transparent Fabrics
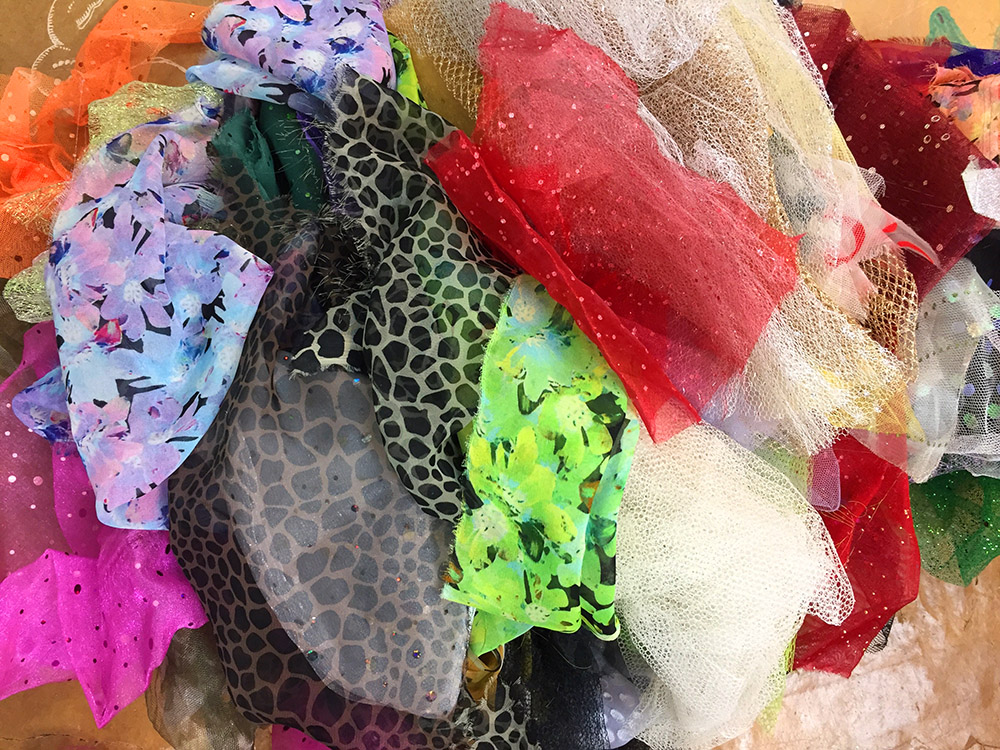
“Sheers” is a term I use to include all sorts of semi-transparent fabrics from netting to tulle to organza. Since these sheers are translucent to one extent or another, I add them (as a third draft) on top of the nearly finished collaged image.
I use them to add highlights and shadows, to add glitz with glittery sheers, or just to add plain visual interest. Working with these sorts of sheer and sometimes floppy fabrics takes a bit of practice, but once you’re used to handling them, they can be an important part of the final image. Learn how I handle these sheer fabrics in this post.
10. When Is My Fabric Collage Done?
How do you know when are you done piecing your fabric collage and it’s ready for quilting? What constitutes “done”?
Because layering is a key feature of fabric collage, you could go on adding fabric forever—but because we want to finish these collage quilts, I’ve come up with some questions to ask yourself to help decide whether your collaged image is done or not.
Questions range from “Have you asked someone you trust for their opinion?” to “Have you reached the final draft stage?” In this post I go into detail about each of these questions.
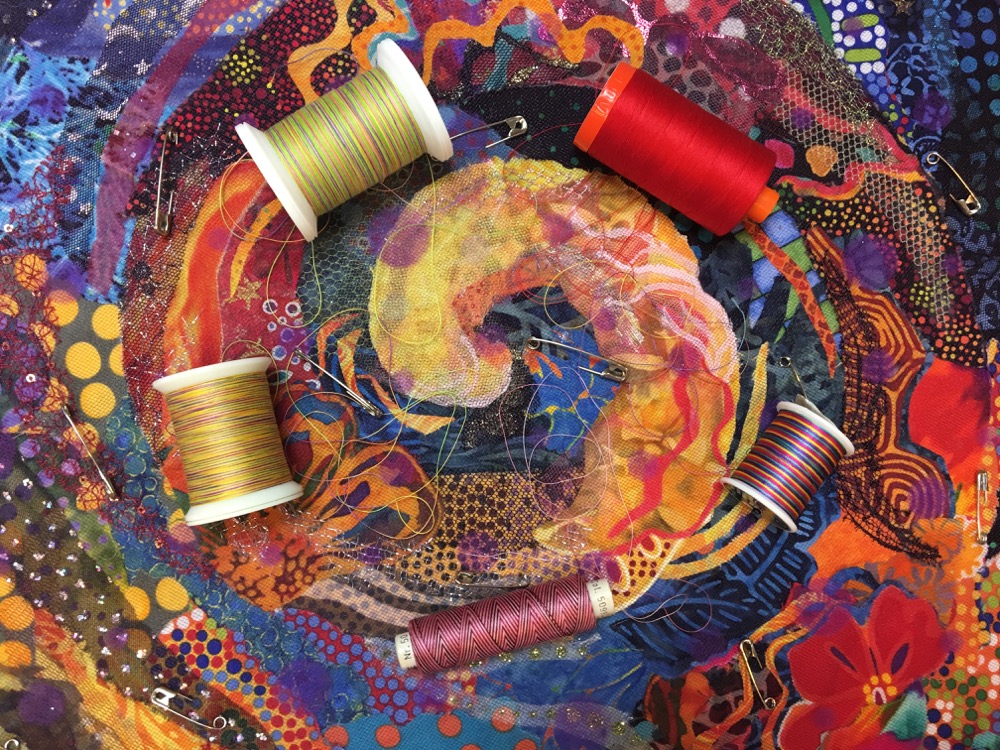
11. Free-Motion Quilting on Fabric Collage Quilts
Because quilters come from a tradition where the precision of quilting stitches is highly valued, many are intimidated by free-motion machine quilting and the potential randomness of the stitches. I get it. Thing is, in almost every case, you’ve got to do the work before you can get better at it. Way back I approached free-motion machine quilting with a “let’s see what happens when…” attitude, and I found it quite fun and freeing—now it’s like meditation with its soothing repetition. With a few pointers found in this blog post, and some practice, I believe others can also discover the Zen of free-motion machine quilting.
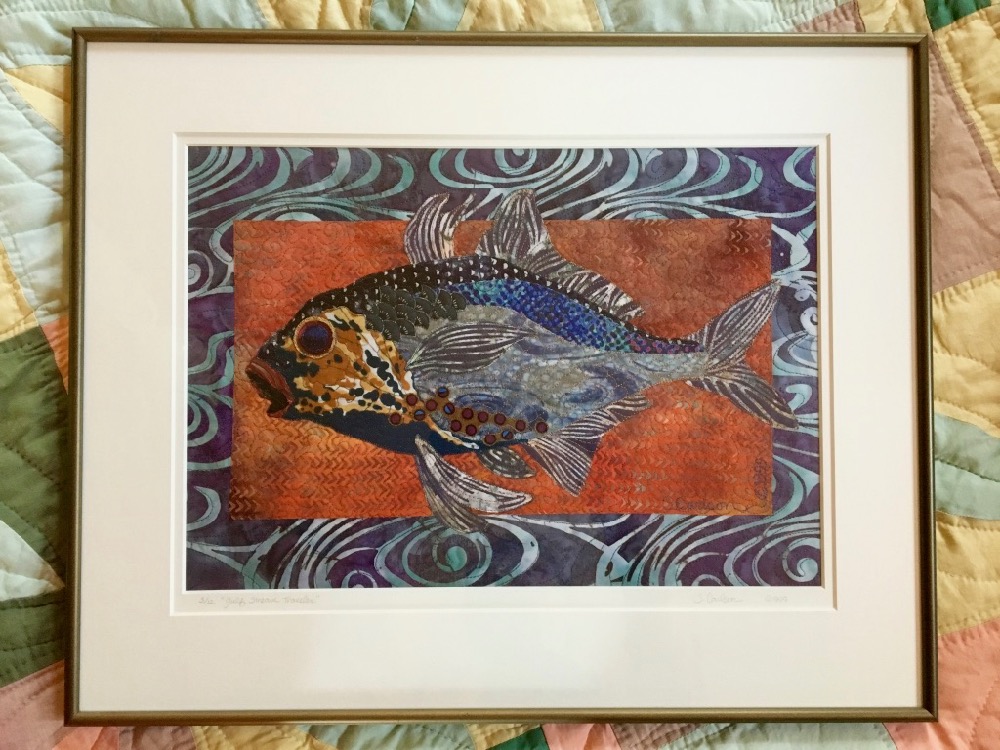
12. Hang It Up: Making Your Art Quilt Art
It’s done! It’s pieced and quilted. Now what do I do?
Hang it up, of course!
But how? This post covers the various ways I’ve used to hang my quilts. The different methods presented will allow you to choose how to display your collage quilt. For instance, maybe you need to prepare your quilt to display in an exhibit or show. Maybe you want to frame a piece under glass. Each is a valid and important way to display your hard work and talent in a presentation it deserves. Be sure to check out this post for some ideas.
We originally linked together the 12 posts of this 3-part weekly series, in a 3-month 2021 New Year’s Challenge. This summer, I’m challenging myself to finish a collage portrait quilt from last year and to begin a new project for this year. Two weeks ago I asked if you’d like to join me in a sort of unofficial challenge to get a project of your own finished, or to start a new one.
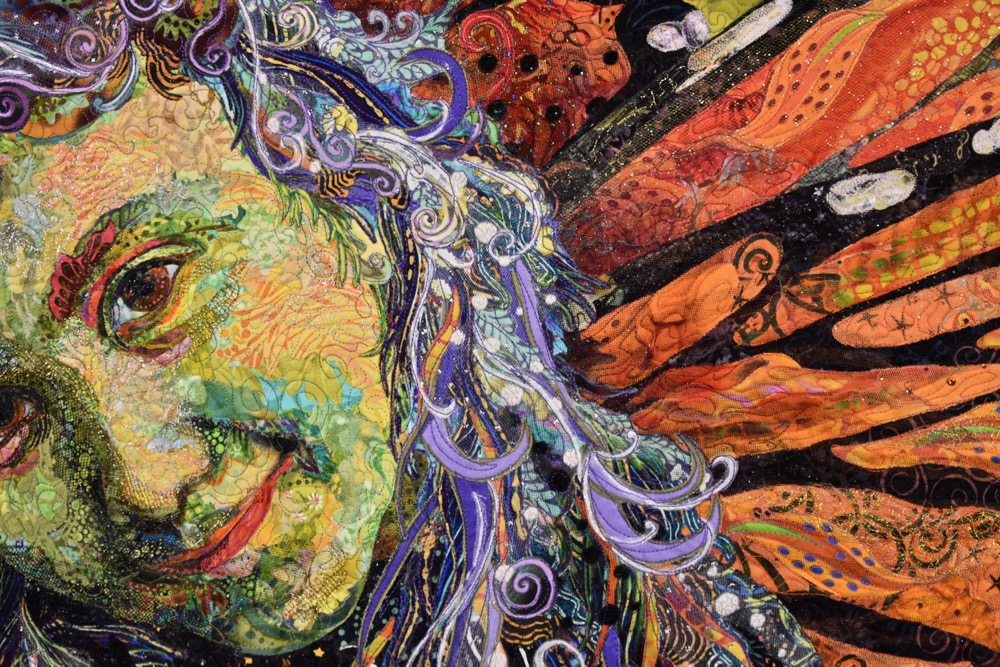
So if you’ve been out there, working along with me, let me know in the comments below how you’ve fared. As far as my progress goes, I’ve been adding third-draft sheer layers to the portrait of my son Sam, pinning, gluing, repeating daily. I think I should review my own “when is it done?” post above, for my own good. I also hit a wall (again) on the background. So yesterday I stepped away from it, and started eying that new project…. The summer isn’t over yet. 😉
Good luck with any of your own creative challenges! If it helps to be accountable to others, share your progress in the comments below, or in the weeks to come.
Okay, now you’ve done it! More fabric to add to my stash! Guess what? I finally got into one of your classes! A five year wait! See you soon, you’ll know me by the glitter!