
It’s confession time again. My secret is that when it comes to quilting my fabric collage pieces, I keep it simple–really simple.
My quilting (meaning the stitching that happens after the collage piecing is complete), like my art in general, has evolved over the years. I started out doing thread drawing and shadow quilting. Then when I began to do fabric collage I often used the quilting to add details, such as fins on fish, lines around eyes, and seams in clothing on portraits.
The fish below is an early sample with detailed quilting. There’s about 10 different threads used in 19 areas in this small 17 x 11 inch piece. I changed the threads to add lines in the fins and tail, accents around the eye, and scales on the body. On the back you can see the variety of quilting designs used.


Eventually, and coincidentally as my quilts grew in scale, I became more and more interested in (or obsessed with) discovering how I could use the prints in the fabrics themselves to achieve the details that previously I relied on with the stitches.
So for the past 17 years or so, I’ve used an overall stipple pattern in a semi-spiral sort of design over everything, regardless of the image, changing my quilting thread as little as possible. For me, it was a letting go, a “cutting loose” (the sub-title of my Serendipity Quilts book), of the quilting process as a whole. For me, quilting adds the final texture to my quilts but no longer the final details.
The fish below is an example of this more relaxed quilting style. There are two threads used: blue on the fish and yellow on the background. On the back of the quilt you can easily see the spiral quilt design that I used in both areas. If you look close, you can make out the body of the fish, but otherwise the pattern runs together.


And just so I don’t get too rigid in my style, I’ll mix it up every so often. The quilting on the third fish is mostly the semi-spiral with some deviation on the flowing fins and tail. Still only 5 different threads used.


The lesson here is that quilting can be as elaborate or as simple as you choose. The basic technique is the same. I’ll show you what I do these days, then you can decide what your quilted collage needs.
Prepare for Quilting
To prepare for quilting, I assemble three layers: the pieced top, batting, and backing—just like a traditional quilt. It’s those (minimum of three) layers, held together with stitching, that make a quilt a quilt. For my way of working a fabric collage, the top has been assembled with glue onto a foundation fabric. That foundation fabric stays in place, getting sandwiched between the other layers.
Because of the raw-edges of my collage, I usually need to do some final prep work on the assembled image. With my glue bottle, I secure the edges of all those small pieces of fabric so I have a nice and smooth surface for my quilting foot to glide over. As I mentioned in my previous post, “To Tulle or not to Tulle”, it can take some time to do that step. Though I’ve always found it worthwhile.
Here is a short video demo of that final gluing.
What I also talked about in “To Tulle or not to Tulle”, is the use of tulle as a final layer over the collaged image as a finishing technique—meaning that further gluing does not need to be done. If using tulle, that becomes a fourth layer in the quilt sandwich, on top of everything. The tulle stays loose and does not get glued down if used for this quilting step.
Regardless of the use of tulle or not, batting is in the middle. I’ve used “Warm and Natural” cotton batting for ages. It’s a thin batting that I chose for the slight texture it added to the finished quilt, with no unwanted puffiness. This was back in 1990 when there wasn’t a huge selection of thin cotton batting. I started using it then and I have no complaints even now. Since then, there are a lot of other options, so if you you find another batting or have a different one you like, go for it.
The backing is the bottom layer of the sandwich. It can be one piece of fabric or constructed out of several pieces. I like to have my backings fit the theme of the quilt image. I did a video for my Patreon supporters talking about the backings of several of my quilts. For example, dog and Australian-themed fabrics on back of Dixie Dingo Dreaming. African-themed fabrics on the back of Kaloli Moondance, a quilt of the marabou stork of Africa. Backings are places to have some fun and use up excess (and/or seldom used) fabrics.

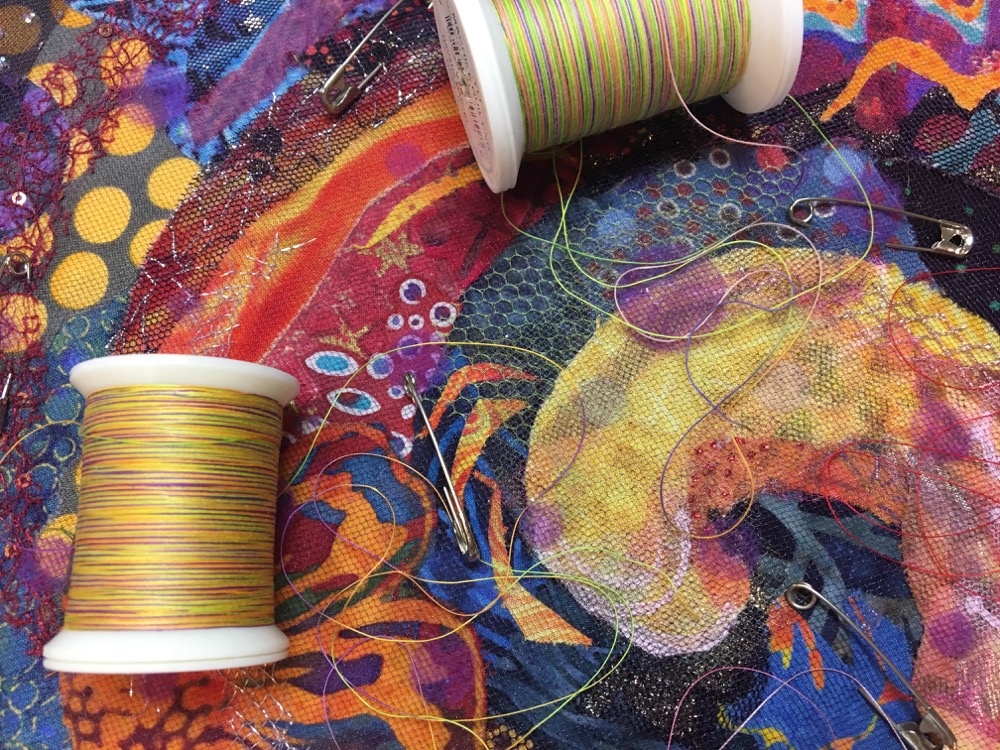
Then it is time to baste the quilt. I use safety pins. I like how easy they are to remove them as I approach them as I’m quilting. I used to dread how the simple act of closing the pins wreaked havoc on my finger nails. It’s not that I’m a nail polish sort of gal, it’s that after a few hundred pins, the nails would look a bit shredded from excess use. But then I discovered a trick—my old burnishing tool from my graphic design days during and after college—which is thin enough and sturdy enough to lift and clip the pointy ends of the safety pins. A similar burnishing tool can be found in my Fabric Collage Toolkit.

Selecting Threads
The slight sheen of rayon thread makes me feel happy, so I gravitate toward those spools. But I use all sorts of threads such as cotton, polyester, metallic, or variegated of all sorts—from a variety of manufacturers. When I can use a thread that’s variegated and rayon it makes me even happier.
First I decide if I want the thread to contrast or blend with the image. I ask myself how will the choice of thread—color, value, sheen, texture—further the feeling or “story” I’m trying to convey with my quilt. Since I’m usually going for texture and not details, I usually choose something that blends, though it may add a metallic sparkle to a night sky or a blue rayon sheen to a sunny sky. I make a few guesses as I paw through my thread bins, pull out some spools to compare, and unroll threads onto the image.
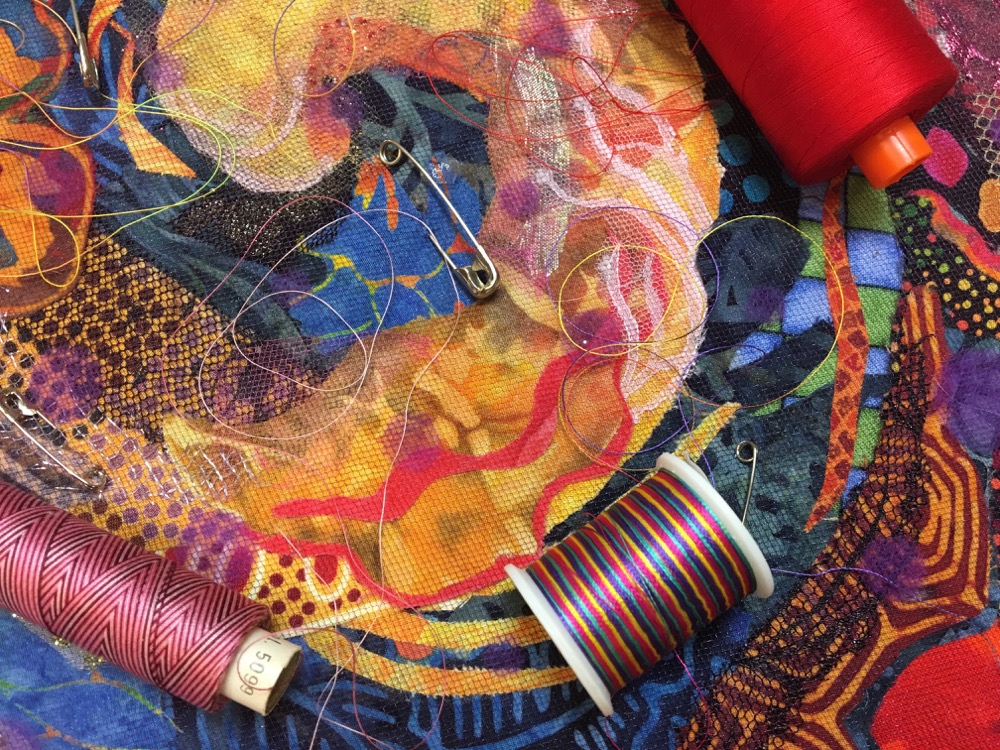
In the past, I used to use many, many different types of threads in my quilting. But along with simplifying multiple quilt designs into a single overall spiral design, came reducing my thread choices to a minimum—part of my cutting loose goal of book two: Serendipity Quilts. I now relish the challenge of finding those 2-6 spools of thread that will work in place of the 20 or more spools I used to use.
And bobbin thread? I use a 50 weight “neutral colored” thread. I got a great deal on large spools of lavender and grass green thread eons ago and have been using it ever since. Strangely enough, lavender and grass green blend in quite well with my quilts (in case a little bit of bobbin thread creeps to the top of the quilt). And the 50 weight is a little thinner, so I can wind more onto the bobbins and don’t have to change them out as often.
Quilting
As far as I know, I don’t do much different in my actual quilting than most (home) machine quilters do. I have a Bernina 1530—an ol’ workhorse from the last century. He does me well and gives me nice stitches. He even likes all the different threads I’ve asked him to use during all these years. We’ve developed a comfortable relationship (can’t you tell) and my thoughts on machine quilting are: practice, practice, practice. You need to develop a balance between you, your machine, and your threads—and that comes with time.
Needles? I use Universal 80/12’s. Again, whatever works.
When I started machine quilting, it was with smaller quilts, and usually under a top layer of tulle. That’s how I quilted for a couple years as I learned how to work with my machine. The sewing machine foot sort of glides over tulle—like a Teflon effect. Looking back, I wonder if using tulle for shadow quilting helped with the learning curve. I’ll never know since I can’t go back in time, but the perceived ease of quilting is one of the reasons I bring up the use of tulle as a quilting layer in my classes. Especially for those students who may have some trepidation with machine quilting.
Here’s what I do: I lower the feed-dogs and attach a free-motion quilting foot to my machine. Most quilting feet will have a spring in them and will not hit the stitching plate when the presser foot is lowered. This is important since you need the quilt sandwich to move freely under the foot.
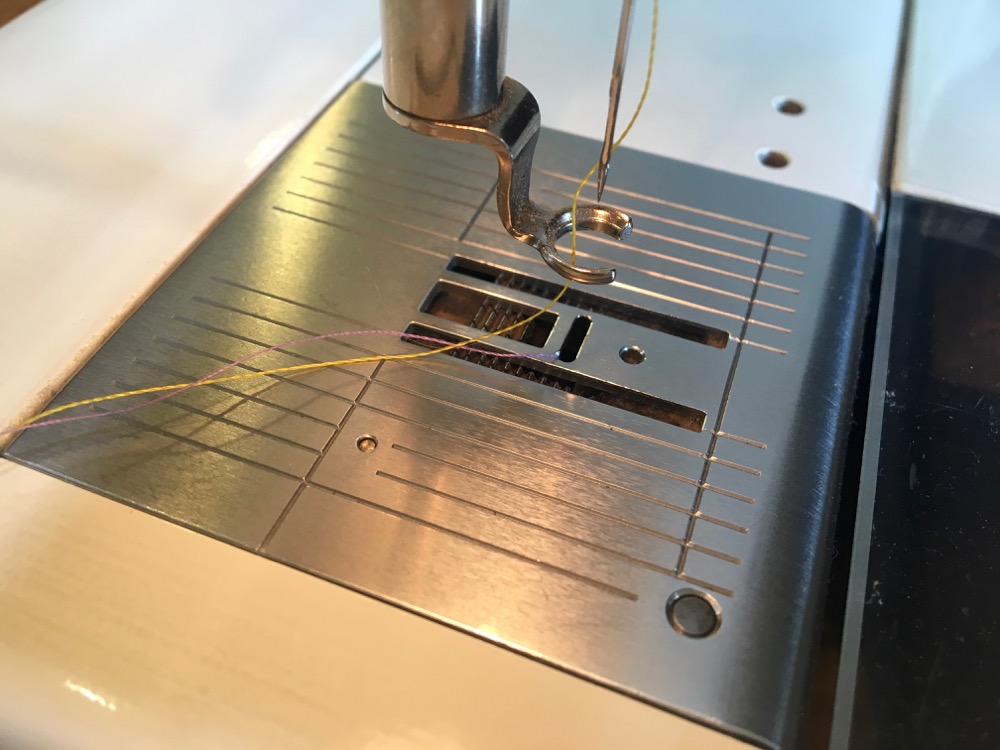
I position the center of the quilt sandwich under the foot, making sure that the presser foot is lowered, engaging the upper tension disks. It’s easy to forget this step—since it doesn’t feel any different one way or the other—but it will result in a rat’s nest of thread underneath the quilt if those tension disks aren’t engaged. I take a single stitch and pull up the bobbin thread. Gently holding the two threads under my thumb, I take a few very tight stitches for about 1/4 inch, securing the threads so I can move on with the stitching. As I move away from my starting point, I stop and trim the threads as close to the quilt as possible so they don’t get caught up in the quilting later.
Here’s another video of getting started quilting on my crazy spiral collage quilt.
I find quilting very meditative, especially when using my open spiral, labyrinth-like quilting design. I feel like I’ve done all the hard work in the collage piecing process, and now I can relax into the quilting, maybe even have some fun with it. I work from the center of the piece and quilt outward from there, allowing all the layers to smooth right out to the edges, including the tulle (if used).
Now I’ll finish quilting this spiral and return in the next post to show you a favorite way to finish the edges—until then!
Thank you again for a good and informative blog. The video gets better and better!
I am just digging out my studio again!!!! great video very inspirational.
What a ton of great information you have shared in this post. thank you. I had to laugh at the last paragraph. I have almost fallen asleep machine quilting as it can become very relaxing (at times) and almost hypnotic! I’ve yet to venture into collage quilt making but I’ll never say never!
I love your technique (and quilts) but I have a question about the glue. Do you wash or soak it out later? And if you leave it in, will it discolor the fabrics over time?
Yesterday I was off work. During my morning face book time I searched for your post. I finally went to your site only to realize it was NOT Saturday. Yes, I’d say I’m hooked. Thanks for another informational post.
Again, you are so generous with your knowledge. I so look forward to your blogs. I am going to have to go online and become a supporter. I just love your work and your gentle and kind approach to sharing.
Leslie
I’m one of those quilters that dread machine quilting … Rat’s nests seem to appear spontaneously even when I THINK about trying it! Even tho I enjoy it, that is the main reason why I stick to hand quilting everything I create. I’ve been known to stay up until the wee hours o’the morn quilting a project to finish in time. I will study these videos carefully, & give it another go (maybe the tulle layer will help).
Also, that looks like a very interesting lamp you have behind your work table! 😄
Thanks for your inspirational videos. I have 2 of your works from Serendipity ready to quilt but as I am not an accomplished free motion quilter, I am terrified of starting ! But your video has given me hope. Thanks again..PS I love your cat!
The videos were great showing the techniques you use! Thank you for sharing so many good ideas and tips! I’m still working on my free-motion quilting.
Hi Susan! We met last year at Quilt Festival… I live up in Hope, Maine (just inland from Camden), and will have 24 quilts in the Rising Stars exhibit this year at Market and Festival. I wanted to take you up on your offer from last year to ask a question, but can’t find a way to email you on a “contact me” page…. All is going well with exhibit prep, including the exhibit catalog I am preparing. My question is, how many copies did you print to sell at Festival??? I have NO idea how many to print up. I’m using Blurb’s Premium Magazine and making something that is more a retrospective of my work, not just the 24 pieces in the exhibit. Using the magazine gives me really good quality at a more affordable price. Still, printing 100 copies or more is expensive….I know you are far better known than I am so likely sold more than I will be able to, but a guideline would be most appreciated. Thanks!
Sarah, we printed 1000 copies, which turned out to be quite optimistic. I have plenty left over which I’m selling here on my website. I sold enough to make back my investment at the Houston International Quilt Festival.
Your videos and the information you share are just amazing for the quilting world. Thank you, thank you, thank you <3
I am so thankful that you are so generous with your information and don’t hoard your knowledge as some people do. I became a supporter at a minimal amount, but I’m going to up it. Again, thank you for your kind and thoughtful helping nature. I’m trying to get up enough nerve to sign up for your online class but am afraid that I will be overwhelmed! I so want to make beautiful, artistic quilts and wall hangings instead of my traditional geometric ones.
Sharon,
Thank you so much for your ongoing support. Personally I find all sorts of quilts beautiful and artistic. I don’t think you need to be afraid of being overwhelmed. The basic technique is so simple. And the subject you choose can be as simple as a spiral or a fish or a turtle. If the online class is too big a commitment to start, you could start with my book “Serendipity Quilts.” Whatever you choose to do, I know you can succeed.
Take care,
Susan
Was this comment just for Sharon Larson, or was it meant to go out to additional inquiries? Just wanted to make sure she got this comment and it did not get redirected to me. It came in my inbox twice.
Thought maybe you were overwhelmed with all the excitement and questions regarding your new online classes. I too am excited and sent an inquiry so it could have gotten mixed up?
Thanks Susan, I very much appreciate your ideas on collage. Just finishing my first collage too and a bit overwhelmed thinking about quilting and finishing. Your ideas and suggestions ease my mind. Thanks!
I have just begun collage quilting and ordered your book, Serendipity Quilts, though it hasn’t come yet. Is this very helpful information about free motion quilting in the book? Thanks for your inspiration and great information.
I use serrated grapefruit spoon to close pins. Works great for me!