
The four seasons of my year: Winter, Spring, Summer, and Retreat Season.
While I do a couple other of my Maine Quilt Retreats in the spring and early summer, I really pack ’em in in the fall. This October I have three retreats in four weeks, one in Harpswell and two in Portland, Maine.
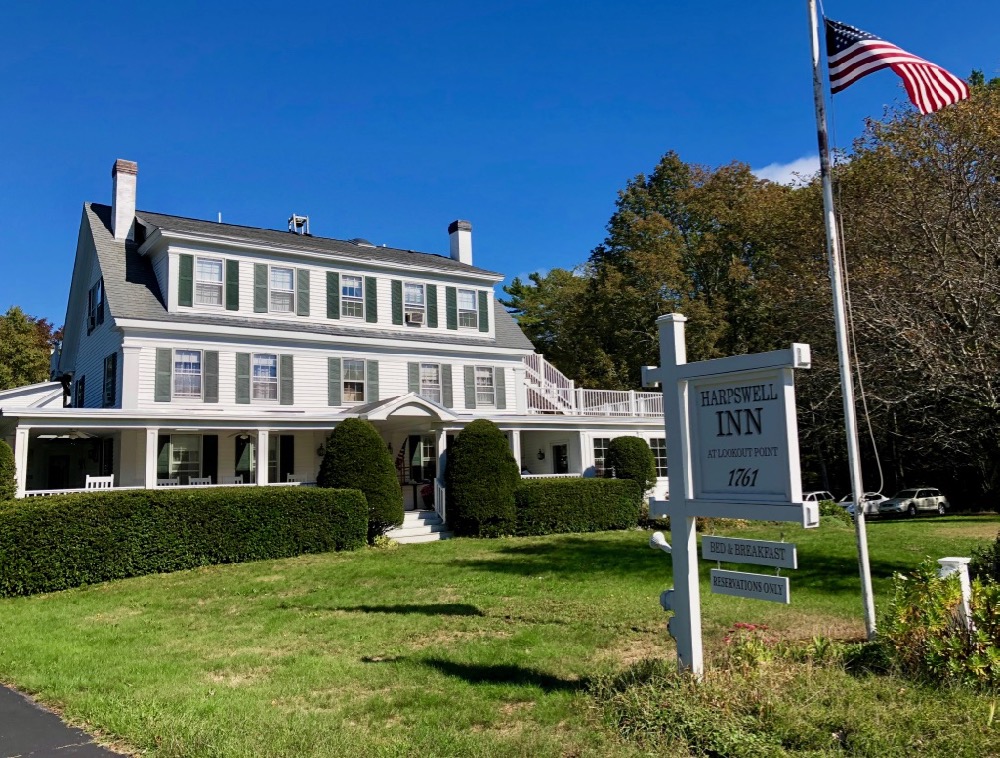
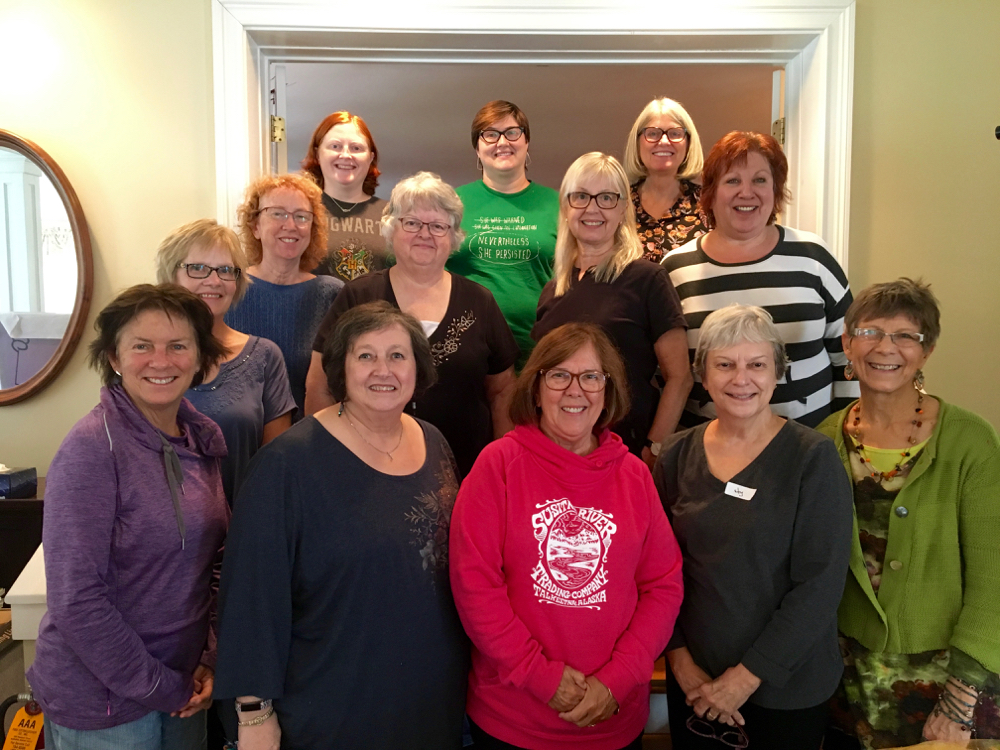
The first here in Harpswell took place last week at the Harpswell Inn. It was a class full of newbies, which is unusual. I typically have a few repeat students in every retreat. Not this time. Despite being strangers (mostly) they bonded enough to stay up late working and laughing together, listening to music, and I was told, even breaking out into song occasionally.
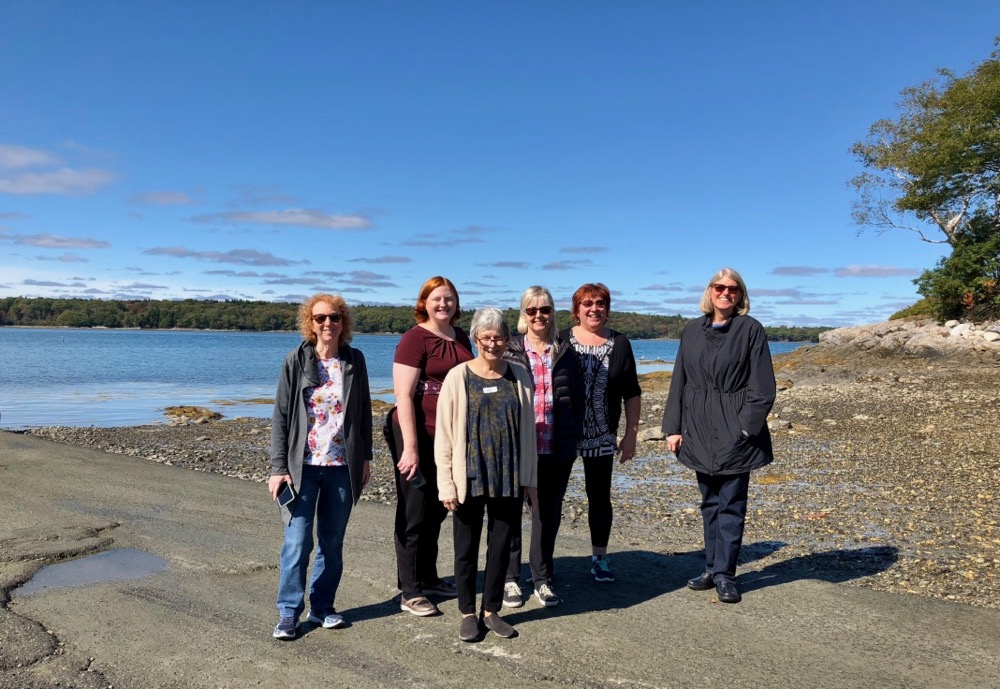
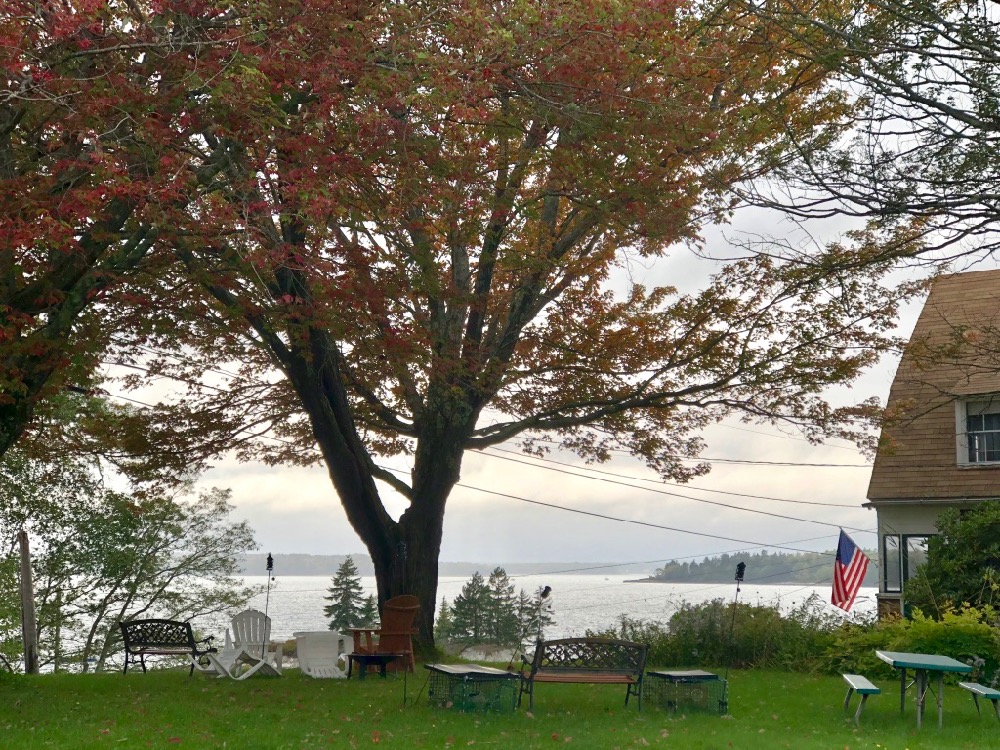
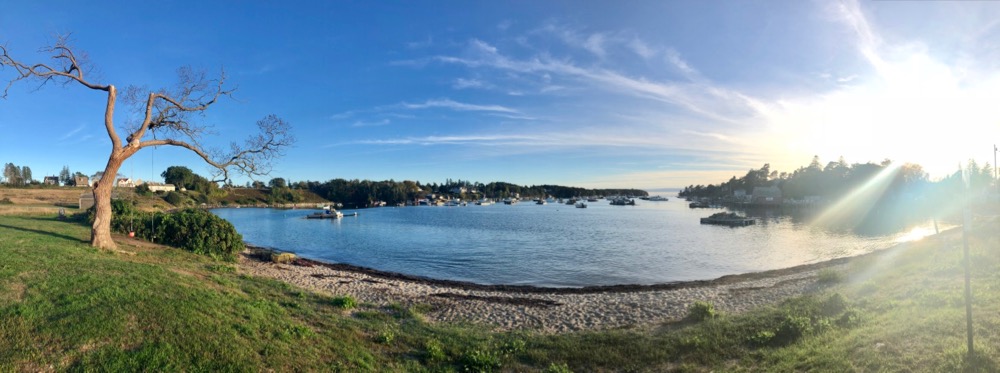
We had more than the usual number of siblings and partners accompanying the quilters. At most we see two or three, but this time there were eight—including two sisters in the class itself. Unfortunately for the tag-alongs, we had plenty of clouds, showers, and unpredictable weather during the week. It was cool and rainy enough at times to keep them on the Harpswell Inn’s couch, glued to their smart phones. When it was nice, they spent their time sight-seeing and scoping out places for supper, while I kept their wives (and sister) hard at work. The Maine foliage hadn’t yet hit its peak, but it was on its way. There were a few places where the leaves had begun to turn, providing splashes of yellow and orange and red, with a few choice early specimens thrown in.
A Day in My Class
I’ve described my retreats and other 4 or 5-day classes before, but maybe it would be okay if I repeated myself here.
I start each morning with a presentation. To help you get a sense of what I cover in my daily demos, I’ve included links to blog posts that cover each aspect.
The first day I work with students to finalize their choice of subject (if they haven’t already decided) and help them draw and refine their designs. I also demonstrate cutting fabric and gluing, including using the “pelican-bladed” appliqué scissors I prefer. (See the section on cutting in Kissin’ Cousins: An Online Class Preview Part 2 and Why Glue? and Running with Pelicans: Scissors for Fabric Collage.) I also read select passages from Bird by Bird by Anne Lamott about using “drafts” to keep from getting stuck or to help get unstuck. (See “Bird by Bird”: How I Use a Book on Writing to Teach Fabric Collage.) Basically, we just have to get started on the first day.

By Day Two students are usually ready for me to get a little more specific on how to create their forms. I do my demonstrations for creating details such as eyes and for creating fine lines. (See Eye for an Eye and Get in Line: Skinny Lines in Fabric Collage.) Sometimes students will ask why I don’t introduce these techniques on day one. My experience has been that it would be overload. I try to dole out the info in bites that can be consumed and not overwhelm.
Below, Lorna Millen uses a technological solution to zoom in on her daughter’s features. Working flat on the table is sometimes helpful for manipulating around smaller details. The disembodied features will be glued onto her foundation drawing now that they are constructed—see first photo of blog post above.


Day Three I discuss backgrounds. Students aren’t really far enough along to actually start their background, but I introduce the subject so they can begin thinking about it. It may, in fact, affect the subject itself, since I frame the choice and construction of the background as a way to tell the “story” of the piece, which may also help with overall fabric selection. (See Telling the Story: Fabric Collage Backgrounds.)
Day Four is time for me to introduce adding details using sheers and other translucent materials. This is fine tooth comb time (or third draft as Lamott might say in Bird by Bird), taking a real hard look at each part of the piece to make sure everything is just so. (See the section on details in Kissin’ Cousins: An Online Class Preview Part 3.)
Day Five (or the afternoon of the last day in a 4-day class), I cover finishing: quilting, trimming, binding, and methods of display. (See Free-Motion Quilting on Fabric Collage Quilts and Finishing: Put the Final Touch on Your Fabric Collage Quilt.) Included in that presentation is further discussion about netting and tulle and whether to use it for shadow quilting. (See To Tulle or Not to Tulle.)
As I said before, I try to present the material in a way students can consume, but as you can imagine, I think they still sometimes feel a bit over-stuffed. But that’s better than leaving the table hungry.
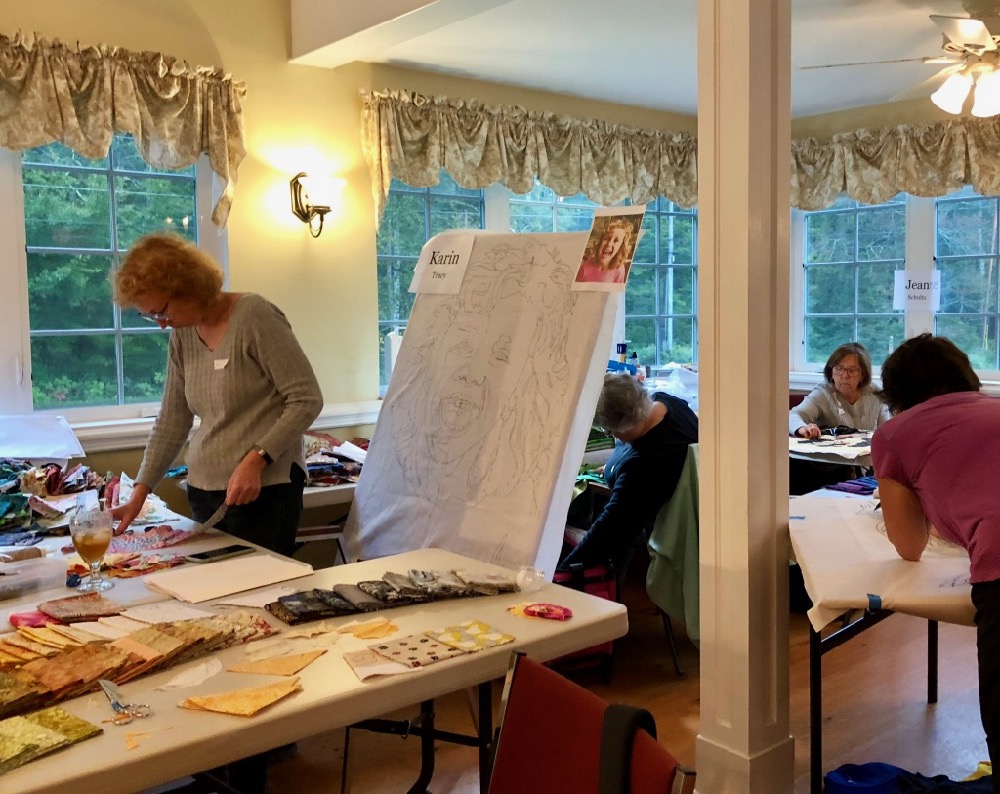
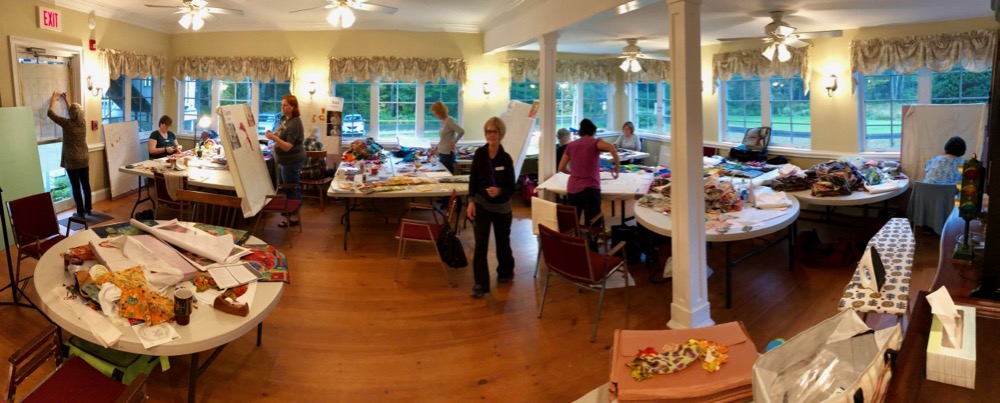
Anyway, after each daily demonstration, I go from student to student giving advice and working on solutions for each individual piece. Typically I get around to each person twice in a day. In the slide show below, you can track the result of everyone’s week of creativity.
Student Work Slideshow
We take a break for lunch. At the Harpswell Inn we (Tom and I) order yummy deli salads, soups, and fresh bread from a local bakery/cafe—Wild Oats, in Brunswick, Maine. Tom makes the daily run to town, sets up our selections and then cleans it all up. These retreats are a joint effort—and no, he’s not available.
In the afternoon it’s back to work, with me making another round of visiting each student. At the end of each consultation I try to provide a goal or set of goals for the student to work on until I get around to them again, or as homework.

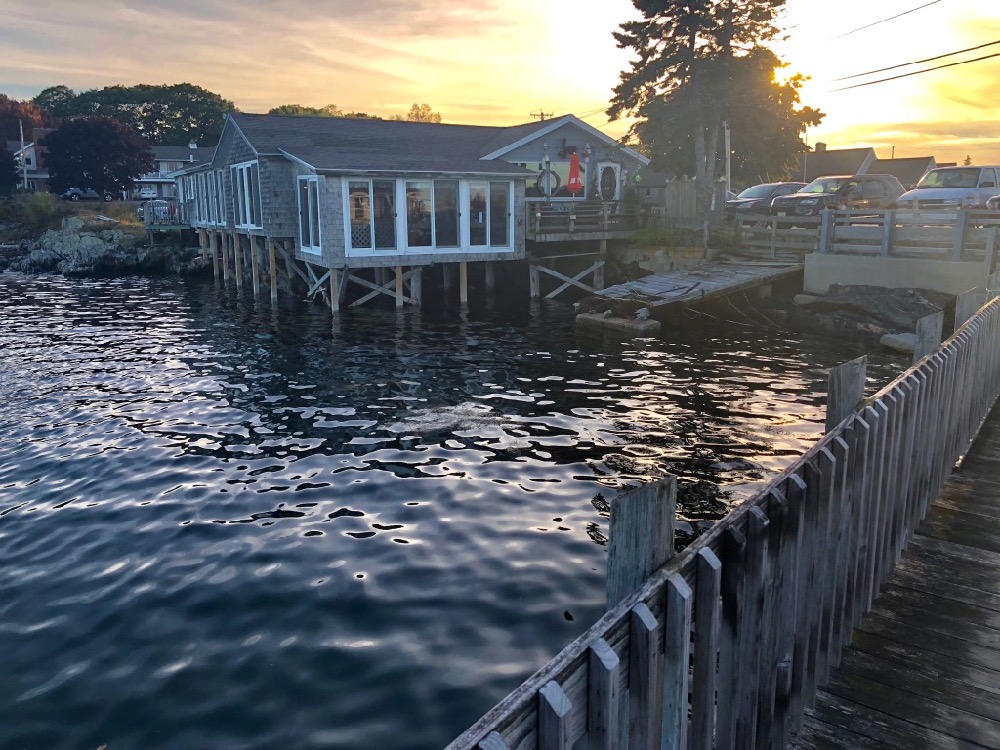
Most evenings students are on their own for supper, but once during the week—as part of the retreat—I take everyone out for some fine Harpswell dining at a local restaurant. This helps to build camaraderie and lets me feature some of the food Maine has to offer. This past week we visited a favorite, Morse’s Cribstone Grill (below). The view is great, the atmosphere is small town, and most importantly the food is delicious.


For all the photos I take, I’m often otherwise occupied and forget to get any restaurant shots with my groups of ladies (and men). This time I got both before getting seated (above with the one-and-only Cribstone Bridge in background) and as food was served (below). Click on any of the photos for larger versions.


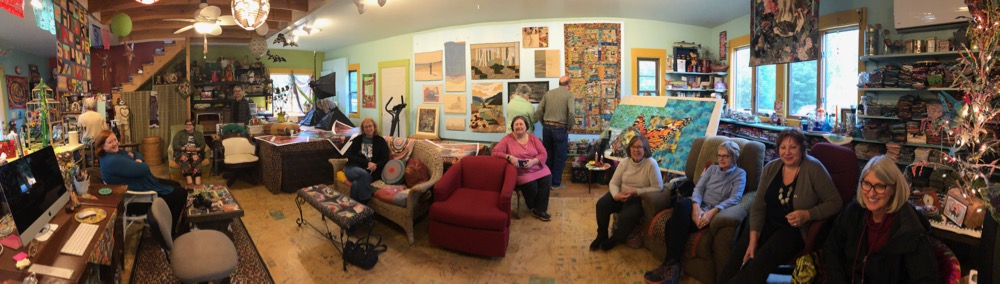
On the final evening together, we gathered in my studio (below)—1/2 mile up the road from the Inn—for cheese, crackers, wine, and pie-meister Tom’s “family famous” Wild Maine Blueberry Pie.
My pinning wall was looking a bit empty with Stevie the Croc (and friends) now hanging at my show at the New England Quilt Museum for a few months, so I put up a display of small quilts that illustrate a few different directions that my work has taken over the years. It’s been fun to see them grouped together.
The four days of this retreat flew by, as usual. Before I knew it, I was giving and getting hugs and saying my goodbyes. Until we meet again.
What a great class and great teacher. A class full of artists: all of the work is beautiful !
Thank you for sharing about our time in Harpswell. I really appreciate the time and effort you put into this class for us, and making the retreat so special. The bonus massage, and getting a studio tour really helped make it special. I hope to use what I learned to finish my piece soon! Thanks to you and Tom!
Delightful post and jam packed with info. I am putting a retreat at your place in Maine , on my bucket list!! I adore Maine and have spent many vacations on Schooners out of Camden- in my 20’s – a few moons ago!! I was unable to take your class at Artistic Artifacts in VA, several years ago, but I am going to make this happen. When do you post dates for upcoming retreats for signups??
It was such a fun week at a beautiful place. I learned so much and enjoyed the camaraderie of this great group of talented women. Susan is not only a great teacher but also makes you feel welcome and part of her family from the beginning. Susan and Tom did a great job of providing a great lunch each day, a group dinner out, a massage, and a field trip to her studio. Tom makes the best blueberry pie I have ever had! A great experience!!
I want to adopt the little girl with the red hair! ADORABLE! Another fabulous group of talented students. I wish I could take the vacant spot in Portland, but we leave for Florida at the end of that week. HOWEVER, I am going to try (very hard) to get in to the next Harpswell class. I swear that I tell every person I meet with the tiniest artistic bone about your work.
I hope to one day be able to take one of your classes. I’m in Perth Western Australia but would LOVE to travel to New England to spend a week creating with you. 🙂
I’ve actually taught in Perth! Good chance I’ll be back there someday. I taught at Handcrafters House for Michelle Pearson.
I was thrilled to be a part of this class along with such talented women. Susan is an excellent teacher and gave such great guidance. I enjoyed every minute of the four days, learned a great deal about the process and myself ( after an almost 20 year hiatus from quilting), and met wonderful women from around the country and one from Canada. Thank you, Susan, such a wonderful class.
These posts are always a joy to see all that creativity. Thank you.