
At some point in every fabric collage quilt, typically as you’re adding those final details, you’ll need to add a little thin line to your piece. Whether it is in order to outline a feature or as part of the feature itself, such as laugh lines around an mouth, these little details add a lot but are sometimes frustrating to manage. You may think to yourself, There’s no way to cut that thin without the fabric falling apart. If you even manage to cut it, you fear it will self destruct when you put glue on it. How do you cut a line so thin that you can barely pick it up and glue it down?
Fortunately there are three methods you can add to your bag of tricks for handling these pesky little pieces.
Mind the Gap
The first way to create a really thin line is to leave a gap between two pieces of fabric, keeping the edges unglued. Then you can come along after and add pieces that slip under the two existing fabrics, filling the thin gap, like a reverse applique.
The best example of this method is the spaces between the scales on my Serendipitous Sea Turtle. (Pattern available here.)
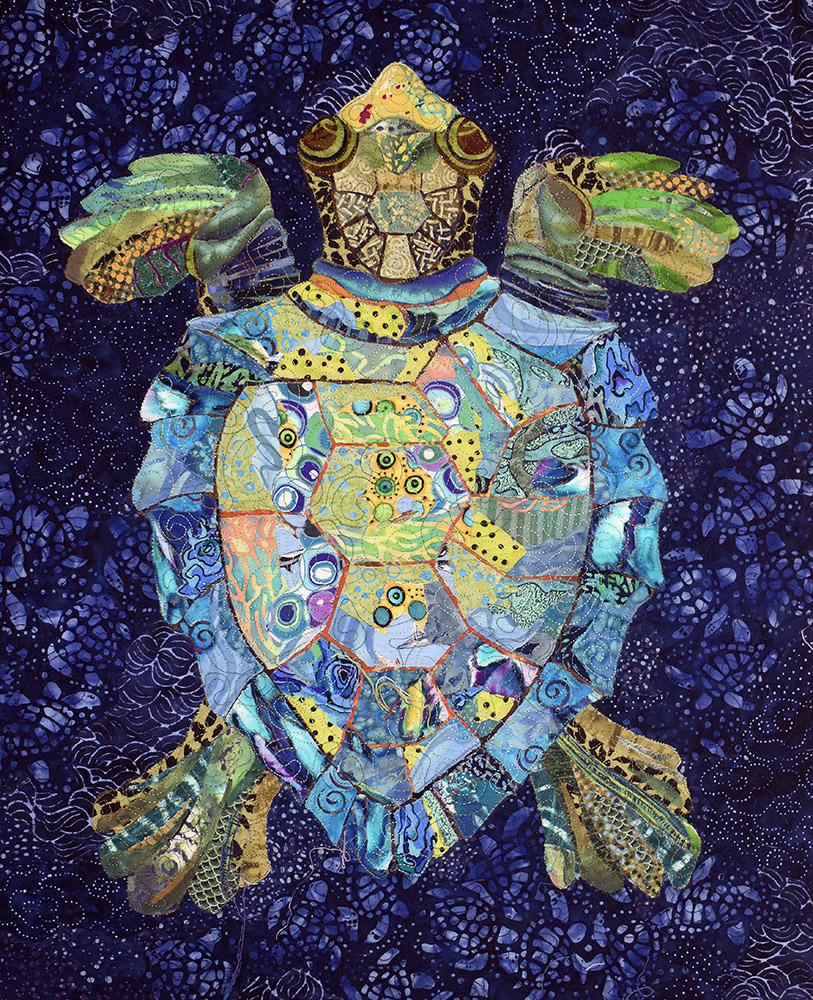
Look at all those thin orange lines on his shell. It would be a nightmare trying to cut and glue all those skinny strips of fabric. Instead, I made the individual plates first, leaving gaps between them. As I collaged and glued each plate in place, I left the edges loose. Then I used manageable quarter-inch (or so) wide strips of fabric in the gaps, placing them under the edges of the plates.
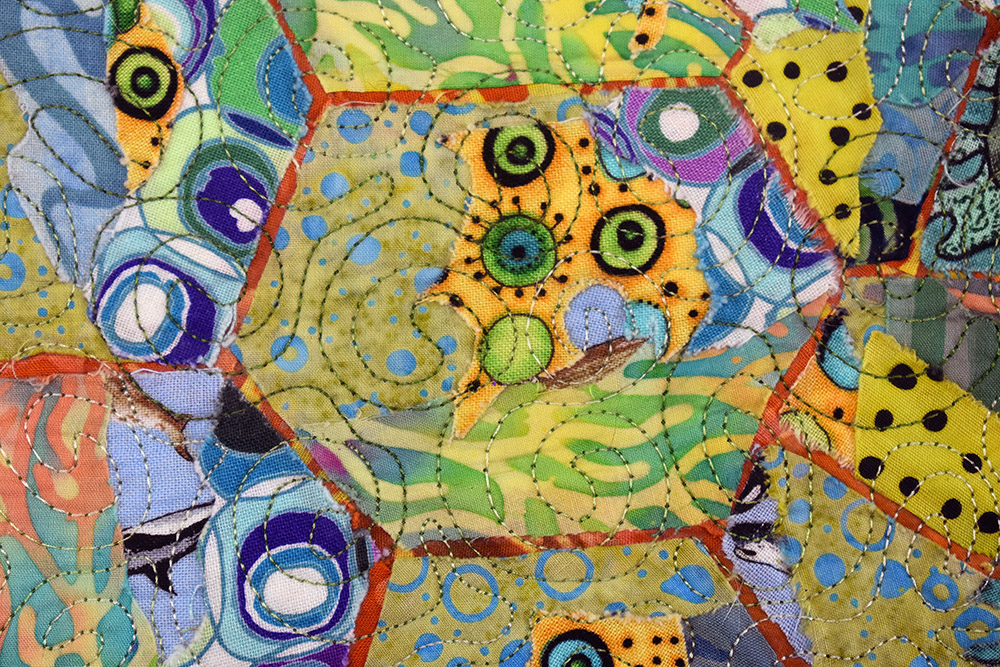
In the close up above you can see how the orange lines actually lie beneath the scales. In the following video I show how it’s done.
Top Down, Bottom up
The second way of making very thin lines with fabric is a technique I describe as working from the top down, bottom up. I first demonstrated this technique in my “Eye for an Eye” blog post, which shows how to create features such as eyes that require a high level of detail.
The basic idea is to glue a piece of contrasting color fabric to the back of a piece already in place. Then you can trim away what you don’t want, leaving as thin a line as you would like.
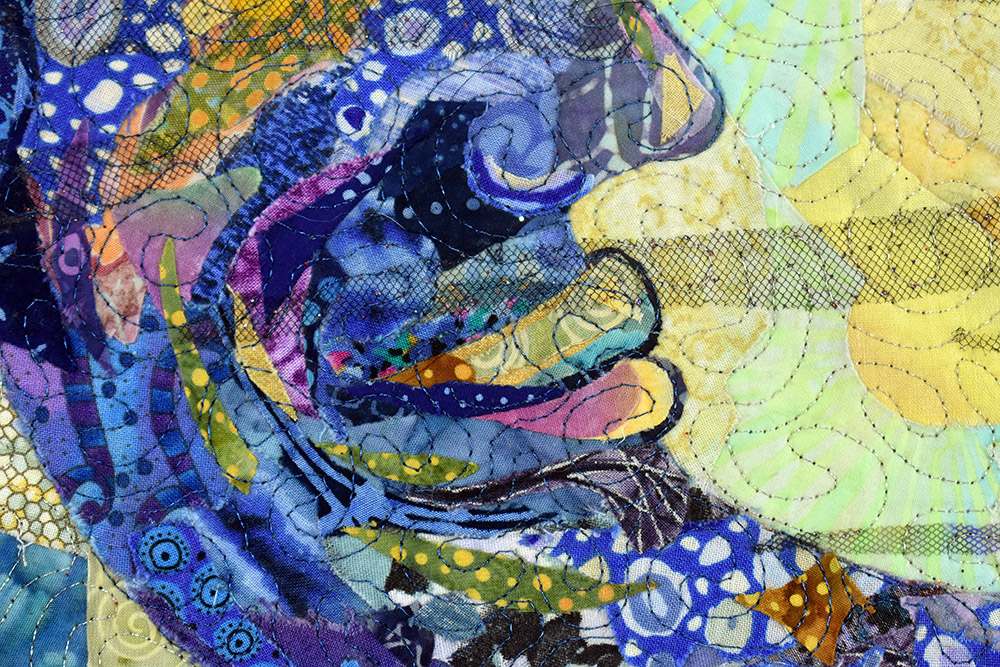
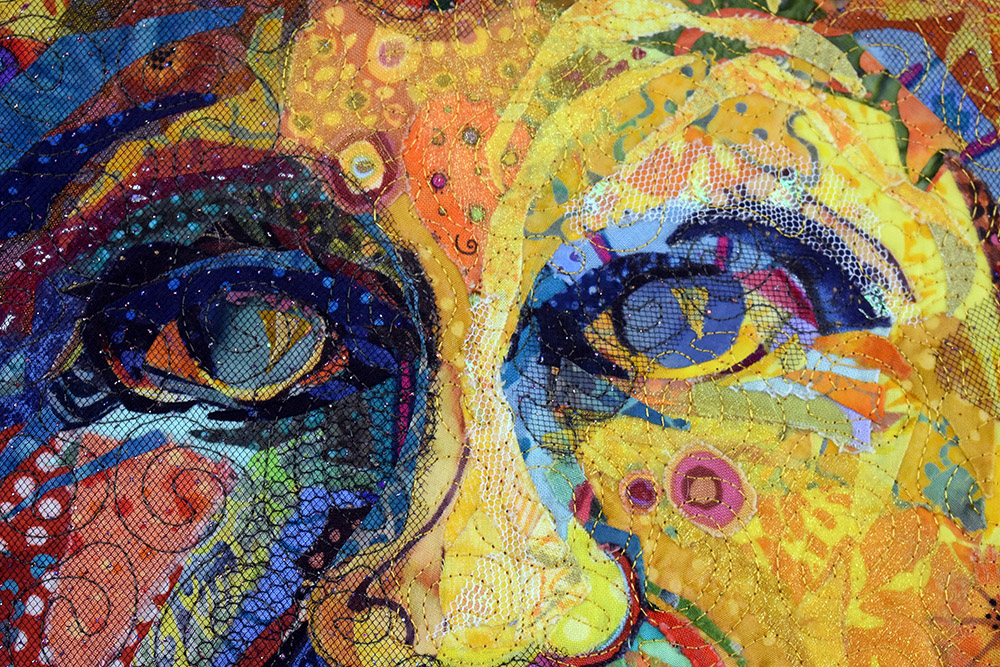
You can see an example of this method in the lips of my moon face. (Pattern available here.)
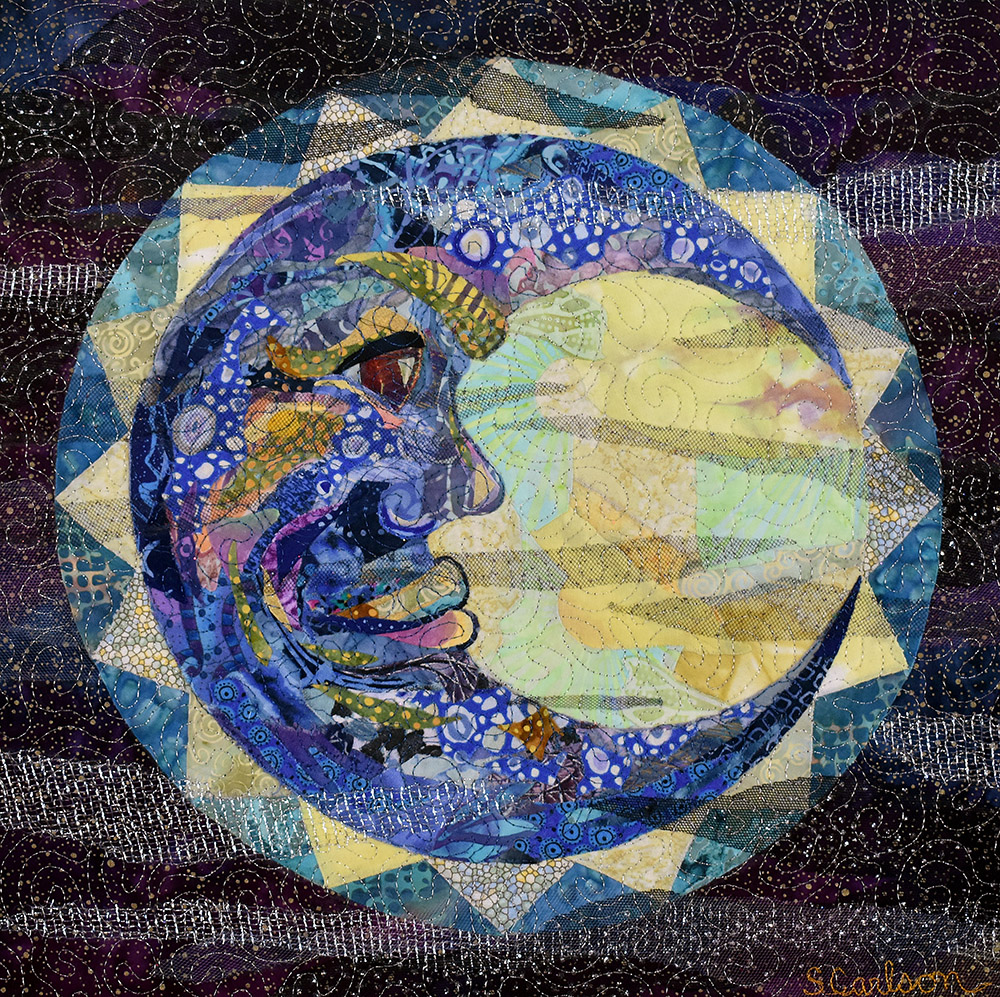
The yellow of the lips was blending into the fabric behind them, so I needed to outline them in a darker color fabric. Gluing the dark blue fabric to the back of the lips, I was able to trim away all but the thinnest outline.
Using the turtle as an example again, in the following video I show how to use this “top down, bottom up” method.
Cut and Stick
Sometimes you just have to use the most obvious and straightforward method of creating a thin line: cut it and glue it down. The previous two methods are used at the edges of existing pieces of fabric in your collage. What about when you want to add details on top of existing pieces? Sometimes these little pieces make all the difference. They add interest and richness. They help define features. They’re decorative. They’re fun!
Look at all the detail these little lines add in the following examples.
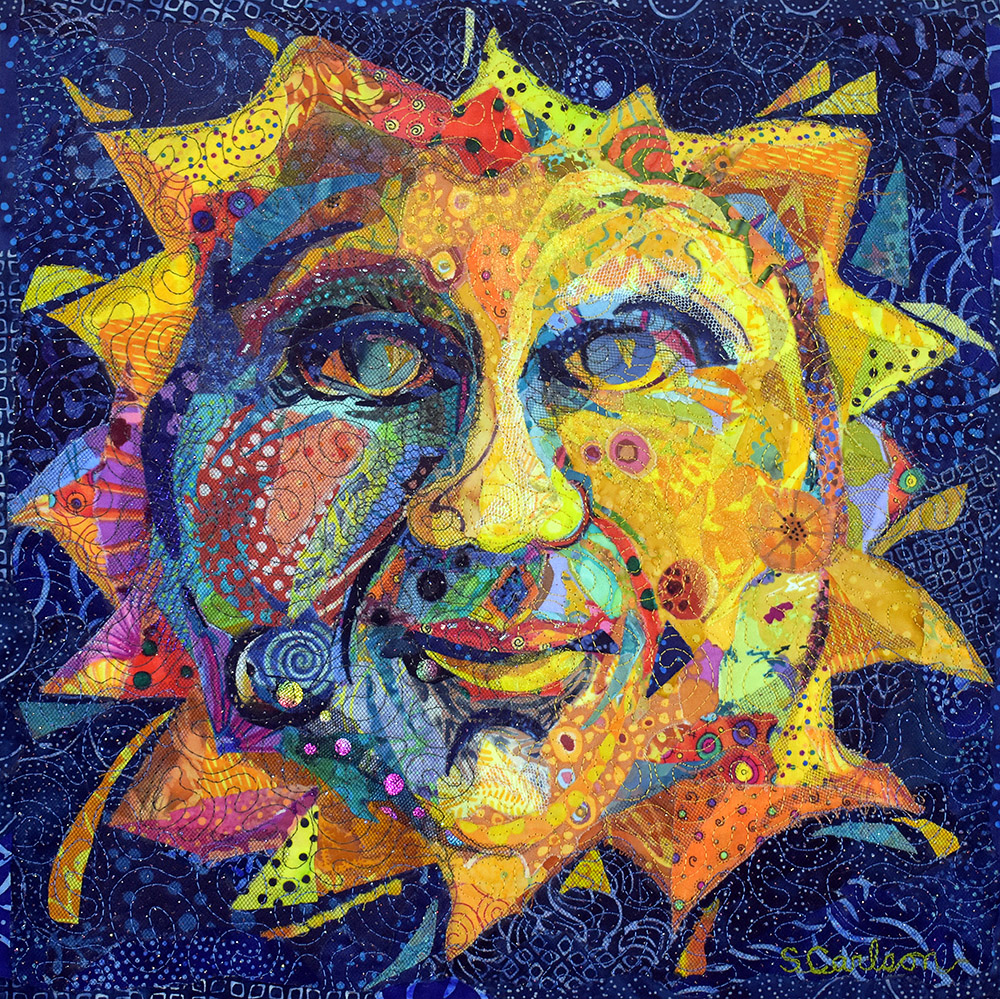
In my sun face, “Soul Sol” (based on my Sun Portrait pattern), I added “character lines” around the mouth and eyes.
In the fanciful fish below, based on my Winged Butterfish pattern, there are lines everywhere. Once I got started adding all these fun little flourishes I couldn’t stop! (Note that the eye is made using the top down, bottom up method.)
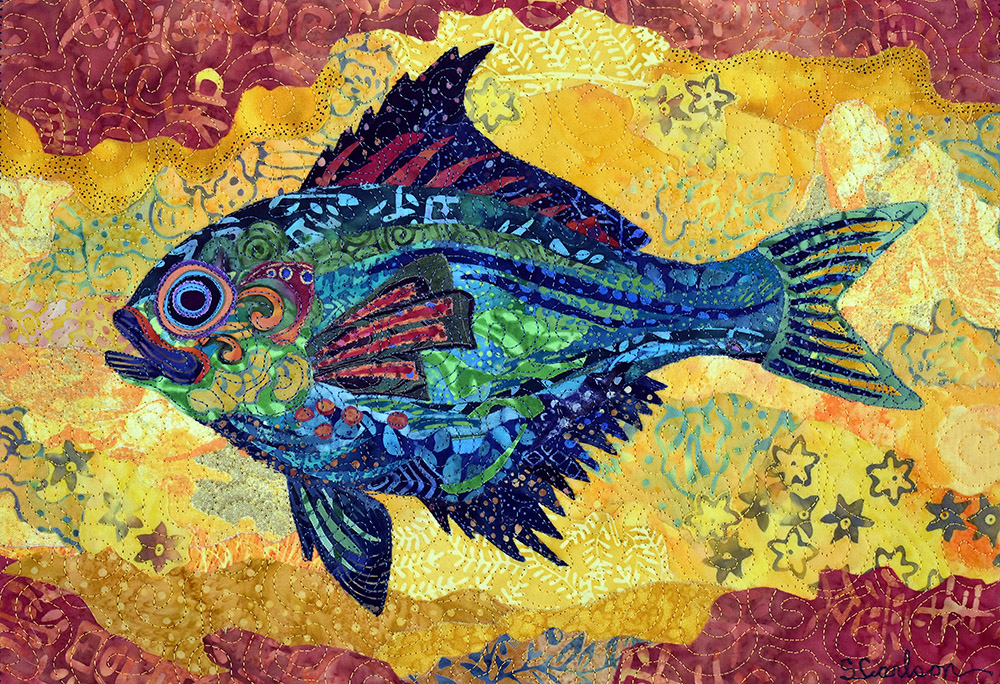
I added some prickliness to the dorsal fin with red spikes.
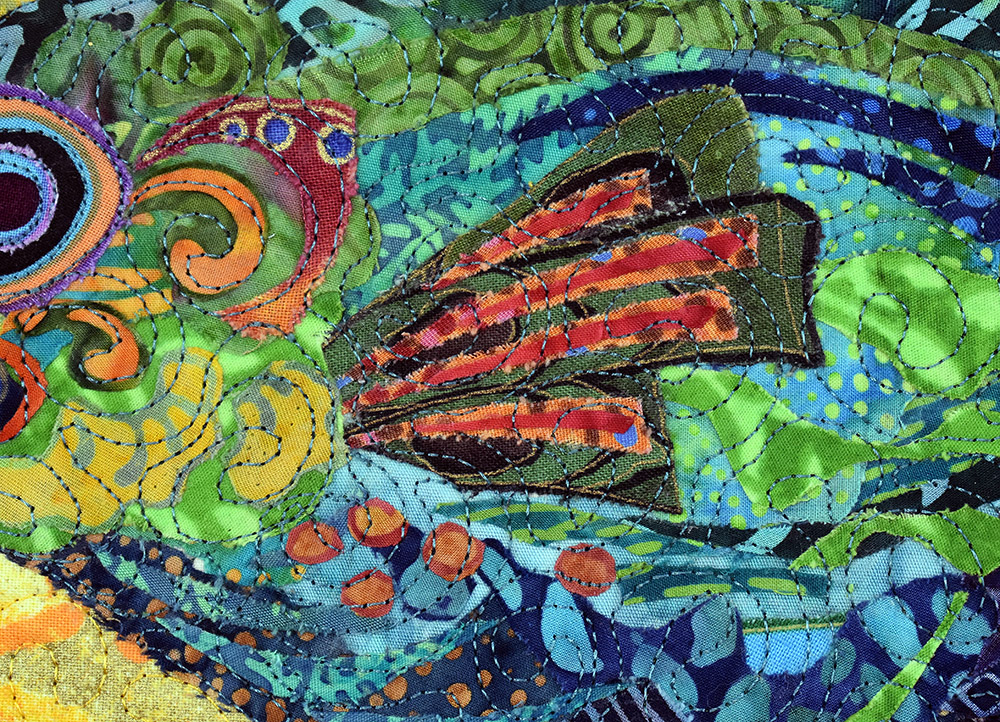
The pectoral fin has lines added on top of lines, four layers in some places.
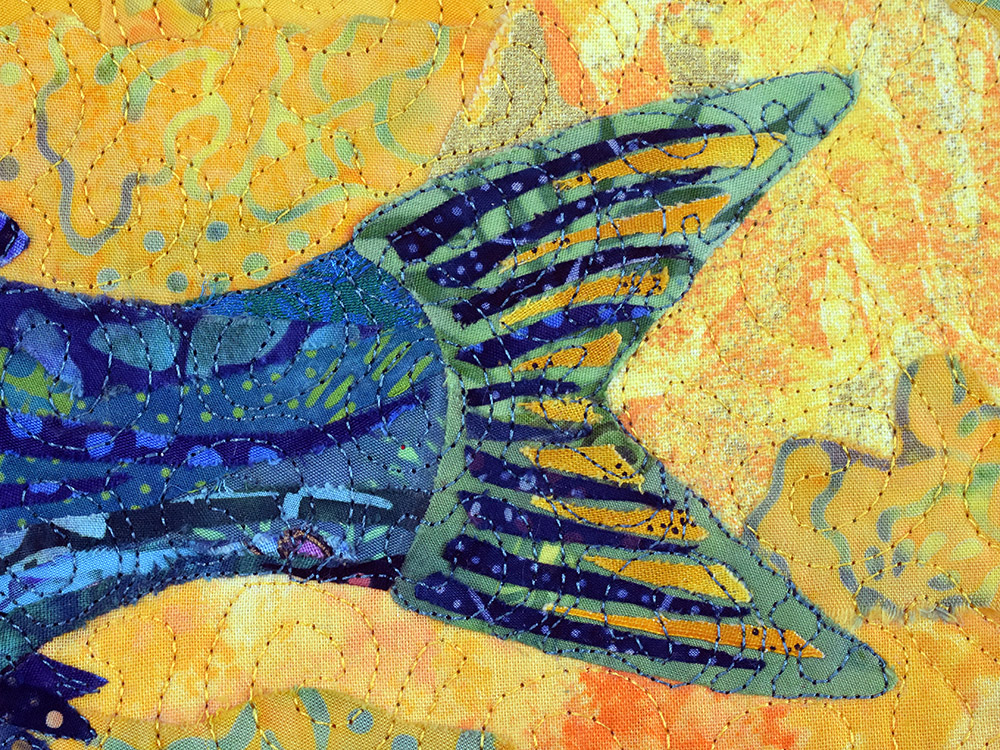
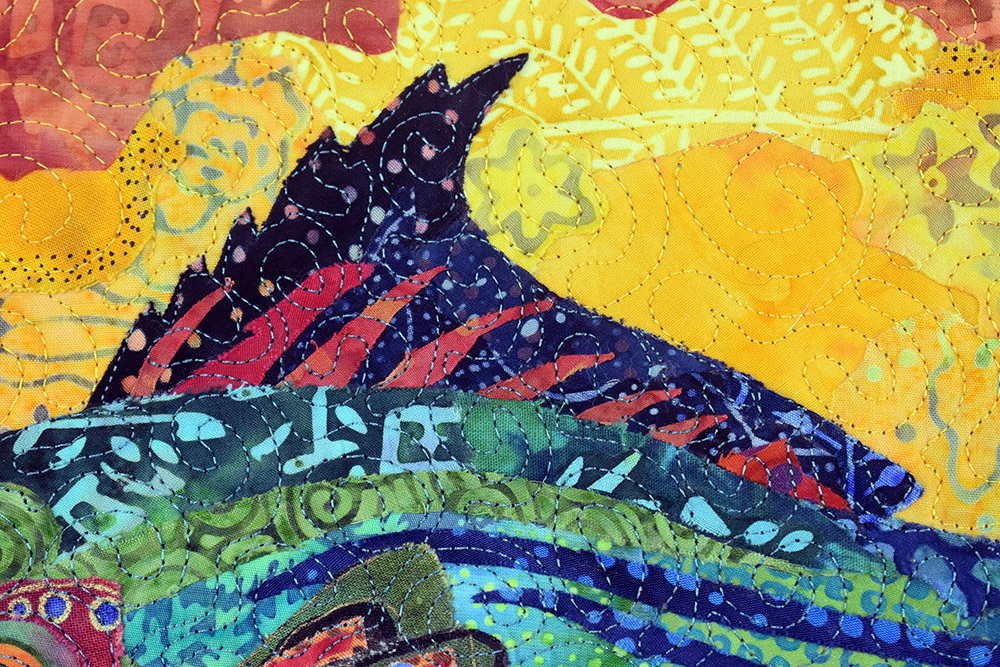
And the tail uses both blue and yellow lines. Do they sometimes get too thin and fall apart? Yeah they do, but then I just pick up another scrap and try again. But when I’m looking for those scraps to cut even smaller, I look for my finer woven batik fabrics first, they behave better. See the difference in the two details in the fish tail above—the blue spikes are cut from a batik print, the yellow is a regular weave quilting cotton. The yellow took a little more finesse to cut and glue before it frayed apart, but in the end, they both worked.
The video below shows how to use the scraps you’ve already produced in creating your piece to add detail. I also show what I consider to be the easiest way to apply glue to these tiny pieces.
I am always encouraging, urging, pleading with my students to add more. More is better! More detail. More layers of interest. These three methods should give you ways for adding the details your fabric collage quilt needs to make it one of a kind.
Just So You Know
I have made four “new” patterns available through my website: Betta Duo, Moon Portrait, Sun Portrait, and Pond Mandala. These four were originally published in my book Serendipity Quilts, so if you have the book, you already have them. But for those who do not own the book, this is the first time these have been made available to you.


These patterns from Serendipity Quilts will also work well with the Fabric Collage Online Master Class Manual.
Hi Susan!
So glad you posted this method this morning! I’ve been struggling with a new project, and this is just the technique I need to give to it some more depth! As always, I LOVE these Saturday morning posts….gets my weekend off to a creative start!
Good morning Susan,
I really like the trim away method, I think this option might work on my owls face to create the round feather disc shape around his eyes.
Question, can I use your online master class to get help as I work toward completion on my owl project that I started in your last Maine class? I watch your videos as I hit a wall, it helps, but your input is always so insightful and pushes me past that frustrating block.
Leslie
Port Townsend
The Master Class Manual will help. But if you need motivation maybe you should sign up for one of the (yet to be scheduled) upcoming Online Coaching Classrooms. I plan to schedule an OCC for past students who need help finishing their projects.
That sounds more like what I need and it will be awhile before I get back to my owl. Our SDA chapter has a show coming up and I have two pieces I have to complete. Look forward to the OCC for project completion.
Thank You
Great refresher course on adding tiny lines for details. Thanks, Susan and Tom!
Thank you for sharing this, very interesting, really enjoyed it a lot! Love your work.
Great post! I have used all methods and am currently making a cow with spots. Of course, the spots are lighter at the edges so I chose the top down, bottom up method for creating my spots. You have been a real inspiration for me. I love that color is irrelevant, but being a bit OCD, most times I stick close to the actual colors. I have strayed and just gone with what I thought looked good and everything worked out great.
Thank you so much for all you have taught me.
Sue
Great hints. Thanks so much for sharing them.