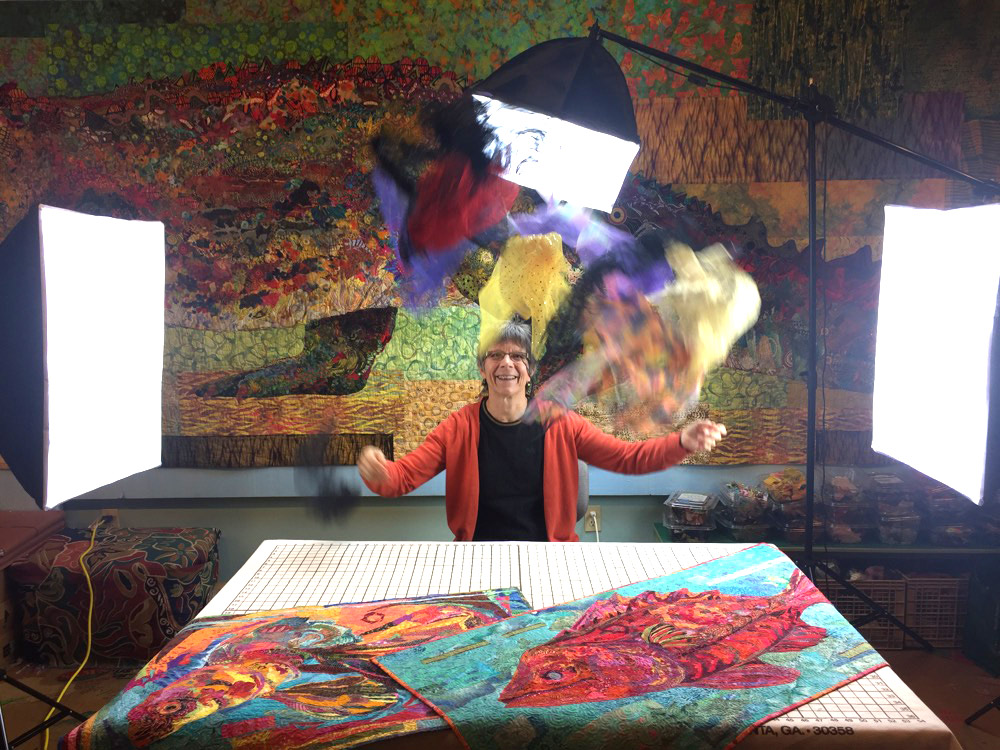
Are you curious about what fabrics can be used for fabric collage? Are only cottons “allowed”? Do they need to be high thread count batiks?
Today’s post will dispel any fears you had about picking up the “wrong” type of fabrics. In fact, there are no wrong fabrics!
I love to use polyester sheers and other shiny, sparkly and semi-transparent fabrics. They really make my heart sing. I love how they add definition and interest to my quilts. But they can be a bit finicky to handle—especially the gluing part—so today’s post will hopefully give you enough info to satisfy your sheer curiosity.
Here are the links to the Fabric Collage Summer Special posts in this series so far.
Susan Carlson Fabric Collage Throwback Thursday Summer Special—1 of 14: Choosing a Photo
Susan Carlson Fabric Collage Throwback Thursday Summer Special—5 of 14: Creating a Fabric Palette
Susan Carlson Fabric Collage Throwback Thursday Summer Special—6 of 14: Sequence
Susan Carlson Fabric Collage Throwback Thursday Summer Special—7 of 14: Sequence in Portraits
Susan Carlson Fabric Collage Throwback Thursday Summer Special—8 of 14: Using Sheers in Sequence
Susan Carlson Fabric Collage Throwback Thursday Summer Special—9 of 14: Background Stories
Susan Carlson Fabric Collage Throwback Thursday Summer Special—10 of 14: Sheer Curiosity?
To dive a bit deeper, the information in this series has been gathered, reorganized and expanded upon in our online learning resource the Fabric Collage Master Class. For more information about the Master Class, click the button below.
Using Sheer, Netting, and other Semi-Transparent Fabrics
Originally Posted January 7, 2017
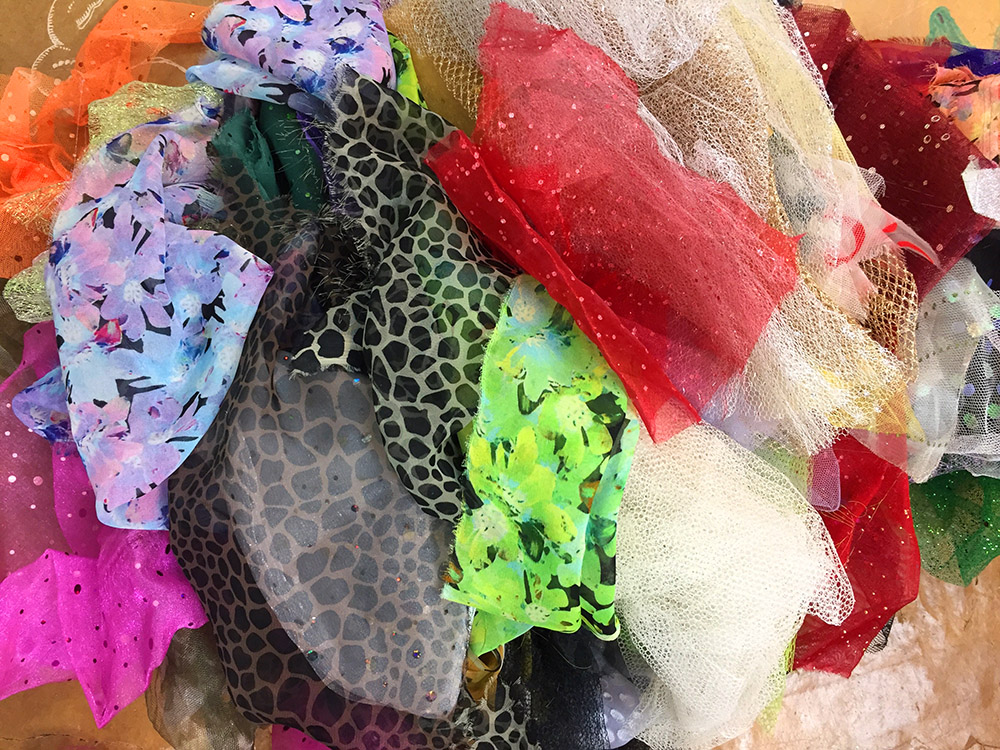
It isn’t always clear to those who haven’t seen my work in person how much netting, tulle and other semi-transparent fabric I use in my quilts. For simplicity’s sake I’m going to call them all sheers (even though sheer is a type of fabric itself).
I use these fabrics near the end—or final draft—of my piecing to add a final layer of detail. They’re one of the last things I consider, obviously, because they’re transparent and need to be placed on top of other fabric—such as the collaged image.
Sheers serve several purposes. I use them to create highlights and shadows. They can be used to smooth the transition between fabrics. And they add visual interest, some glitz, when needed. In other words, they change, without completely overpowering, the look of the fabric underneath. The effect can be subtle or it can be striking.
Netting, lace, organza, chiffon, tulle (also called bridal illusion)—I use it all. I have literally dozens of them in different colors, prints, weights. They tend to be polyester, which is usually quite inexpensive, making them doubly hard to resist.
And—surprise, surprise—I prefer to use sheers that have a print in them. Plain netting is okay, but why use it when there are so many with delicious prints to choose from that can help define form or add interest. I am especially fond of flocked netting or netting studded with glitter.
Many people who saw “Crocodylus Smylus” in Houston at the International Quilt Festival remarked that they hadn’t known how much “bling” I had used in creating her. It’s hard to see except in person as many photographs don’t pick it up. Most of it was added using glitter-studded netting.
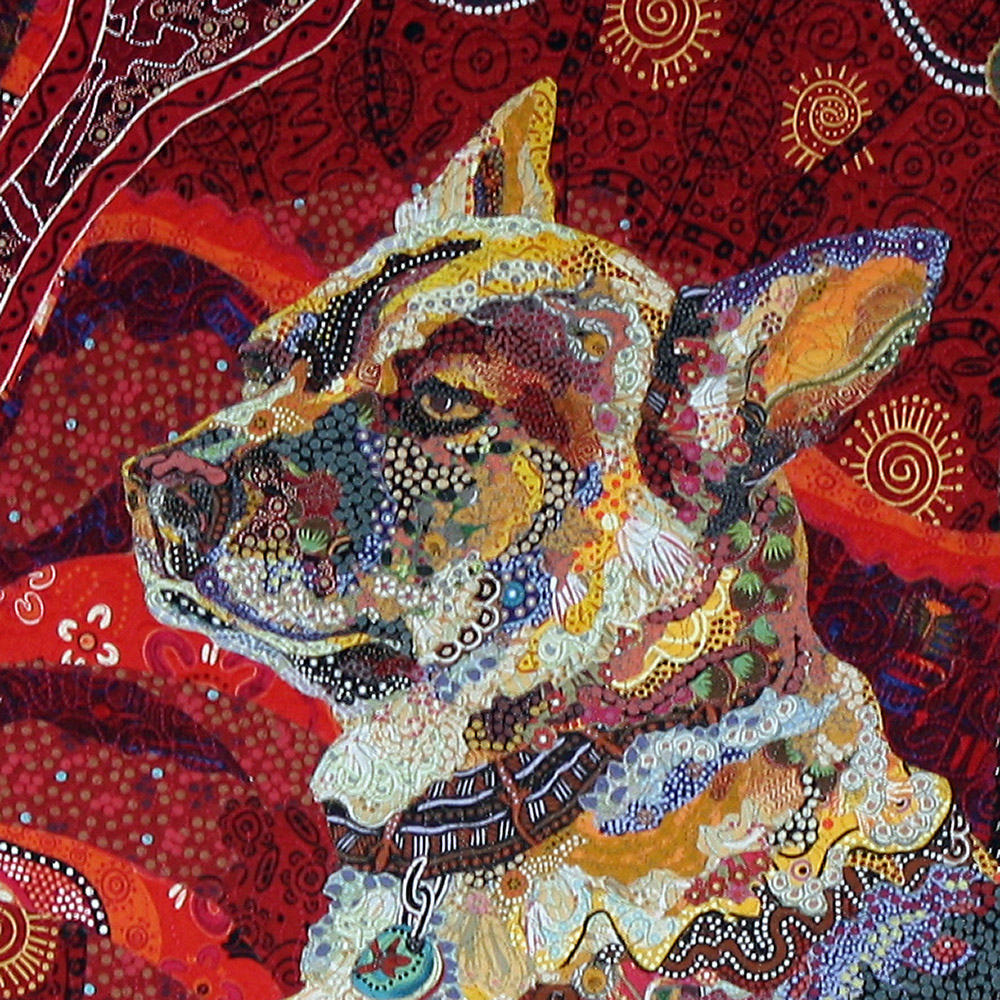
I don’t use sheers in all my pieces. I’m thinking especially of “Dixie Dingo Dreaming,” the portrait of my dog Pippin, in which I used no sheers at all. I had a couple reasons for abstaining. First, I had made it my goal to use only Aboriginal-themed (cotton print) fabrics—to fit with the “dingo” Australian theme. Second, I used no glitzy materials because Pippin wasn’t a glitzy sort of dog. She was a more of a roll-in-dead-fish sort of dog.
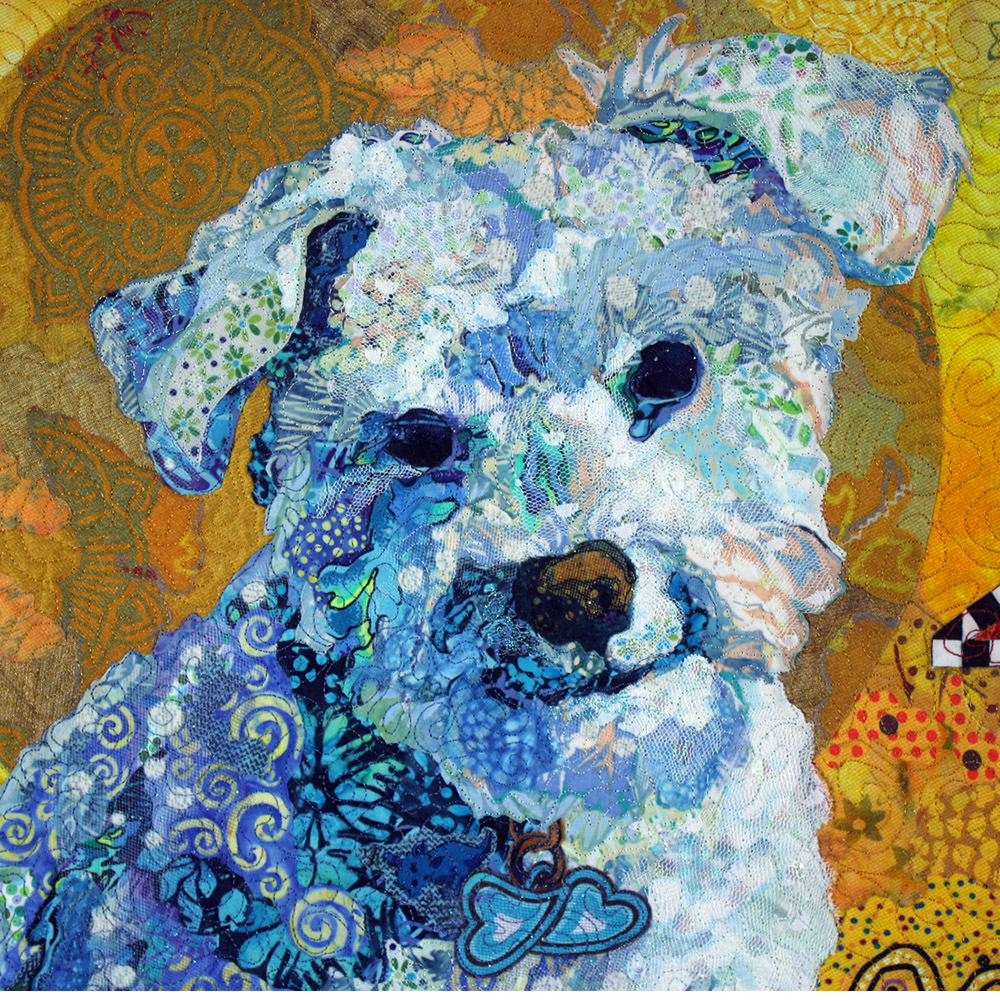
On the other hand, “Golden Temple of the Good Girls” has a fair amount of sparkle. They’re all girls, they are our princesses, so adding sparkle seemed like a natural thing to do.
An Example
As I said earlier, I basically use sheers in four ways. I’ve already demonstrated in the above video how I used glitz in Stevie the crocodile, so I’ll use another quilt, “Polka Dodo,” to show examples of the other three ways sheers can be used—though glitz was definitely a big part of his look.
To add glitz- To add highlights
- To add shadows
- To soften or blend fabrics
First the quilt:
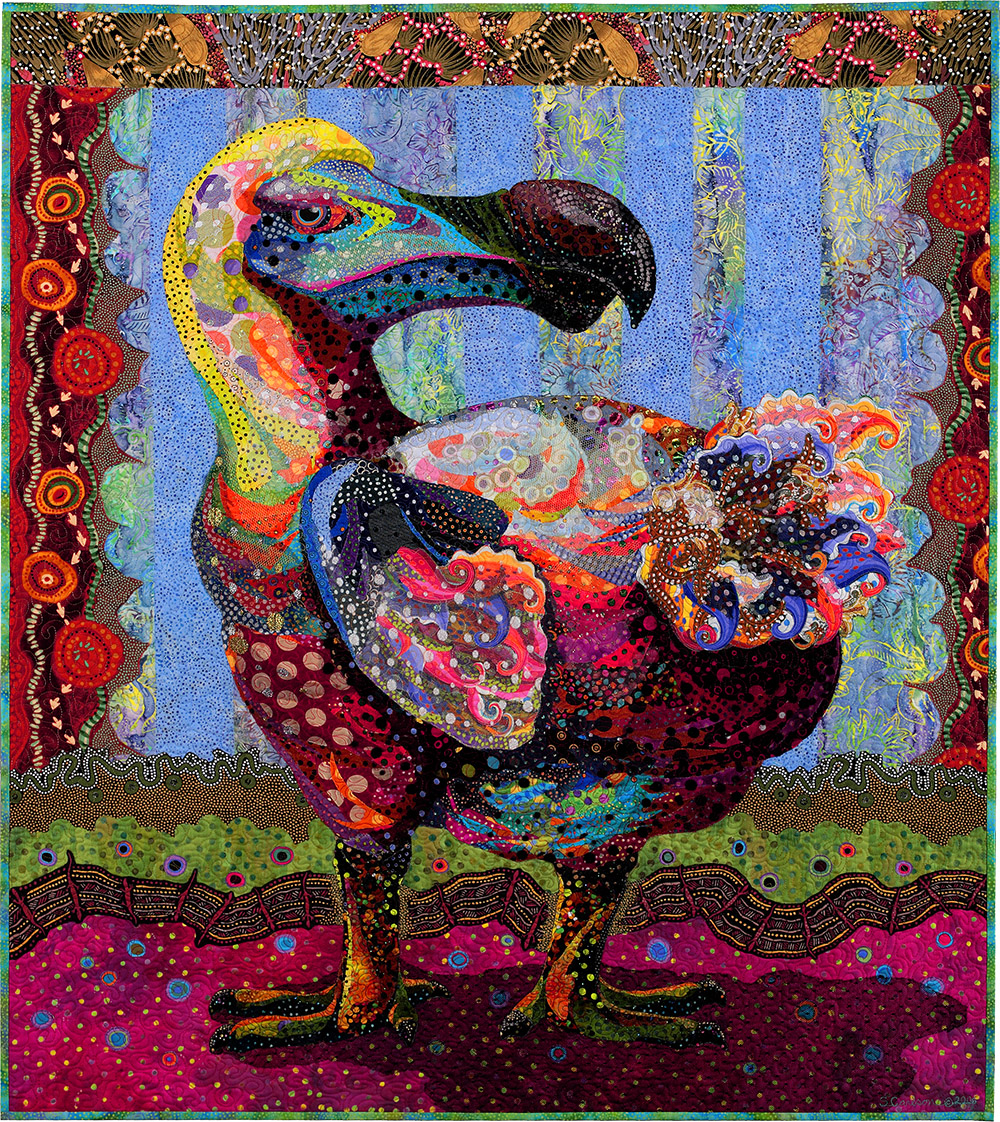
There’s a lot of dimensionality to “Polka Dodo.” At least there’s a lot of dimensionality to the finished piece. Take a look at the quilt before any sheers were applied.

Now look at his head after I used sheers to add highlights with some white spotted netting. By the way, I set myself the challenge of using only polka dotted fabrics—including the sheers—in “Polka Dodo.”
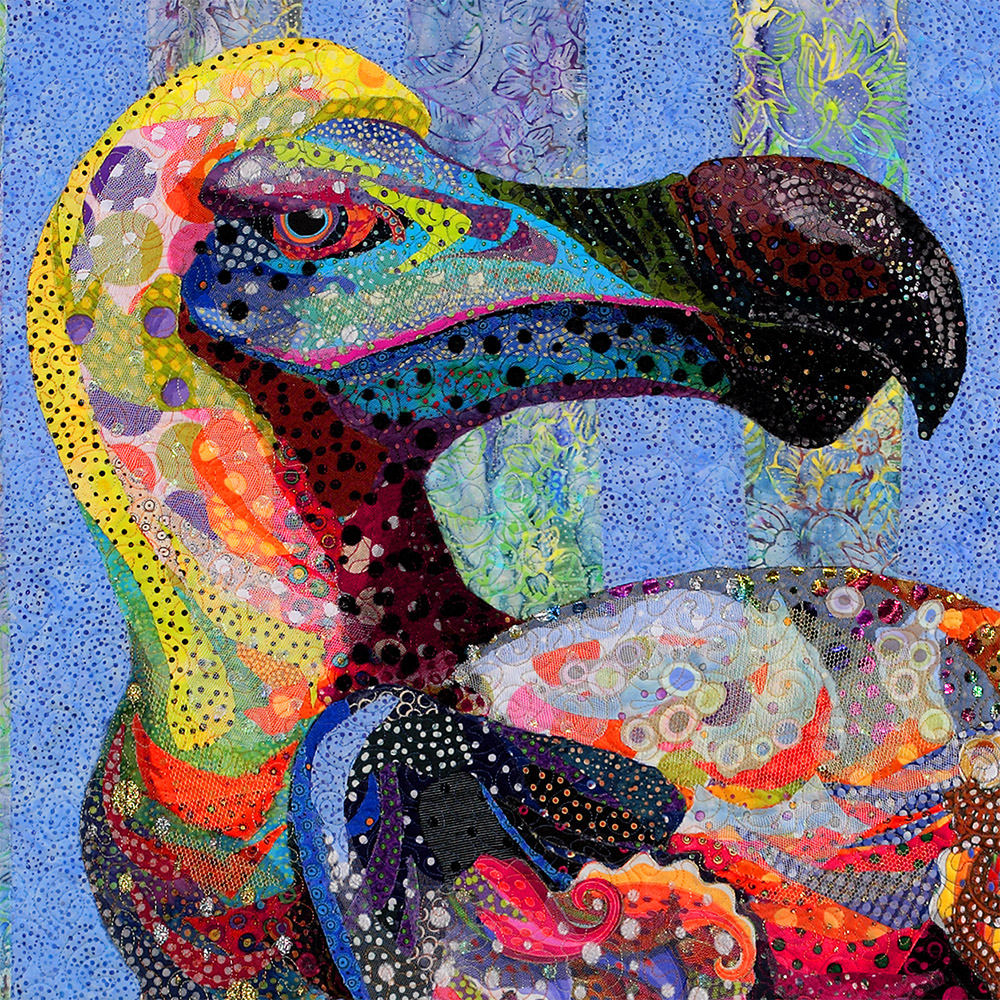
Look at the light sheers on the neck, head and cheek. The use of light sheers helps to bring that part of the image forward. I also used it on his back, as if the light were shining from above. Notice that much of the sheer is not simple netting, but is iridescent or metallic polka dots. The same is true of the shadow on the lower jaw and neck. Those black polka dots are actually black flocked netting.
Let’s move on to using sheers for shadows in other parts of the quilt.
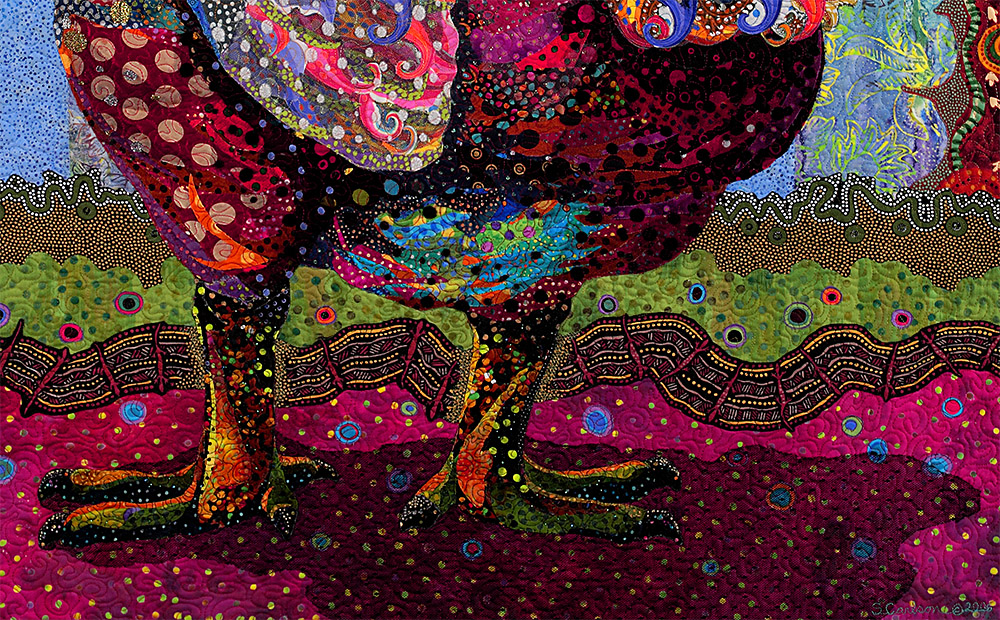
The shadow under his feet is a successful and simple use of sheer fabric. A medium weight netting embedded with tiny polka dots overlays the area defining Dodo’s shadow, shading the underlaying fabric, just like a shadow would in real-life. It’s difficult to see but there is also a dark sheer under his floofy tail and around his wing. In both cases, creating a shadow helped to define those body parts and bring them visually forward.
Finally, and perhaps least obvious is the use of sheers to blend. Look at the white polka-dotted sheer on top of the wing.
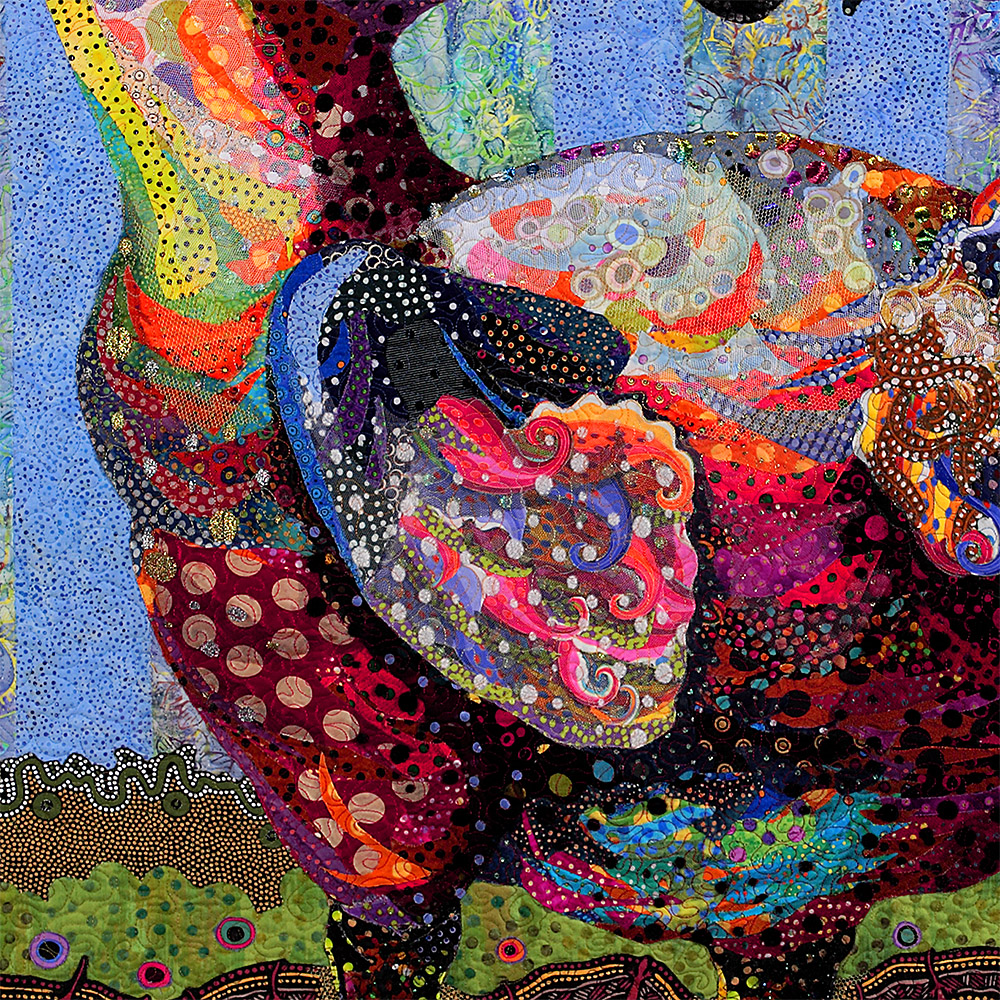
To my mind, the wing was too complicated before. Interesting as it was, all those individual pieces of fabric competed for attention with one another. I needed to unify them somehow so the viewer saw “wing” before they saw “curly blue and pink feathers.” The white spotted sheer overlaying the wing helps to lower the contrast between the feathers. It blends them together to accentuate the stubby wing shape. (It also lightened the overall color of the wing, bringing it forward and helping to separate it visually from the body.)
How To
In class, when we get to the stage of adding sheers, my students don’t know how to proceed. How is it done? Do you really just keep on using glue?
Yes.
It takes a little finesse but glue gets the job done. Cut the sheer just as you would cut any fabric for fabric collage, to the exact shape you want it. Rather than applying the glue to the sheer, put a few dabs (not a glop or line) of glue on the fabric you want to adhere the sheer to. Then smear the glue with your finger until you can no longer see it. At that point, the glue is still tacky enough to stick the sheer to it. When applying sheers, I tell my students to use a consciously lighter touch with the glue.
Then, of course, your quilting will hold the sheers—and all your fabrics—in place.
No Discrimination
I hope this post drives home the fact that any fabric can be used for fabric collage. Some may be more useful than others, but your imagination shouldn’t be limited by believing that you can only use cottons or only use opaque fabrics. There are no rules, which can be unsettling at first. Keep at it. You’ll get used to it.
Susan’s Fabric Collage Class Schedule
September 2026: Susan Carlson Fabric Collage in Bar Harbor, Maine 2026
A week-long class on the doorstep of the breathtaking Acadia National Park, Bar Harbor, Maine
September 14, 2026 – September 18, 2026
FOR MORE INFORMATION
April 2027: Strada Toscana—Serendipitous Fabric Collage with Susan Carlson
A week of fabric collage and cultural field trips in the Tuscany Region of Italy
April 18-23, 2027
FOR MORE INFORMATION
September 2027: Woodland Ridge Retreat—Fabric Images
Five days of fabric collage in this cozy retreat in Downsville, WI
September 21-25, 2027
FOR MORE INFORMATION
Susan Carlson Ongoing Open Studio Hours
Weekly Fabric Collage Coaching
1/2 hour time slots, $65 each
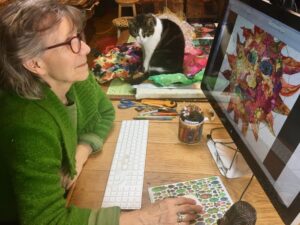
One afternoon a week, I’ll be available to help, encourage, and coach anyone who needs it—between the hours of 1pm-4pm Eastern Time (for instance, this would be between 10am-1pm Pacific Time).
Coaching could be to continue working on an in-progress collage, or to begin a new project—whatever is desired.
Sign-up can be for one day or multiple days—every week, every two weeks, once a month or once only. These sessions will be recorded and emailed to you, just as coaching sessions are, so they can be referred to as needed.
Sign up for time slots here
Please note that times are listed in Eastern Time!
Simply click on a slot and type in your name, Tom will bill you before your session.
Please contact Tom ([email protected]) so he can contact you with more instructions.
July/August 2026 Dates
Tuesday, July 21
Tuesday, July 28
Tuesday, August 4
Tuesday, August 11
If you are interested in this sort of coaching but Tuesday is not a day that would work for you, just drop us an email and we can figure something out ([email protected]).
From an Open Studio Hours participant who also recently took a class with me:
I can’t recommend enough this new format. I’ve met with Susan three times since our class (once a week) and each session has been inspiring, motivating, and very helpful in terms of defining my path forward (and also creating some accountability relative to that path…). Before each session, I think about what areas I would like to focus on and send off a photo with my questions. In this way, I get from Susan exactly the support I need, plus a video recording to remember it. Meanwhile, preparing for my session helps me make my project a priority so I see ongoing progress, which is gratifying.
Honestly, this was the format I was hoping for. I told Susan I wanted to write a testimonial about it because I was so happy she was offering it. So, if you’re like me and a periodic check-in keeps you learning, growing, and doing your best work, sign up for coaching. Maybe I’ll see you there (you get to listen in on other sessions during the open studio you attend). —LeahGrace Kayler
Fabric Collage Online Master Class—Updated
The Susan Carlson Fabric Collage Online Master Class Manual is a multi-media resource guide to the process of fabric collage. Using video, photos, text, and links to my blog posts for further relevant reading and information, I take you from beginning to end in creating your own fabric collage masterpiece, following my guidelines in a step-by-step format. Lifetime Access. Suitable for all levels, including beginners.
Read all about the process of creating the Master Class—explanation of its genesis—the whys and hows Tom and I made some of the decisions we did in this post: Online Master Class Now Available: Some Reflections.
Click here for more information about the Fabric Collage Master Class.
Price: $199
Lifetime Access
Suitable for all levels, including beginners
Further Susan Carlson Learning Resources include: Facial Features eWorkshop, website, Serendipity Quilts, patterns, blog (in general), YouTube videos, Sea Turtle eWorkshop, Fabric Collage Online Master Class, Patreon. , and our February Fantastical Fish and Summertime’s Fascinating Bugs and Butterfly Work-Alongs
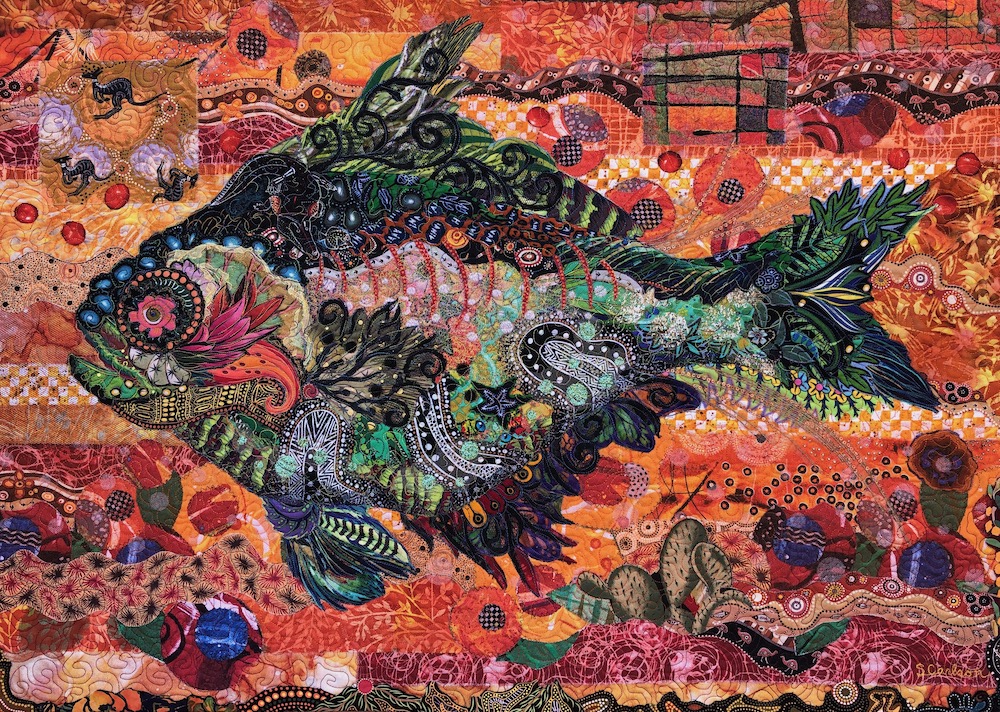
Susan Carlson Fabric Collage: Fantastical Fish eWorkshop I
INCLUDES:
• All four recordings from the four-week class.
• Extended 10-minute edition of piecing time lapse (see below).
• Over six hours of video instruction.
• Annotated videos with “jump points” to help find the information you need.
• Materials list
• Links to helpful blog posts.
• Free fish pattern of your choice.
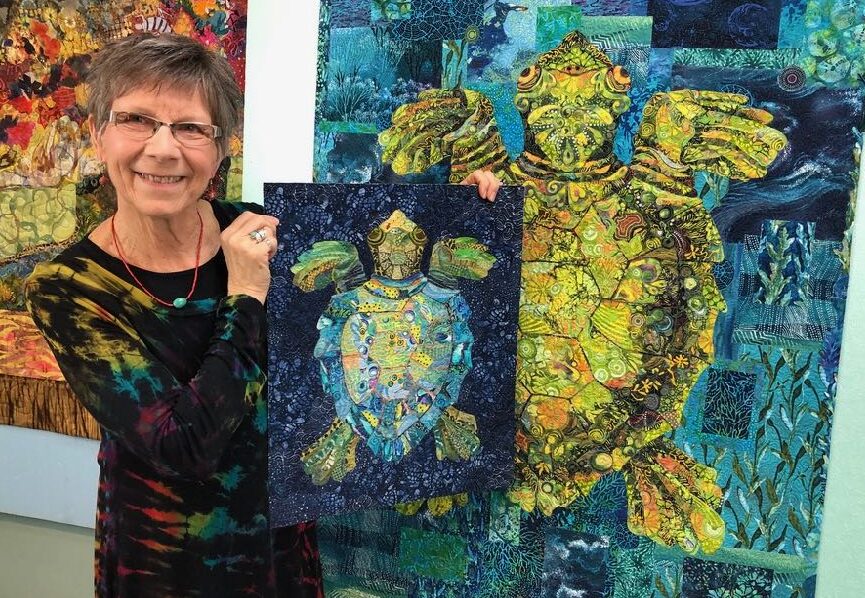
Susan Carlson Fabric Collage: Sea Turtle eWorkshop
Learn fabric collage through a start-to-finish project—from pattern and fabric selection through quilting and binding. Each step is clearly written, illustrated with photos, and further demonstrated with videos. Learn the technique with a Sea Turtle then launch into any fabric collage project you wish. Lifetime access and suitable for all levels, including beginners. Sea Turtle Pattern included
Read all about the Sea Turtle eWorkshop in this blog post: Fabric Collage Sea Turtle eWorkshop Launch.


Facial Features eWorkshop
Designed as a supplement to the Fabric Collage Online Master Class, or for those who have a good understanding of the basics of Fabric Collage. Lifetime Access. Intermediate or advanced levels suggested.
The Facial Features eWorkshop contains 8 videos and over 8 hours of in-depth instruction for creating each feature of a portrait in fabric. The videos are annotated with “Jump Points” allowing you to scan forward and backward to the information you need. Facial features PDF templates are included as reference and basic designs to work along with. Like the Fabric Collage Online Master Class, membership in this eWorkshop is for life.
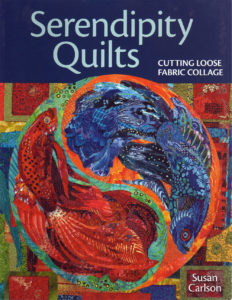
Book: Serendipity Quilts—Cutting Loose Fabric Collage
Full color throughout. Five projects of increasing complexity, four patterns to enlarge are included.
These books will be signed by Susan and can be inscribed to a particular person.