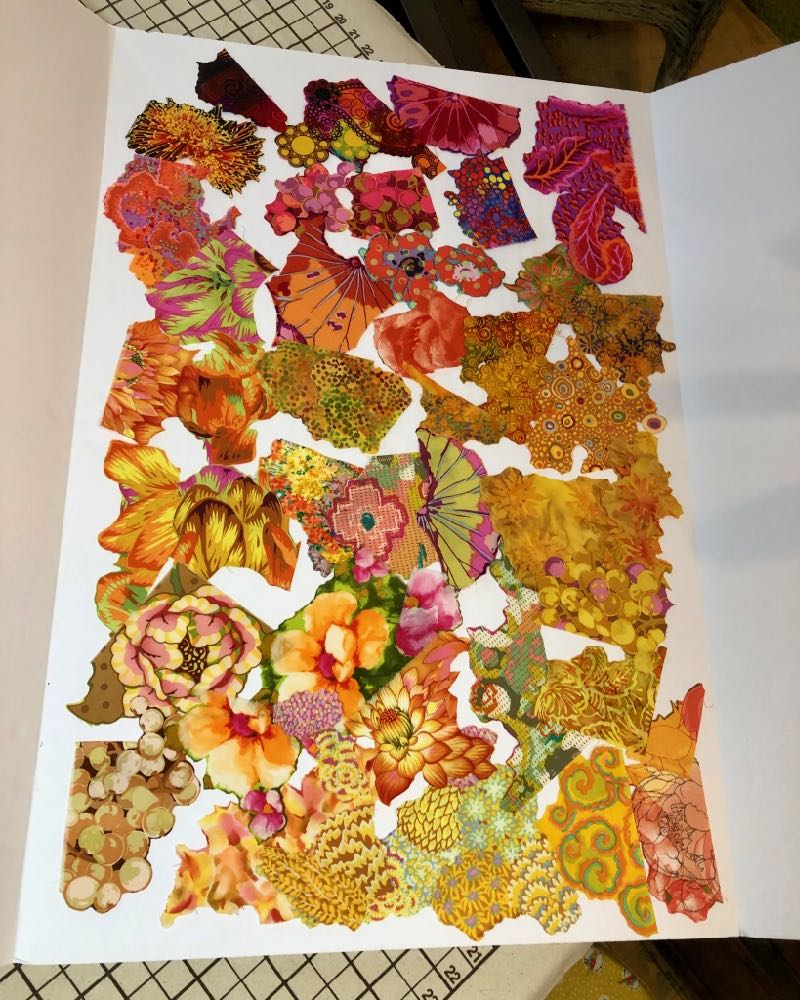
If you’ve been following along with the previous steps in our review of the technique of fabric collage, you’ll be ready to start putting down fabric to create your image. I’m going to ask you to be patient and take one more step before you do that. You’ve chosen your fabrics, but they are most likely folded yardage—half yards, or maybe fat quarters.
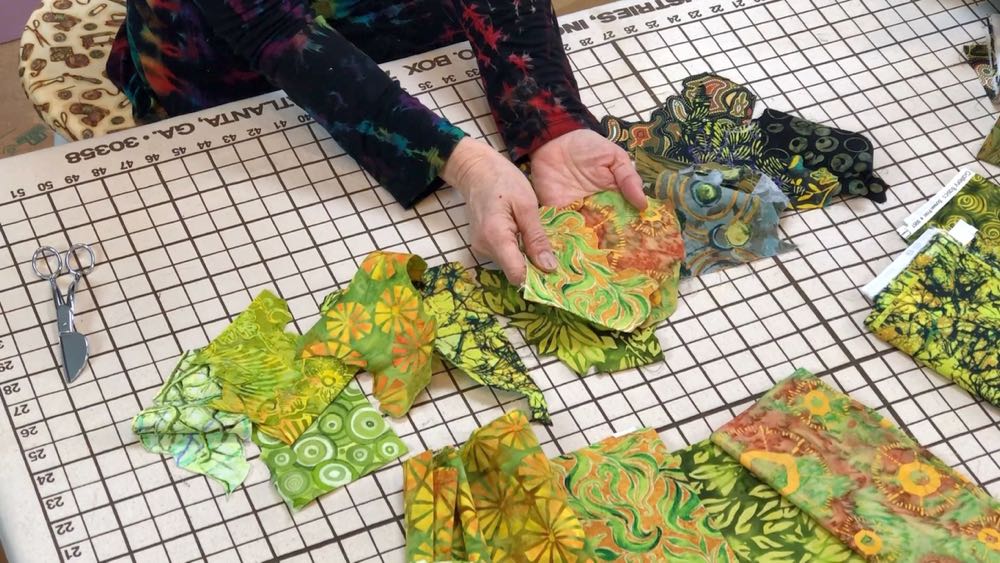
Now I want you to do the unthinkable. Cut into those pristine pieces of fabric, chopping out hand-sized pieces. That’s right, without even knowing where they will be used, I want you to start cutting into your fabric. For the squeamish out there, don’t worry, you’ll be cutting with intent, not “chopping.”
You are creating a fabric palette, as a painter would with paints. In this case, your palette is a collection of smaller pieces of fabric that can easily be held up to your drawn image to “test” whether they are the right fit.
Read more about creating your fabric collage palette in today’s Throwback Thursday post included below.
Here are the links to the Fabric Collage Summer Special posts in this series so far.
Susan Carlson Fabric Collage Throwback Thursday Summer Special—1 of 14: Choosing a Photo
Susan Carlson Fabric Collage Throwback Thursday Summer Special—5 of 14: Creating a Fabric Palette
Susan Carlson Fabric Collage Throwback Thursday Summer Special—6 of 14: Sequence
Susan Carlson Fabric Collage Throwback Thursday Summer Special—7 of 14: Sequence in Portraits
Susan Carlson Fabric Collage Throwback Thursday Summer Special—8 of 14: Using Sheers in Sequence
Susan Carlson Fabric Collage Throwback Thursday Summer Special—9 of 14: Background Stories
Susan Carlson Fabric Collage Throwback Thursday Summer Special—10 of 14: Sheer Curiosity?
To dive a bit deeper, the information in this series has been gathered, reorganized and expanded upon in our online learning resource the Fabric Collage Master Class. For more information about the Master Class, click the button below.
Creating a Palette for Fabric Collage
(First published on October 31, 2020)
A painter’s main tool, beside her brushes, is her palette. For each painting, an artist chooses from her countless tubes of paint just the ones she wants for this particular image. She squeezes out a dab of this and a dab of that until she has the entire range of colors and values she wants to use.
I want you to look at your fabric as your palette. Now don’t misunderstand: You may have stacks and stacks of fabric, but that is not your palette. Think of those as your tubes of paint. You have to narrow those choices down. And most importantly, just as you can’t use the paint when it’s still in the tube, you can’t use your fabric when it’s in a huge chunk of a yard or more.
What to do?


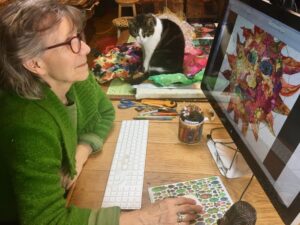
When creating the turtle quilt from my Fabric Collage: Sea Turtle eWorkshop, my palette was always close by and was arranged by value, light to dark (see photo at beginning of post). Because my palette was nearby and organized, it was easy to zero in on just the right choice of fabric.
Well, what I’ve been telling my fabric collage students more and more, is to make a fabric palette before they begin their collage. I have them select a range of fabrics. The colors don’t matter as much as the values do. Your subject can be any color you want, but in order to give your subject form you need to have a complete range of values. From the lightest highlight to the darkest shadow, you need a fabric that fills those niches.
Once they’ve selected their fabrics, I have them cut out hand-sized chunks of the fabric, following the prints in the fabric as a guide, NOT cutting directly across and through the print design. Once the pieces are cut out, they’re arranged according to value, from light to dark.
This, then, is the fabric collage palette.
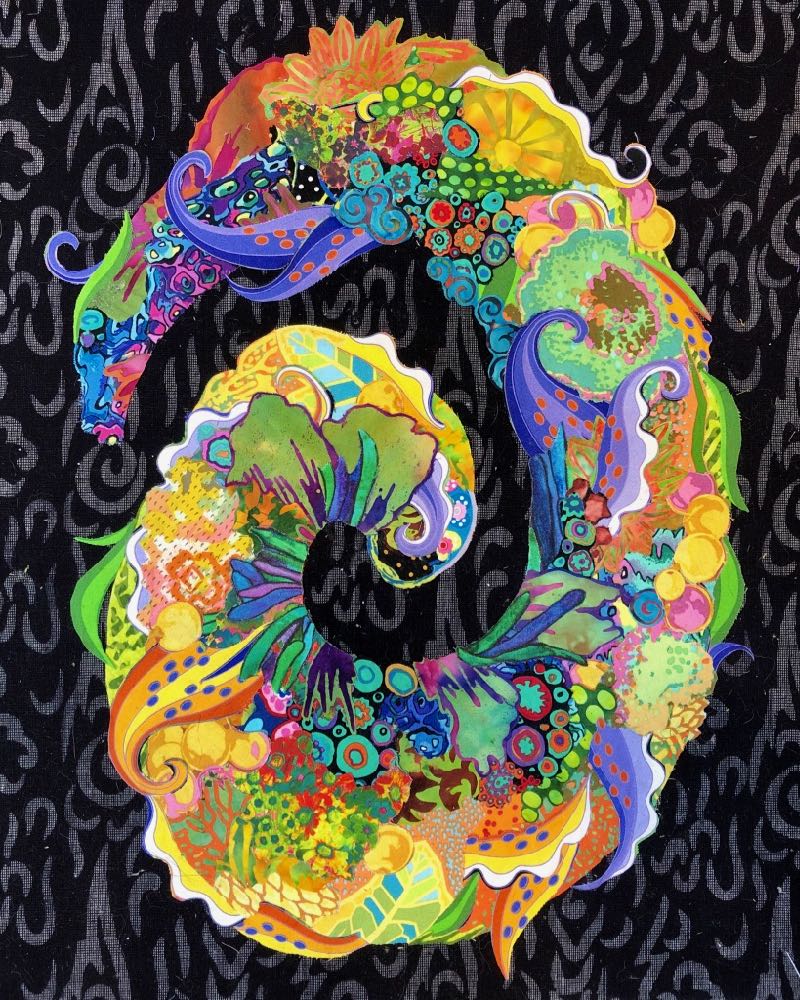


It’s important when creating your palette to avoid cutting your fabrics into similar sized shapes. Create a palette with a variety of shapes by letting the design or print in the fabric dictate where you cut. In this example from my 2020 Thursday Night in My Studio Live! presentations, “Is It Drafty in Here? Working in Drafts”, take a look at the variety of shapes included in the palette for my colorful spiral. Organic or irregular cut pieces of fabrics blend together better than those that are cut in a repeated shape. Note how the fabrics in my palette blend together when placed next to each other.
I’ve always kept a palette of fabrics nearby as I worked on a collage, though not always in an organized sort of way. The idea of encouraging my students to pre-cut their palette and organize to values, grew out of a situation in which I was teaching a class but there was a 24-hour delay in having a few students’ patterns enlarged. To occupy their time in a productive way, I had them look at their fabrics and create their palettes. Even though they had to wait until the second day to start placing their cut fabric shapes, they actually made as much or more progress on their collages by the end of that day than many other students in the class.
The usefulness of teaching this way of working was immediately obvious to me.
However.
It’s not easy to convince students that all this cutting into of their perfectly fine un-cut fabrics is a worthwhile effort, when they don’t even know if these fabrics will, in the end, even work in their collages. I understand that it’s a leap-of-faith investment of time to create a palette before starting to collage. And many of my students are simply so excited to get started that they skip ahead of this step. I just know that from what I’ve seen from their experiences with fabric collage, I’m going to emphasize it more and more in the class curriculum.
I’ve always considered fabric collage to be painting with fabric. I have developed the technique to be as immediate as possible, like painting: I avoid the making of templates; I use glue from a bottle rather than fusible adhesive; and I prep my fabrics by creating a palette. These methods all help me concentrate on collaging the image with my pre-cut shapes, rather than interrupting the process by searching through stacks of fabric again and again.
Pre-cutting a palette of fabrics for your fabric collage allows you to audition, place, and easily trim each piece. Try one fabric, reject it, choose another, trim it down, pin in place. Move on to the next open area.
Arranging your palette by value helps you zero in on the fabric you’re looking for. Are you working on a highlight such as the tip of the nose or cheek? You know where your lightest valued fabrics are already. Working on a shadow on the side of your dog’s head? Here are the darkest values of fabrics.


In my Facial Features eWorkshop, I demonstrate the portrait exercise above. Notice how I’ve arranged my palette around the design from light to dark. Not only that, but the light fabrics and dark fabrics are placed near the side where they’ll be used, the lights on the left, the darks on the right. The cut shapes don’t get used in their entirety, I end up using sections of each—parts of them here and there. As I do so, the hand-sized pieces get reduced in size, as do the open areas I need to fill.
When you initially create your fabric collage palette, that doesn’t mean you can’t and won’t add to it. A palette of 12 – 15 cuts of fabric is a good number to start with, it gets you going with as little fuss as possible. But you may find as you progress, that you need another fabric color, print, or value to fill a particular niche. That’s fine. It’s expected, even. You’re learning what you need as you move ahead.
I hope creating a palette helps you begin and keep going on your fabric collage journey. I believe it is one of the simplest ways to give yourself a head start on your next project.
I recently began work on a Celestial Portrait. Above are fabrics that I chose for a Sun Face. This is the palette I’ll work with—admittedly I got a little carried away with my initial selection (but I’m really looking forward to working with them). I have placed my palette onto the center section of a tri-fold presentation/display foam board. Below are photos showing how the sides of the board are hinged so that it can be closed up and will protect my fabrics when they’re not in use. I thought this was a particularly clever idea. I mentioned it to Tom noting that my palette would now be safe from my curious studio cat, Djinni: “In case she decides to nap on them, knock them around or, you know, puke on them.” No sooner had I closed the shutters on my palette than Djinni hopped onto the table and hacked up her breakfast onto the folded up board, proving my hypothesis that yes indeed, a foldable palette surface could save my fabric shapes from the cat.


Susan’s Fabric Collage Class Schedule
July 2026: 5-Day Live Online Fabric Collage Class via Zoom!
REGISTER HERE and attend from your own home
July 13-17, 2026
More about my 5-Day Online Fabric Collage Classes
From past online student, Sylvie Aguilar:
When the on-line classes started, I hesitated before signing up. Not being a very tech savvy person, it scared me. I also thought it would be a very long zoom day. After procrastinating for a couple weeks, thinking I didn’t know enough about collage, with my daughter’s encouragement I signed up. That was the best decision I made! What a fantastic class. I learned so much more than anticipated. Susan and her husband Tom, are a great team, and so generous with their time and knowledge. From day one, they made us feel at home. It was like we were all part of a collage artist family. It was so comforting to feel part of a community of fabric artists that understood you and got excited about the same things you did.
September 2026: Susan Carlson Fabric Collage in Bar Harbor, Maine 2026
A week-long class on the doorstep of the breathtaking Acadia National Park, Bar Harbor, Maine
September 14, 2026 – September 18, 2026
FOR MORE INFORMATION
April 2027: Strada Toscana—Serendipitous Fabric Collage with Susan Carlson
A week of fabric collage and cultural field trips in the Tuscany Region of Italy
April 18-23, 2027
FOR MORE INFORMATION
September 2027: Woodland Ridge Retreat—Fabric Images
Five days of fabric collage in this cozy retreat in Downsville, WI
September 21-25, 2027
FOR MORE INFORMATION
Susan Carlson Ongoing Open Studio Hours
Weekly Fabric Collage Coaching
1/2 hour time slots, $65 each
One afternoon a week, I’ll be available to help, encourage, and coach anyone who needs it—between the hours of 1pm-4pm Eastern Time (for instance, this would be between 10am-1pm Pacific Time).
Coaching could be to continue working on an in-progress collage, or to begin a new project—whatever is desired.
Sign-up can be for one day or multiple days—every week, every two weeks, once a month or once only. These sessions will be recorded and emailed to you, just as coaching sessions are, so they can be referred to as needed.
Sign up for time slots here
Please note that times are listed in Eastern Time!
Simply click on a slot and type in your name, Tom will bill you before your session.
Please contact Tom ([email protected]) so he can contact you with more instructions.
July/August 2026 Dates
Tuesday, July 21
Tuesday, July 28
Tuesday, August 4
Tuesday, August 11
If you are interested in this sort of coaching but Tuesday is not a day that would work for you, just drop us an email and we can figure something out ([email protected]).
From an Open Studio Hours participant who also recently took a class with me:
I can’t recommend enough this new format. I’ve met with Susan three times since our class (once a week) and each session has been inspiring, motivating, and very helpful in terms of defining my path forward (and also creating some accountability relative to that path…). Before each session, I think about what areas I would like to focus on and send off a photo with my questions. In this way, I get from Susan exactly the support I need, plus a video recording to remember it. Meanwhile, preparing for my session helps me make my project a priority so I see ongoing progress, which is gratifying.
Honestly, this was the format I was hoping for. I told Susan I wanted to write a testimonial about it because I was so happy she was offering it. So, if you’re like me and a periodic check-in keeps you learning, growing, and doing your best work, sign up for coaching. Maybe I’ll see you there (you get to listen in on other sessions during the open studio you attend). —LeahGrace Kayler
Fabric Collage Online Master Class—Updated
The Susan Carlson Fabric Collage Online Master Class Manual is a multi-media resource guide to the process of fabric collage. Using video, photos, text, and links to my blog posts for further relevant reading and information, I take you from beginning to end in creating your own fabric collage masterpiece, following my guidelines in a step-by-step format. Lifetime Access. Suitable for all levels, including beginners.
Read all about the process of creating the Master Class—explanation of its genesis—the whys and hows Tom and I made some of the decisions we did in this post: Online Master Class Now Available: Some Reflections.
Click here for more information about the Fabric Collage Master Class.
Price: $199
Lifetime Access
Suitable for all levels, including beginners
Further Susan Carlson Learning Resources include: Facial Features eWorkshop, website, Serendipity Quilts, patterns, blog (in general), YouTube videos, Sea Turtle eWorkshop, Fabric Collage Online Master Class, Patreon. , and our February Fantastical Fish and Summertime’s Fascinating Bugs and Butterfly Work-Alongs
Susan Carlson Fabric Collage: Fantastical Fish eWorkshop I
INCLUDES:
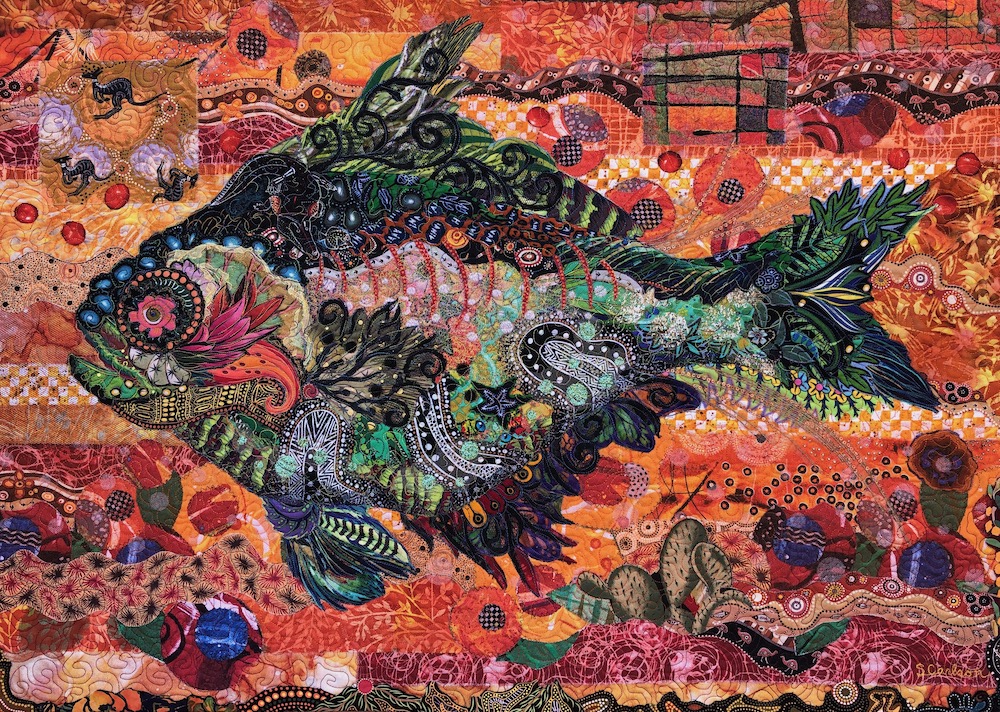
• All four recordings from the four-week class.
• Extended 10-minute edition of piecing time lapse (see below).
• Over six hours of video instruction.
• Annotated videos with “jump points” to help find the information you need.
• Materials list
• Links to helpful blog posts.
• Free fish pattern of your choice.
Susan Carlson Fabric Collage: Sea Turtle eWorkshop
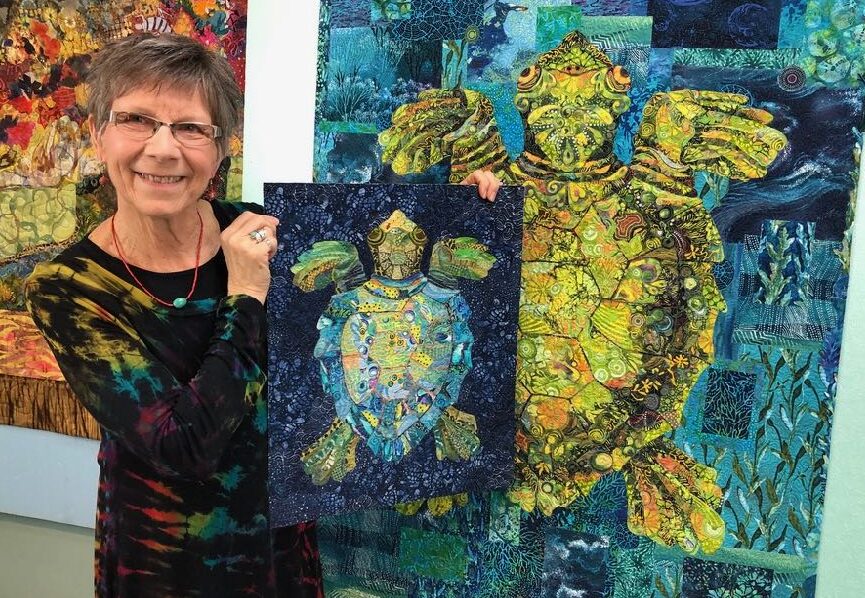
Learn fabric collage through a start-to-finish project—from pattern and fabric selection through quilting and binding. Each step is clearly written, illustrated with photos, and further demonstrated with videos. Learn the technique with a Sea Turtle then launch into any fabric collage project you wish. Lifetime access and suitable for all levels, including beginners. Sea Turtle Pattern included
Read all about the Sea Turtle eWorkshop in this blog post: Fabric Collage Sea Turtle eWorkshop Launch.


Facial Features eWorkshop
Designed as a supplement to the Fabric Collage Online Master Class, or for those who have a good understanding of the basics of Fabric Collage. Lifetime Access. Intermediate or advanced levels suggested.
The Facial Features eWorkshop contains 8 videos and over 8 hours of in-depth instruction for creating each feature of a portrait in fabric. The videos are annotated with “Jump Points” allowing you to scan forward and backward to the information you need. Facial features PDF templates are included as reference and basic designs to work along with. Like the Fabric Collage Online Master Class, membership in this eWorkshop is for life.
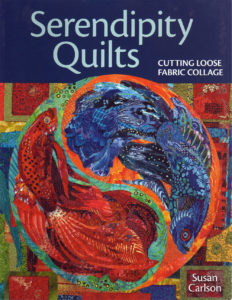
Book: Serendipity Quilts—Cutting Loose Fabric Collage
Full color throughout. Five projects of increasing complexity, four patterns to enlarge are included.
These books will be signed by Susan and can be inscribed to a particular person.
4 Comments