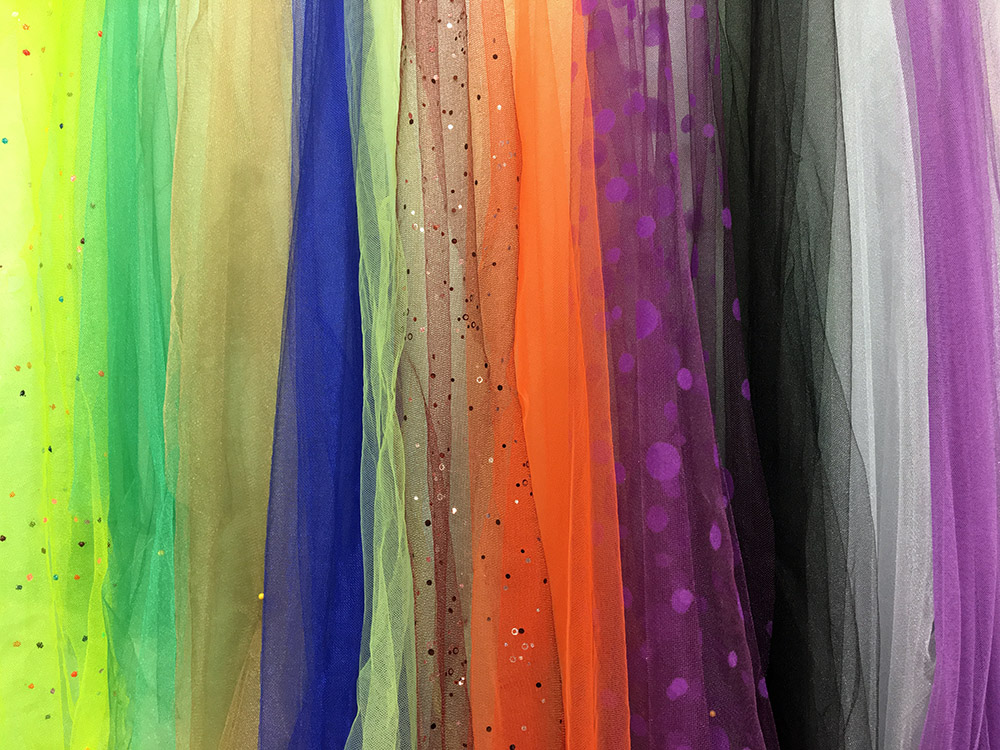
You’ve done the hard work (and had the enjoyment) of making your image in fabric collage. You’ve been cutting, placing, and gluing and now that the image is complete, it’s time to quilt.
You have a decision to make: Either you can go back and glue down all the loose edges of every piece of fabric so that they don’t catch on your presser foot during machine quilting—or you can shadow quilt.
Shadow quilting is using a single piece of sheer tulle to cover the entire collage so that all those loose edges are held down and the presser foot glides across the top of the “quilt sandwich” of tulle, collage, batting, and backing. There are pros and cons to this approach—as I describe in the Throwback Thursday post below—the main consideration being how the tulle may affect the look of your quilt.
Read on. Give it some thought. Then decide how best to quilt your fabric collage.
Here are the links to the Fabric Collage Summer Special posts in this series so far.
Susan Carlson Fabric Collage Throwback Thursday Summer Special—1 of 14: Choosing a Photo
Susan Carlson Fabric Collage Throwback Thursday Summer Special—5 of 14: Creating a Fabric Palette
Susan Carlson Fabric Collage Throwback Thursday Summer Special—6 of 14: Sequence
Susan Carlson Fabric Collage Throwback Thursday Summer Special—7 of 14: Sequence in Portraits
Susan Carlson Fabric Collage Throwback Thursday Summer Special—8 of 14: Using Sheers in Sequence
Susan Carlson Fabric Collage Throwback Thursday Summer Special—9 of 14: Background Stories
Susan Carlson Fabric Collage Throwback Thursday Summer Special—10 of 14: Sheer Curiosity?
Susan Carlson Fabric Collage Throwback Thursday Summer Special—11 of 14: Are We There Yet?
Susan Carlson Fabric Collage Throwback Thursday Summer Special—12 of 14: Shadow Quilting
To dive a bit deeper, the information in this series has been gathered, reorganized and expanded upon in our online learning resource the Fabric Collage Master Class. For more information about the Master Class, click the button below.
To Tulle or Not to Tulle
(Originally Posted August 5, 2017)
Ahh, a sweet summer breeze lifting the sheer curtains (I can hear Seals and Crofts now)…. Wait! Could I use a bit of those curtains in my collage?!
I have, and I will again.
In my post Using Sheer, Netting, and Other Semi-Transparent Fabrics, I showed how I use those sorts of translucent fabrics—including tulle—to create form and add detail in fabric collage. Another way I have used tulle (the very fine netting also referred to as Bridal Illusion) is as a final layer over the entire completed collage prior to quilting. While I almost never do this these days, in my classes I offer students this technique, which has both advantages and disadvantages.
So, when your image is ready to quilt, the question is: to tulle or not to tulle?
Ancient History
In the 1980’s I learned about a technique called “shadow quilting.” It involved raw-edge appliqué which was then sandwiched under a layer of translucent fabric and quilted along the appliqué edges. This disguised the raw edges and gave the piece a finished appliqué look but without the handwork involved.
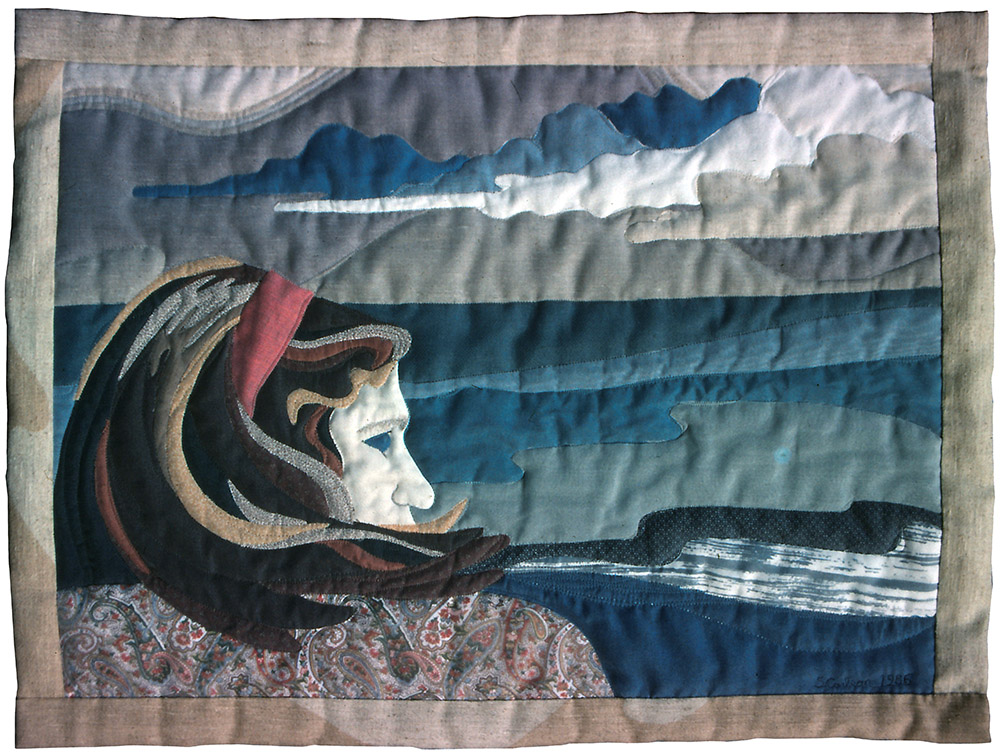
I gave it a try with a portrait of my friend Kathryn (below)—based on a photo taken of her during my infamous summer visit to Maine where I met (my future husband) Tom. I transferred the original design to templates, cut out the shapes, and fused them in place. Then all was covered with tulle and free-motion quilted around the edges of the cut shapes. Aside from all that template cutting (not what I do anymore), it worked well for me.
Flash forward a few years and it’s now 1990 and I have this fabric collage—with glue and no templates—idea. I thought back to my shadow quilting experiments and now saw that layer of tulle as a way to help hold my multiple pieces of collaged fabrics in place.
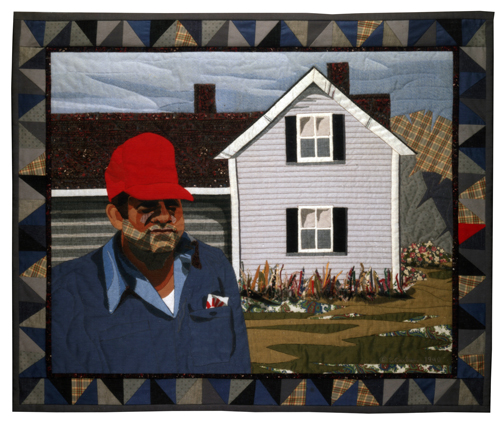
All my early fabric collage pieces have tulle as a final layer overtop the entire quilt. At the time, I thought that a nice neutral shade of tulle, like beige, would work best. How much more basic can you get? I started by doing portraits of myself and my family. Being of northern European stock, our skin tones are pretty beige as well, so the problem with light colored tulle didn’t surface immediately.
The use of beige tulle became problematic only when I moved into “alternative” colors for portraits such as when I created Elements, using vibrant, rainbow spectrum colored fabrics in the faces.
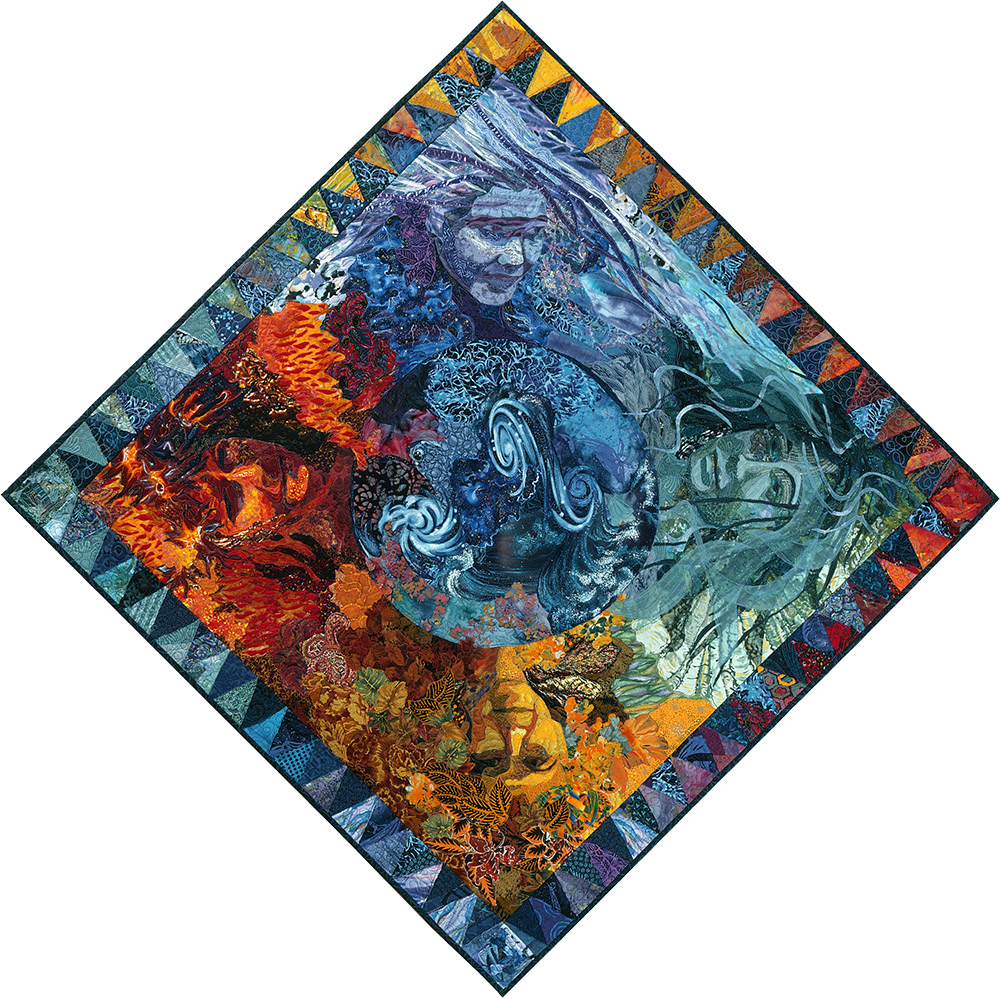
So, I had the quilt top of Elements all finished and ready to assemble for quilting and I laid a large piece of beige tulle overtop the brightly-colored collage to prepare it for shadow quilting. You see, pale colored tulle reflects light back to the viewer. It’s not terribly evident when it’s over similarly light colored fabrics. However, when paired with bright colors, it dulls what’s underneath. Tom (never afraid to question me) happened to walk into my studio at that moment and our conversation went something like this:
Tom: [Bluntly] That’s unfortunate. Why are you doing that?
Me: [Defensively] It’s part of the process.
Tom: [Challengingly] What process?
Me: [Confidently] Shadow quilting. It holds all the edges down.
Tom: [Slyly] But don’t you glue and quilt along the edges anyway?
Me: [Doubtfully] Well, yes…
Tom: [Triumphantly] Then why do you need it?
Turns out I didn’t. And Elements is my first fabric collage quilt that is sans tulle.
What I have since learned (duh!) is that tulle comes in all sorts of colors—not just beige or white—who knew?! I’ve learned that dark colored tulle seems to absorb reflecting light and can even enhance dark fabrics underneath. It could be black, navy blue, maroon, dark plum or eggplant—all can work amazingly well depending on the primary colors in the fabrics used for the collage itself.
What it comes down to is that original question: to tulle or not to tulle?
Sometimes I still do, but most of the time I don’t. I think it goes back to Elements—I worked long and hard to get those colors “just right,” and even if I had known of and tried a darker tulle on it, it may have changed how I saw those colors too much for me. Though tulle is such a very fine netting that it doesn’t obscure the image, it does give a haze or cast of color to it. Could be good, could be not good.
To Tulle
Aesthetically, an additional touch of color might accent the collaged image or further the idea or “story” of a piece. Take my sun face, Simple Sol, below—a golden tulle intensified the yellow fabrics. Had I included many dark values in this face, the tulle would have dulled those dark fabrics and would not have worked as well. As it is, it’s hard to even see the presence of the tulle, it can blend in quite well if the color is right.
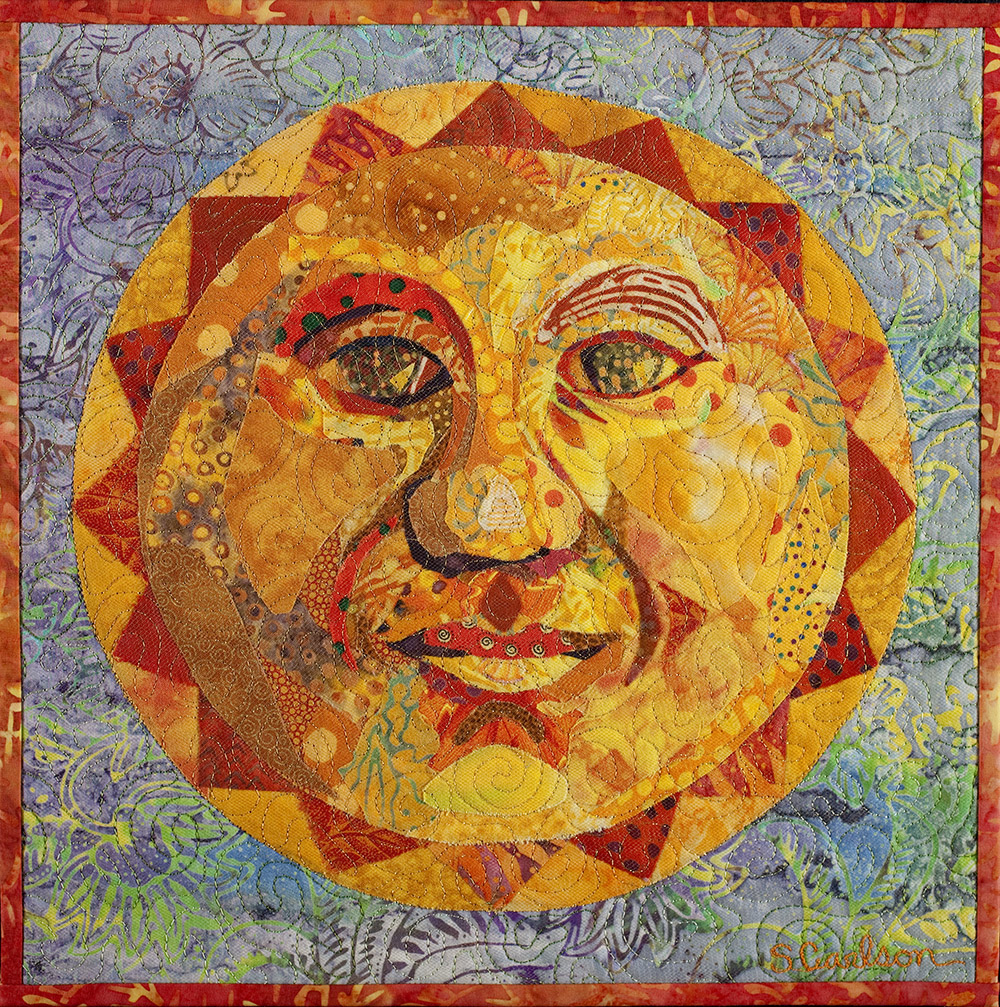
It’s a matter of trial and error and experience. I tell my students to take their completed quilt top into a fabric store that carries tulle and see what color looks good. Tulle is pretty cheap to buy, especially if you catch it on sale. You could even assemble a small collection to choose from at home.

Practically, tulle helps to hold down all the individual pieces of fabric used in the collage. I use glue for my collage process, starting with light smears of glue until I see how the collage is progressing. Fabric edges are loose for awhile so I can manipulate them—trimming down, tucking under, or pulling up. But when it comes time for quilting, those loose edges are a hazard to a machine’s quilting foot.


Continuing with tulle samples on my crazy spiral: upper left—a silver sparkle maroon tulle paired with a purple spotted tulle; upper right—a copper sparkle maroon tulle paired with the bright orange tulle.
I narrowed my favorites to the orange (below left) and the purple spotted tulle (below right). Side by side, you can see how each effects the spiral fabrics differently. And the winner is… the purple polka dots! Even Tom agreed. In the end, I didn’t like the way the orange dulled the darker values. The purple—being between red and blue on the color wheel, didn’t dull the reds and oranges too much and also let the blues come through. Plus, the spots are kinda fuzzy, a definite bonus.


When a layer of tulle is added to the final quilt sandwich—tulle, quilt top, batting, and backing—it secures the smaller fabric shapes beneath, without needing to go back and do more gluing (often a big advantage to my students—the monotony of gluing is not for everyone!) Plus, the quilting design can now be very free and easy, hitting the fabric edges underneath or not, since the layers will be bound together under the tulle no matter what.
Not to Tulle
As I mentioned earlier, I usually don’t add a final layer of tulle anymore, mostly because I don’t usually find any one color that I like over the entire image. I will, however, add it to the mix of various translucent fabrics for adding details (again, see Using Sheer, Netting, and other Semi-Transparent Fabrics).
The final details for my Kissin’ Cousins portrait below, were added that way—with small pieces of sheers, both printed tulle and various netting bits—to add highlights, shading, and general sparkle. Keep in mind that this step is separate from the “to tulle or not to tulle” question.
However, in this photo, I also auditioned an overall layer of the golden ochre tulle on the left and black tulle on the right, leaving an open space in between for comparison.

Now that I see it, I think I’ll leave this quilt without the final layer of tulle on top. Though the golden tulle is nearly invisible where it intersects Sam’s face, it certainly detracts from the dark values on his head. The black tulle on Maia’s side heightens the dark values, but shades the yellow’s of her face. I could keep looking at other colors of tulle, or say it’s done and move on.
No tulle as a top layer means I go back and glue down all the exposed loose edges of all the fabric pieces in the image. If that sounds like it can take some time, it does. But, as I tell my students (and myself with every quilt I do this way), what’s a few hours—or days—in the grand scheme of the life of a quilt? You only have to do it once.
In Conclusion
To tulle or not to tulle, that is the question, and it’s up to you whether you employ it for the purpose of shadow quilting. No matter what, tulle, nettings and other transparent fabrics are extremely useful in fabric collage. Whether you use them over the entire image or only to enhance parts of it, they’re worth having in your fabric arsenal. Have a bunch of different colors on hand. Include some with patterns, flocking or sparkles in them. Oooh… shiny.
And remember, using sheers in any way means you have one more excuse (as if you needed one) to add to your collection of fabrics.
Susan’s Fabric Collage Class Schedule
September 2026: Susan Carlson Fabric Collage in Bar Harbor, Maine 2026
A week-long class on the doorstep of the breathtaking Acadia National Park, Bar Harbor, Maine
September 14, 2026 – September 18, 2026
FOR MORE INFORMATION
April 2027: Strada Toscana—Serendipitous Fabric Collage with Susan Carlson
A week of fabric collage and cultural field trips in the Tuscany Region of Italy
April 18-23, 2027
FOR MORE INFORMATION
September 2027: Woodland Ridge Retreat—Fabric Images
Five days of fabric collage in this cozy retreat in Downsville, WI
September 21-25, 2027
FOR MORE INFORMATION
Susan Carlson Ongoing Open Studio Hours
Weekly Fabric Collage Coaching
1/2 hour time slots, $65 each
On select Tuesdays of the month, I’ll be available to help, encourage, and coach anyone who needs it—between the hours of 1pm-4pm Eastern Time (for instance, this would be between 10am-1pm Pacific Time).
Coaching could be to continue working on an in-progress collage, or to begin a new project—whatever is desired.
Sign-up can be for one day or multiple days—every week, every two weeks, once a month or once only. These sessions will be recorded and emailed to you, just as coaching sessions are, so they can be referred to as needed.
Weekly Fabric Collage Coaching will resume in September!
If you are interested in this sort of coaching but Tuesday is not a day that would work for you, just drop us an email and we can figure something out ([email protected]).
From an Open Studio Hours participant who also recently took a class with me:
I can’t recommend enough this new format. I’ve met with Susan three times since our class (once a week) and each session has been inspiring, motivating, and very helpful in terms of defining my path forward (and also creating some accountability relative to that path…). Before each session, I think about what areas I would like to focus on and send off a photo with my questions. In this way, I get from Susan exactly the support I need, plus a video recording to remember it. Meanwhile, preparing for my session helps me make my project a priority so I see ongoing progress, which is gratifying.
Honestly, this was the format I was hoping for. I told Susan I wanted to write a testimonial about it because I was so happy she was offering it. So, if you’re like me and a periodic check-in keeps you learning, growing, and doing your best work, sign up for coaching. Maybe I’ll see you there (you get to listen in on other sessions during the open studio you attend). —LeahGrace Kayler
Fabric Collage Online Master Class—Updated
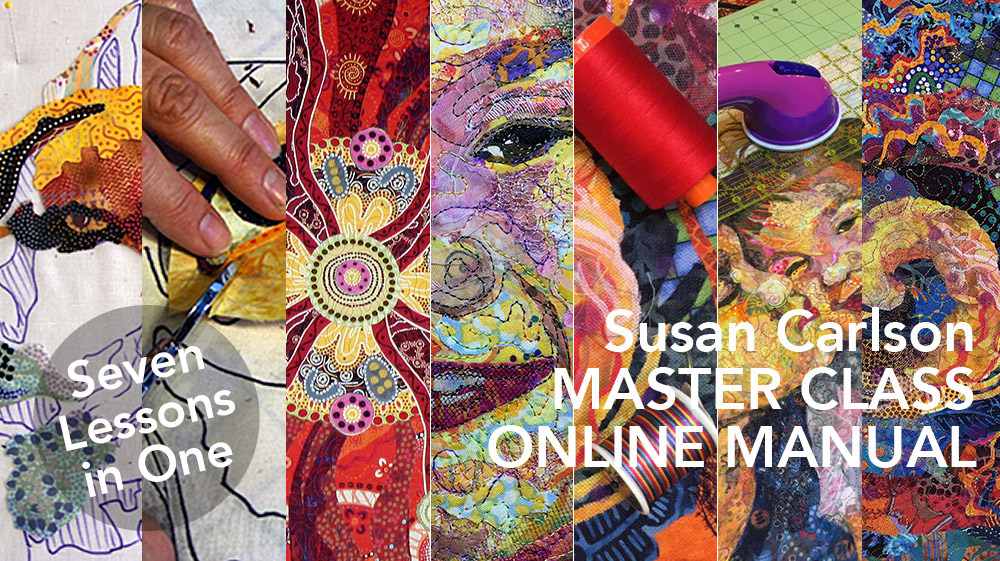
The Susan Carlson Fabric Collage Online Master Class Manual is a multi-media resource guide to the process of fabric collage. Using video, photos, text, and links to my blog posts for further relevant reading and information, I take you from beginning to end in creating your own fabric collage masterpiece, following my guidelines in a step-by-step format. Lifetime Access. Suitable for all levels, including beginners.
Read all about the process of creating the Master Class—explanation of its genesis—the whys and hows Tom and I made some of the decisions we did in this post: Online Master Class Now Available: Some Reflections.
Click here for more information about the Fabric Collage Master Class.
Price: $199
Lifetime Access
Suitable for all levels, including beginners
Further Susan Carlson Learning Resources include: Facial Features eWorkshop, website, Serendipity Quilts, patterns, blog (in general), YouTube videos, Sea Turtle eWorkshop, Fabric Collage Online Master Class, Patreon. , and our February Fantastical Fish and Summertime’s Fascinating Bugs and Butterfly Work-Alongs
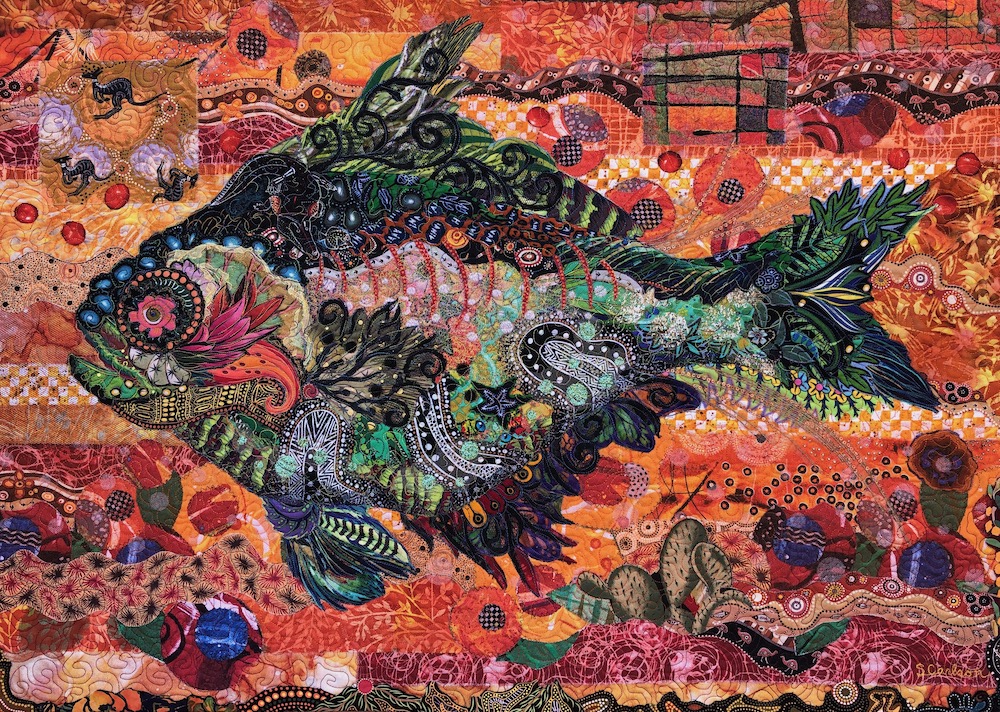
Susan Carlson Fabric Collage: Fantastical Fish eWorkshop I
INCLUDES:
• All four recordings from the four-week class.
• Extended 10-minute edition of piecing time lapse (see below).
• Over six hours of video instruction.
• Annotated videos with “jump points” to help find the information you need.
• Materials list
• Links to helpful blog posts.
• Free fish pattern of your choice.
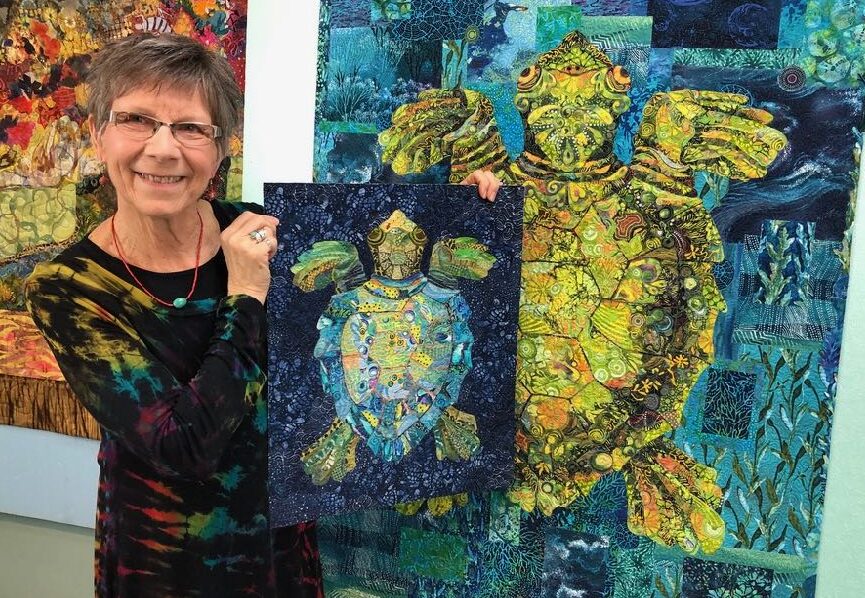
Susan Carlson Fabric Collage: Sea Turtle eWorkshop
Learn fabric collage through a start-to-finish project—from pattern and fabric selection through quilting and binding. Each step is clearly written, illustrated with photos, and further demonstrated with videos. Learn the technique with a Sea Turtle then launch into any fabric collage project you wish. Lifetime access and suitable for all levels, including beginners. Sea Turtle Pattern included
Read all about the Sea Turtle eWorkshop in this blog post: Fabric Collage Sea Turtle eWorkshop Launch.


Facial Features eWorkshop
Designed as a supplement to the Fabric Collage Online Master Class, or for those who have a good understanding of the basics of Fabric Collage. Lifetime Access. Intermediate or advanced levels suggested.
The Facial Features eWorkshop contains 8 videos and over 8 hours of in-depth instruction for creating each feature of a portrait in fabric. The videos are annotated with “Jump Points” allowing you to scan forward and backward to the information you need. Facial features PDF templates are included as reference and basic designs to work along with. Like the Fabric Collage Online Master Class, membership in this eWorkshop is for life.
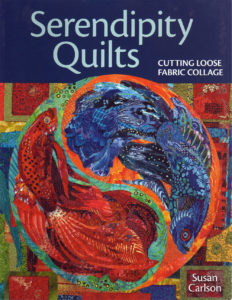
Book: Serendipity Quilts—Cutting Loose Fabric Collage
Full color throughout. Five projects of increasing complexity, four patterns to enlarge are included.
These books will be signed by Susan and can be inscribed to a particular person.
One Comment