
Hang It Up: Making Your Art Quilt Art—Fabric Collage By the Numbers #16
Most quilters are familiar with the most common way of hanging up their quilt. Adding a sleeve (casing) to the top edge of your quilt is a time-proven way to get it on the wall.
But small quilts such as many fabric collages can be hung a number of different ways, my favorites are discused in today’s post. Whether you choose to use a sleeve, stretcher bar, velcro, or framing under glass, your collage deserves to been seen in its best light—because you are a collage artist now.
If I had a Sword of Fabric Collage (though I could use my scissors!) I’d go around bestowing knighthoods on all my students making them Artists in Good Standing—even if it’s just for showing up and working through all the steps of a fabric collage quilt. They, and you, deserve it.
Go forth and collage!
We made it! This is the final installment in our “Summer Special: Fabric Collage By the Numbers,” addressing all the steps of creating a fabric collage quilt. We hope you’ve found these posts enlightening, insiring, and helpful in beginning or continuing your own fabric collage.
Posts from our Summer Special include; #1—choosing your photo (posted on July 7), #2—choosing a subject (posted on July 9), #3—making a pattern (posted on July 14), #4—how to choose fabric (posted on July 16), #5—making a fabric palette (posted on July 21), #6—using glue in fabric collage (posted on July 23), #7—sequence in fabric collage (posted on July 28), #8—sequence in faces (posted July 30), #9—adding sheers in sequence (posted August 4), #10—using your background to tell the story (posted August 6), #11—basics of adding sheer fabrics to your collage (posted August 11), #12—deciding when your fabric collage is finished (posted August 13), #13—using tulle for shadow quilting (posted August 18), #14—free-motion quilting (posted August 20), #15—binding your collage (posted August 25) to today’s #16 post about hanging your fabric collage on the wall.
You may have read some of these posts before, if so this will be a refresher for you. The information may also be reminiscent of information found in our online learning resource the Fabric Collage Master Class. If so, know that you’re not imagining things. Much of this information is gathered, reorganized and expanded upon in the Master Class. For more information about the Fabric Collage Master Class, click the button below.
Hang It Up: Making Your Art Quilt Art
Your quilt is done! Congratulations. Now it’s ready to prepare for display.
This is not a trivial step.
Originally, quilts were utilitarian—they were designed and constructed to be used. They were a craft. Today, the line between craft and art can get pretty blurry. Quilts are being recognized more and more as an art form.
One way to make the distinction clear is by how we refer to the objects we’re creating. There is a whole category for us: Art Quilts. By naming them art we consider them differently. We judge them with different criteria. We have different expectations of them.
Another way to make it clear that your quilt is art is simply by hanging it on a wall. Displaying a quilt, or any other object, elevates it (not just literally). It transforms it from object to art.
How to Hang Your Quilt
Over the years, I’ve used different methods of hanging quilts.
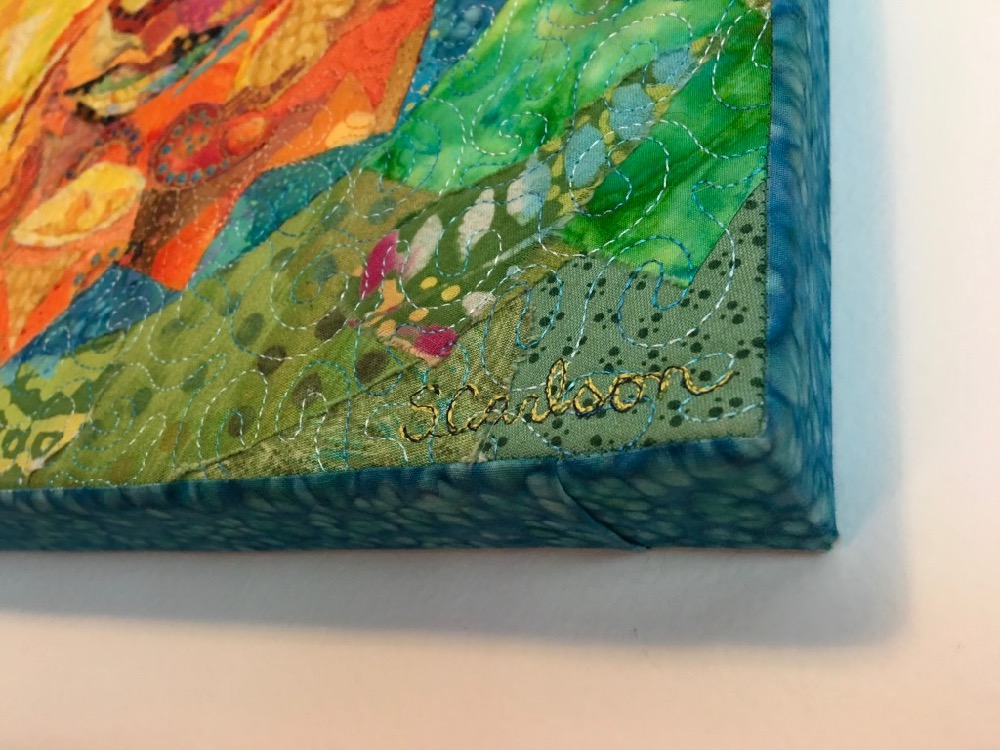
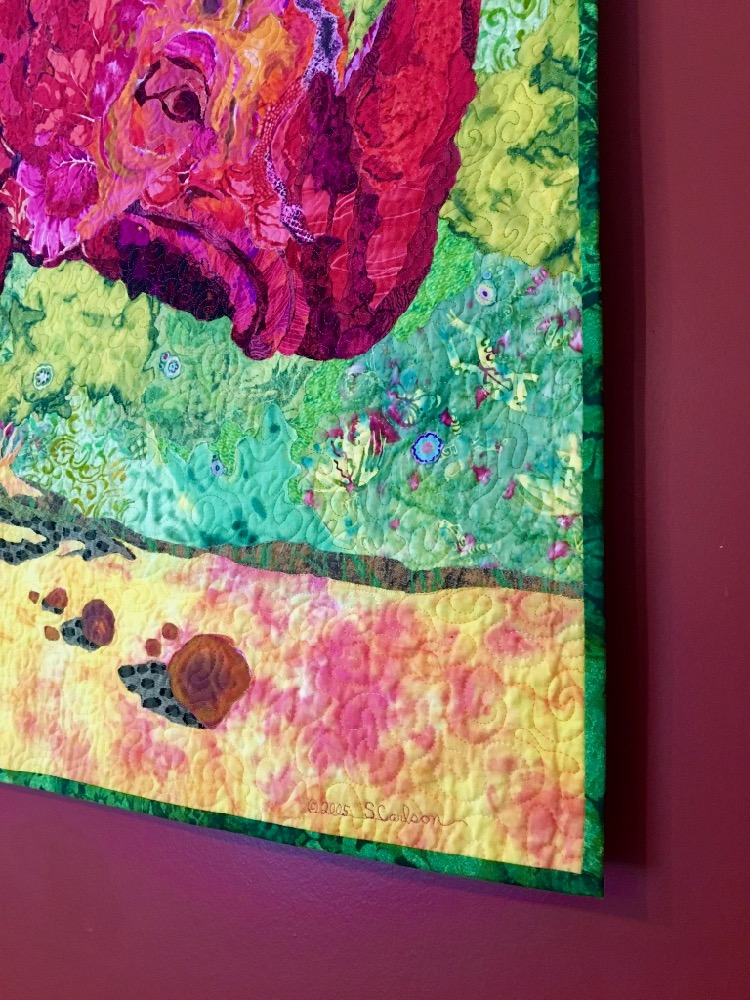
1.) Hanging Sleeve: There’s the common casing, or hanging sleeve, which is essentially attaching a fabric tube to the back of your quilt.
There are plenty of tutorials around the internet that describe how it’s done. In fact, I referred to this written description from IQF by Libby Lehman to refresh my memory when I added sleeves for my Specimens exhibit at the 2016 Houston International Quilt Festival. A quick search just now found a YouTube video from AQS by Bonnie Browning, with quite a few other viewing options in the side bar. Both of these links demonstrate how to create the sleeve with a convex curve of fabric so that the rod or hanging bar doesn’t cause a bulge on the top front of your quilt (below)—something I didn’t know when I started quilt making.
2.) Velcro: Way back when, a friend hung some irregularly-shaped felted pieces by attaching one side of a Velcro strip to the back of her artwork and attaching the matching strip to wooden stretcher bars. With her blessing, I used her idea and hand-stitched Velcro strips to all four back side edges of a quilt and stapled the matching strips to a complete stretcher bar frame that I painted black (below left).


The stretcher frame is about a half inch smaller than the quilt all around, so the effect is that the quilt is floating off the wall, creating a dimensional shadow behind the quilt (above right).

After hanging a couple of relatively large quilts this way, I realized I could simplify the job (and eliminate most of the tedious work of hand-sewing the velcro to the quilt) by attaching velcro only to the top of the quilt and hanging it from a single wooden bar (such as 1 x 3 inch strapping) that, again, I’ve painted black in case it’s seen from the side.
In order to hand-stitch the Velcro you need a strong thimble, strong needle, and thread that won’t fray easily (I usually reach for a polyester—though if it acts up, I’ll pick a different one). You don’t want to machine stitch the Velcro onto the quilt, the stitching would show through to the front of the quilt. I prefer to sew the softer “loop” side of the Velcro to my quilts and staple the “hook” side to the hanging bar. I use a staple gun to attach the Velcro to the top of the hanging bar (below left—bar flips over to match velcro strips).


Quite a few of my quilts have both Velcro and hanging sleeves on the backs (above right). At home, they’re hung with the velcro on wood method—with two screw eyes into the top of the wood, and two nails in the wall. When they travel with me to classes or to quilt shows, they hang from the sleeves on regular quilt racks.
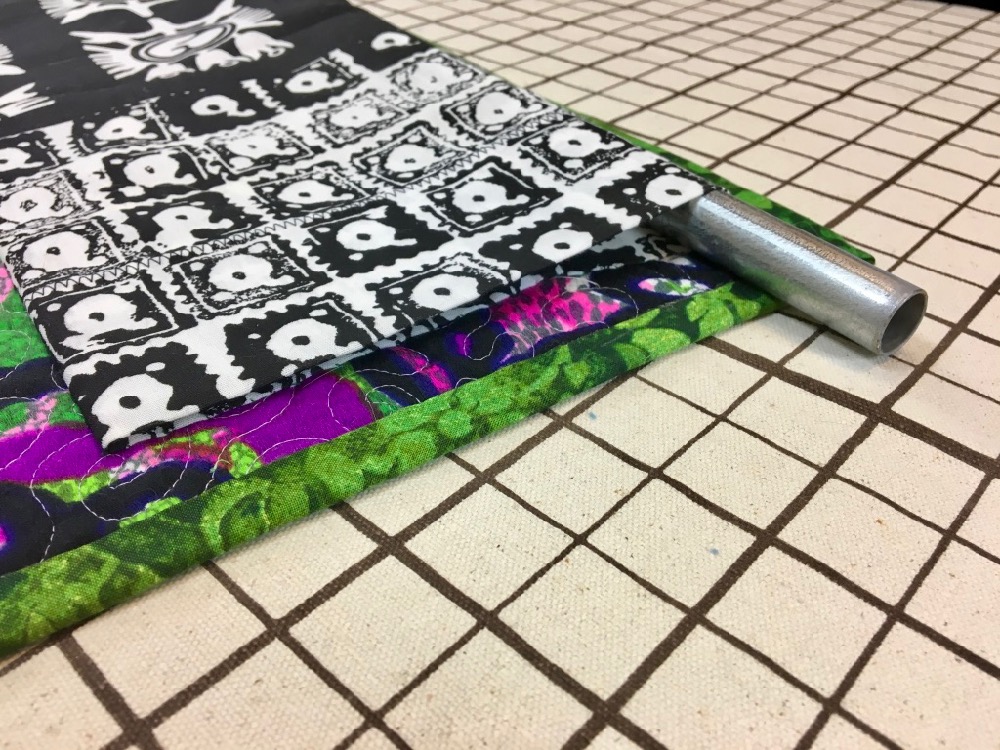
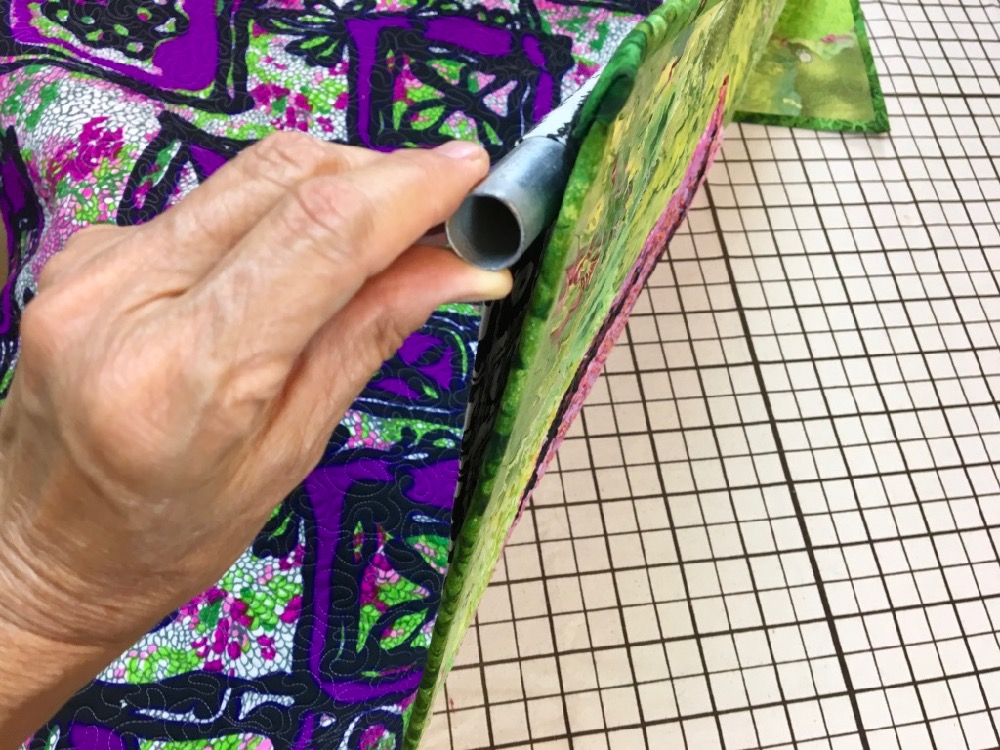
3.) Stretching onto stretcher bars: At the end of my post Quilt Stories: Thread Drawing I talked about how I stretched those early quilts onto stretcher bars, a technique that my mom, Meta, taught me.


It involves sewing a continuous edging to the quilt top (above left) that then fits around a wooden stretcher frame and is stapled to the back (above right)—note screw eyes inside frame to hang on wall from an attached wire. It’s a way to achieve a framed effect without glass that, once again, elevates the quilt away from the wall so as to cast a shadow that I’m so fond of.
As I mentioned in the previous Quilt Stories post, the step-by-step instructions for this technique are covered in my book, Serendipity Quilts, and included as instruction and video as part of my Fabric Collage Online Master Class, but as a special addition to this post, here’s the demo (below) that I give in my classes. This video is an example of the content received by my Patreon supporters. For a $5 per month or more subscription, supporters get a special video every month, plus other freebies. See the link in the sidebar for more information.
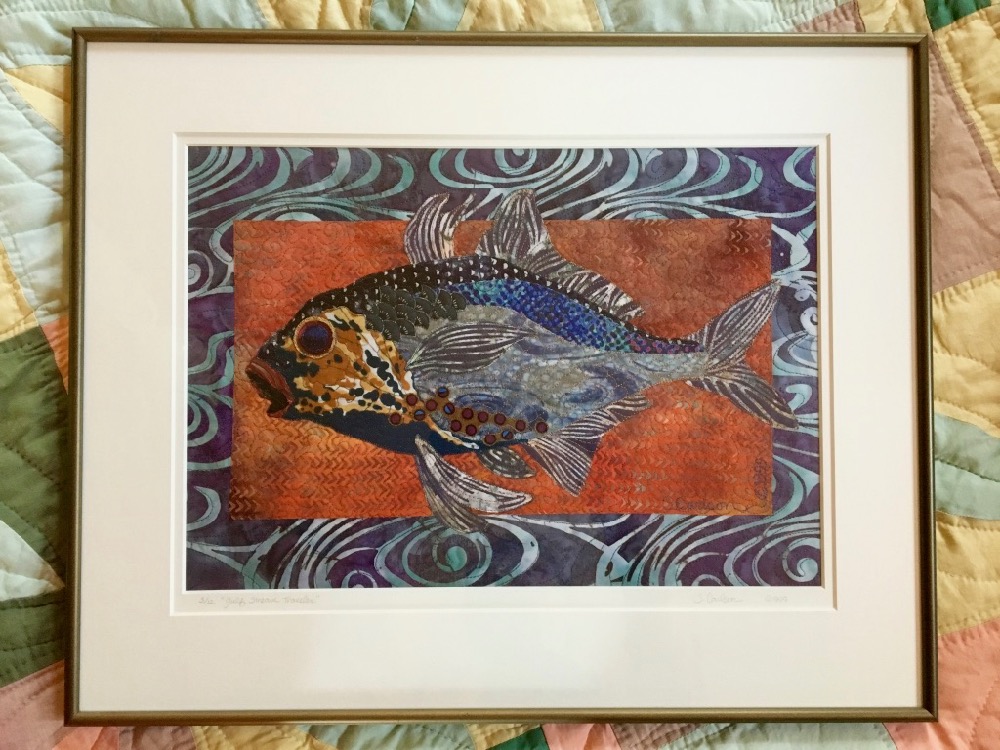
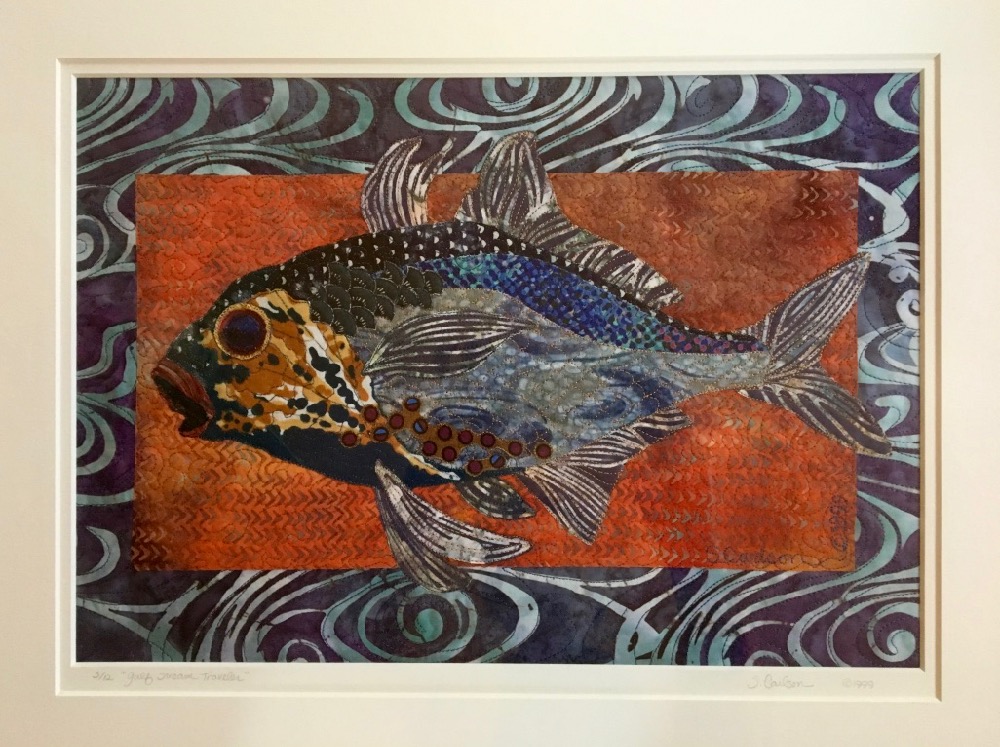
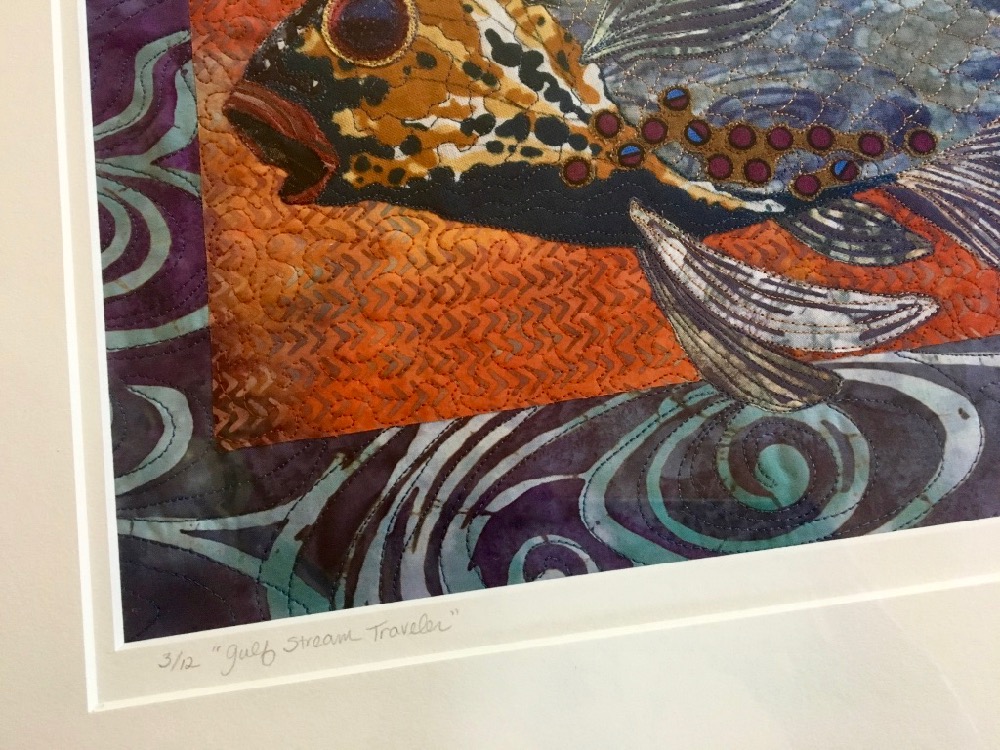
4.) Framing under glass: In another life, I was the manager of a picture frame shop. It was during that time that I started creating fabric collage quilts. After a couple years of collaging (and moving on to manage a fabric store), I started making small fish, butterfly, and bug quilts (3 by 5 inches to 24 by 36 inches) to sell at art shows and galleries. It seemed a natural solution to apply my knowledge of framing to display these (hundreds of) small quilts. Nothing says art like putting a frame around it!
If you do frame under glass, you need a way to keep the glass from pressing onto the quilt in order to create some breathing space. One way is with spacers—plexiglass bars that nestle into the rabbet (no, not rabbit—look it up) of the frame. The frame also needs to have a deeper rabbet to accommodate the added thickness of the spacer bars. A picture framer can help you with this if you’re not a DIY-er.
I usually “float” my finished quilt on the mat board, or in my case onto acid-free buff colored foam board. What I do that a picture framer won’t is glue my quilt to the top of the board. As you know, I’ve used glue from start to finish of the quilt, why stop now? And after more than a couple decades, those early framed quilts are looking just fine.
What a picture framer will do—and you can certainly do as well—is to attach the quilt with needle and thread through the back of the board. And that works just fine too.
Another way to secure the quilt for framing is by matting it. A double mat can be used in lieu of spacers, being thick enough to keep the glass from pressing onto the quilt.
If you plan on matting your quilt this way, you can even avoid edging your quilt altogether, since it will be hidden under the mat board anyway.
Where Will Your Quilt Hang?
As you decide how to hang your quilt, it’s important to consider where your quilt will hang. Be aware that most quilt shows and competitions require a sleeve on the back. Galleries, on the other hand, would likely be better prepared to hang work that is framed or mounted on stretcher bars. And at home, well, who knows.
There are, of course plenty more ideas for hanging quilts out there—ways to transform your quilt to art—these are just a few that I’ve used for my fabric collage quilts. Leave some of your favorite ideas in the comments below.
After all the work you’ve put into your art quilt, it deserves to have viewers ooh and ahh over it, whether it’s hanging in your home, in a show, or in a gallery.
Thank you for a wonderful summer series. Renewed my interest in collage!
You’re welcome, Mary! Thanks for “attending”!
Some quilters cringe when they hear me say this, but this technique has turned out to be a very easy and effective way to hang my art quilts. I staple my quilts to the wall. I use a standard Swingline stapler that opens up flat with standard staples. I staple into the quilt at the point where the binding meets the quilt. The staples are hidden and secure. The quilts can be removed from the wall with a gentle tug and they’re not harmed in any way. The staples leave microscopic holes in the quilt no bigger than a needle makes and very tiny holes in the wall, which all but disappear. Try this method and I think you will be hooked.
Hi Connie, I may have cringed a little but chuckled more when reading your very literal approach to putting a quilt on the wall! You got me thinking about it! My box of staples didn’t say what sort of metal they are made out of. I wonder if staples could rust over time? Even in the normal humidity of a home? Obviously you haven’t encountered that, just wondering. Sound’s intriguing enough to try sometime though! Thanks for sharing.