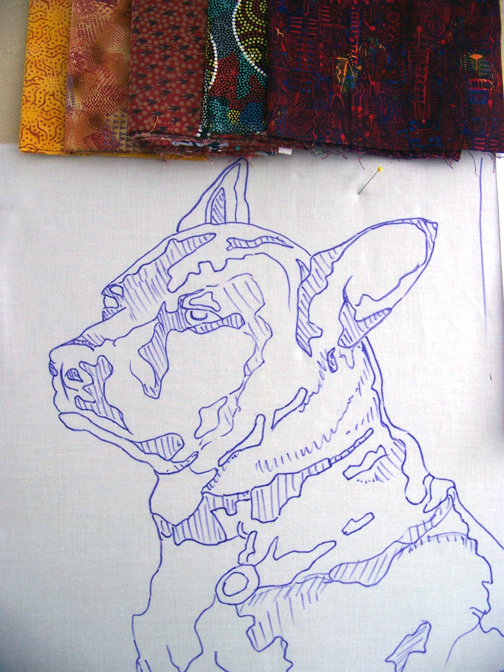
In this Throwback Thursday, I bring back a blog post originally from April 2016 and updated with video in February 2017, I describe how to make a pattern from your chosen subject image. Good news: you don’t need any special tools to make a pattern for your fabric collage project. All you need are few basic items: tracing paper (or vellum), mechanical pencil or sharpened regular pencil (either makes a finer—and erasable—line than something like an ultra-fine Sharpie would), and a light source (anything from a specially-constructed lightbox to a glass tabletop with a light underneath or a nice bright window).
On Saturday morning, in your regular weekly post, I’ll introduce the complete “Fabric Collage Toolkit.” Like any artist, I have my favorite tools and supplies. Some of them were chosen by chance and have just worked out (like using Aleene’s Tacky Glue), while others took some time and experience to settle on. I’ll explain why I use what I use and give you links to pick up the items you may be missing.
Fabric Collage Master Class Manual
Making a pattern is merely one of the first steps in fabric collage. Want to learn the whole process? My Fabric Collage master Class Manual lays out the process in manageable bites. Using video, photos, and text, this online resource covers the same basic six steps I introduce in my five-day classes. For more information, click the button below.

3 Comments