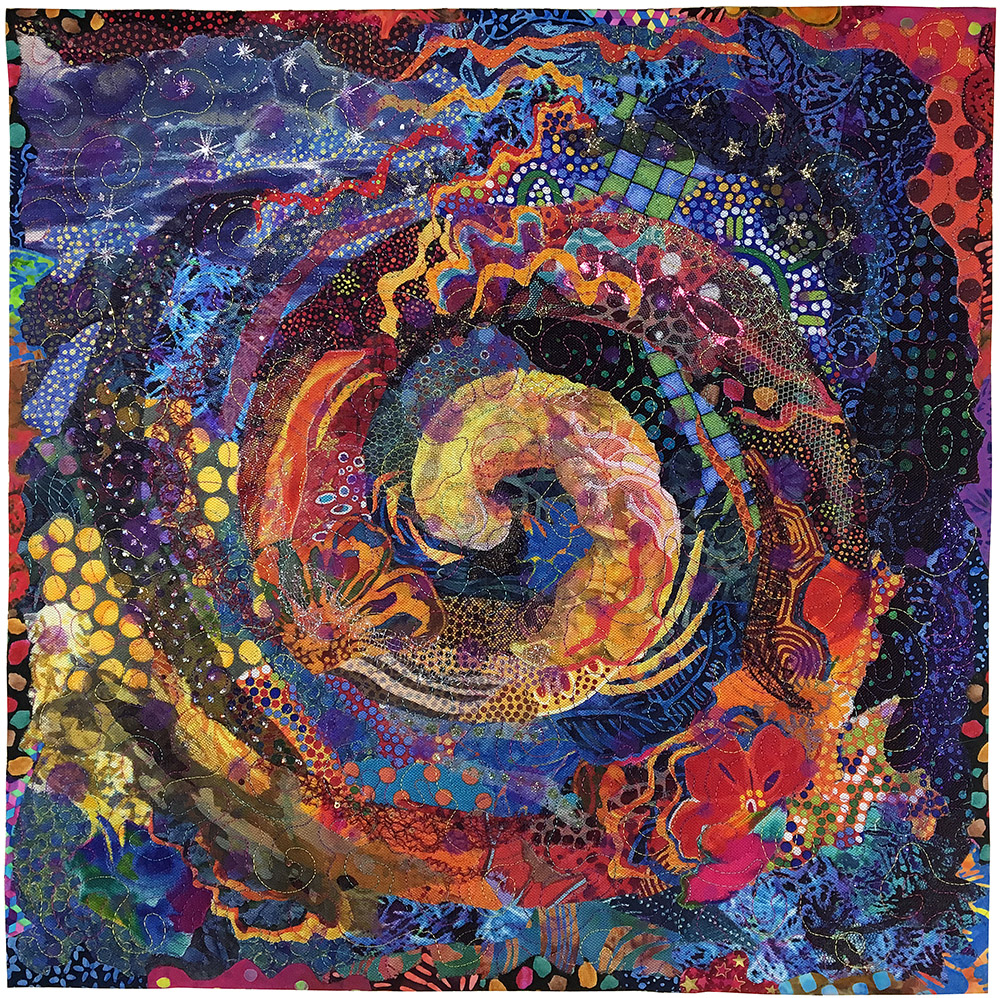
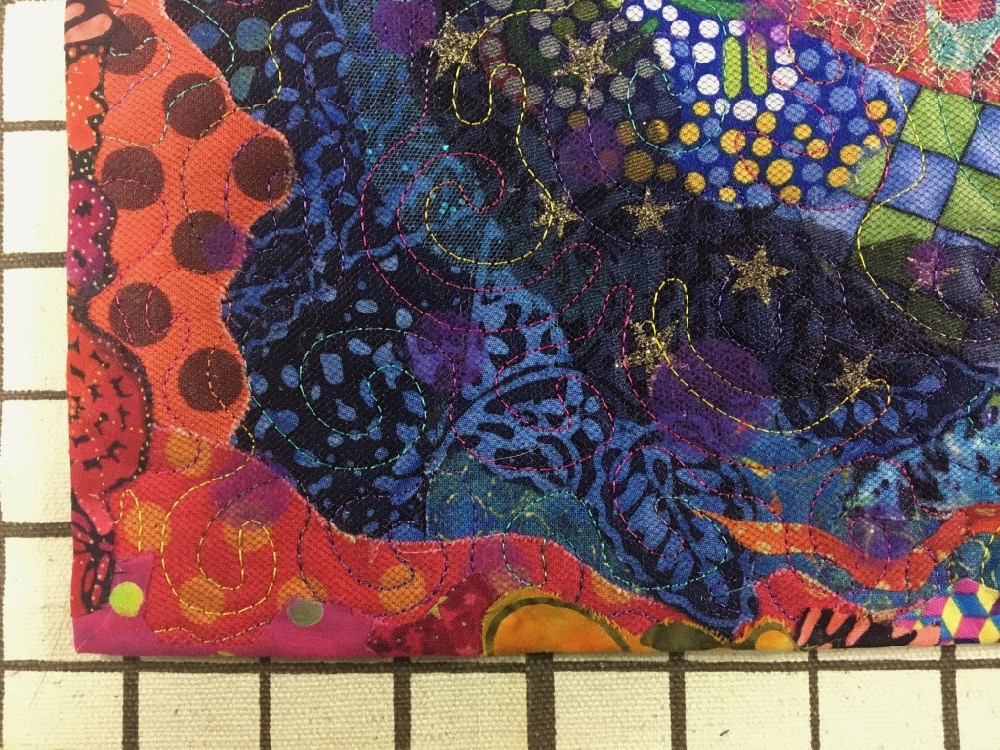
Let’s say you’ve nearly finished your fabric collage quilt. For me, it’s my crazy spiral you’ve seen in recent posts. Pieced image: done. Details: done. To tulle or not to tulle: done. Quilting: done.
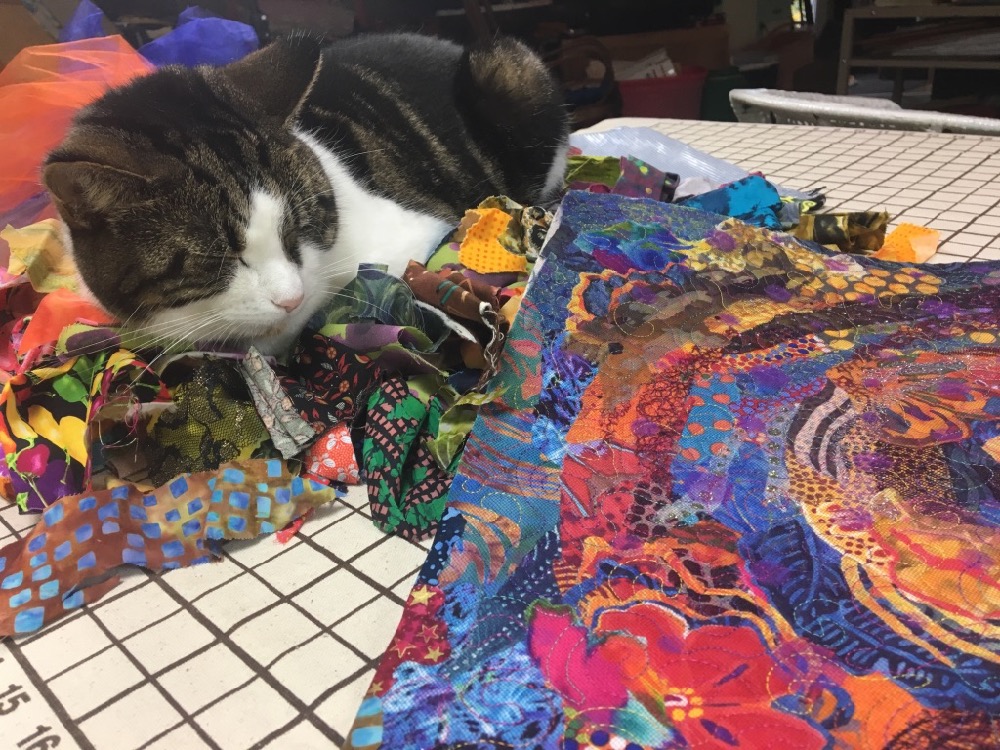
Now what? How do you finish your fabric collage quilt?
Here’s the basic steps of what I’m going to do:
- Press quilt flat
- Trim quilt to size
- Decide how to finish the raw edge
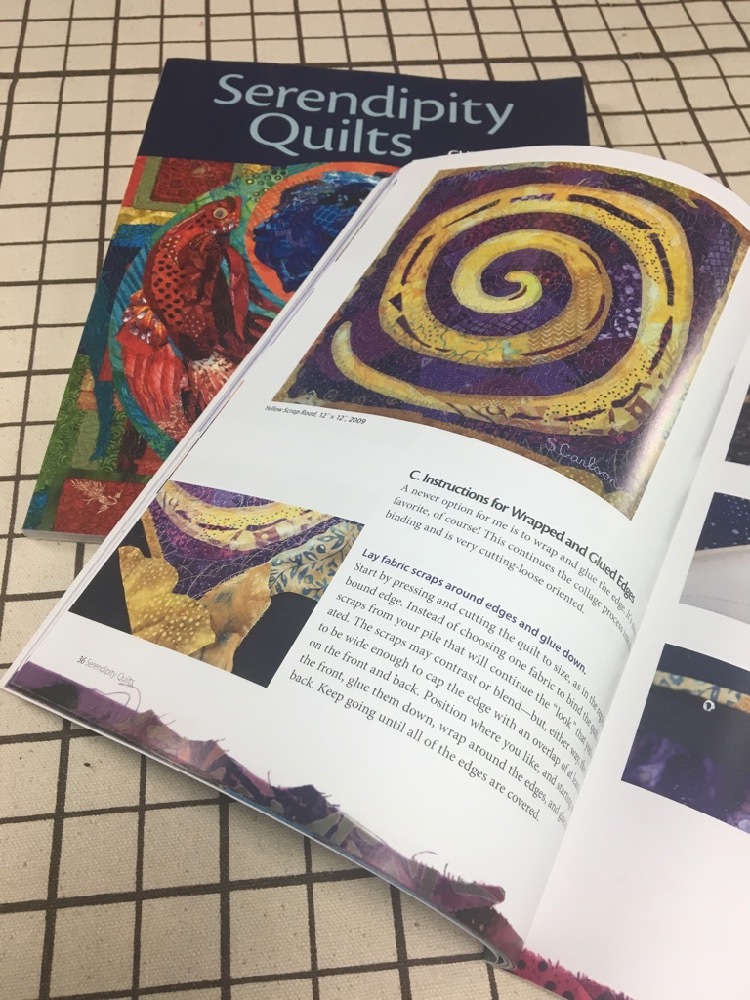
There are many ways to finish the edge of a quilt, several of which I have used. There’s the traditional sew and turn binding, which frames your quilt. There’s a knife edge, or faced, binding which I’ve only used on more recent quilts such as Crocodylus Smylus and Kaloli Moondance. Between my two my books, Free-Style Quilts and Serendipity Quilts, I present four other ways to edge a quilt—all of which are also included in the binding section of my Online Fabric Collage Master Class.
For my little crazy spiral quilt, I’m going to demonstrate a favorite technique for edges, one from Serendipity Quilts: my wrap and glue binding. It’s fun and loose and goes right along with the whole cut and glue theme. It might even be something you haven’t tried before.
Preparing Your Quilt
Where some people may block a quilt flat, I press it flat, using a cool iron or an iron with a pressing cloth. I see it as “relaxing” the fibers.
IMPORTANT: if you have used any lovely sheer or semi-translucent fabrics in your quilt or used a layer of tulle over-all, NO hot iron. Yes, it will melt polyester fabrics, which is what most of those great sheers are made of. Take my word for it.
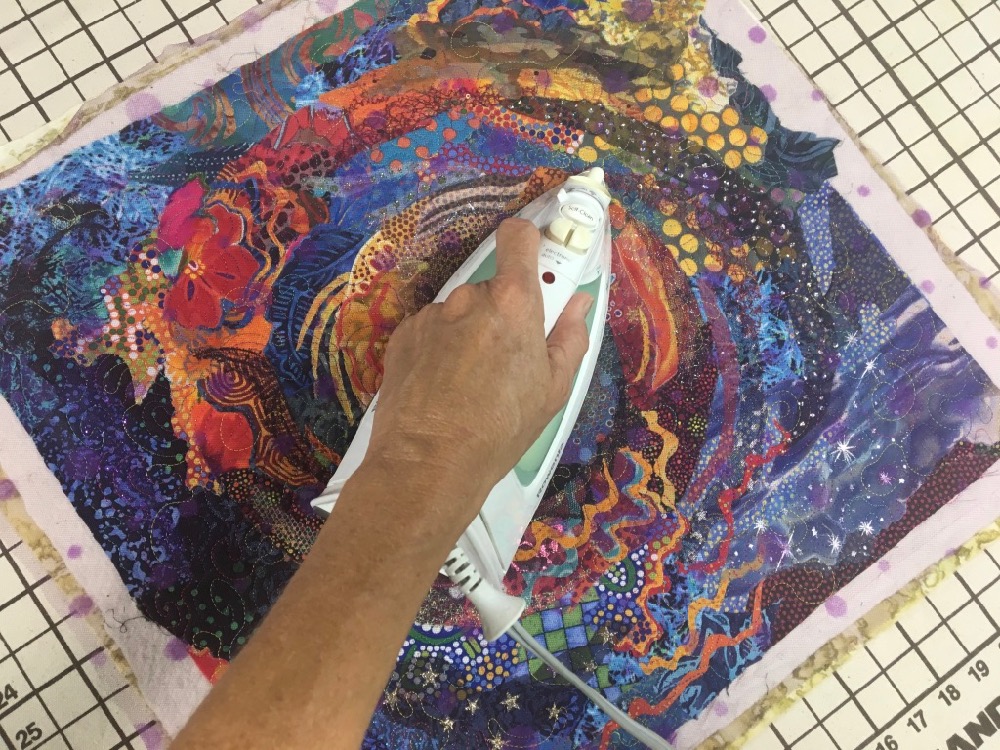
ALSO IMPORTANT: Do not block a fabric collage quilt. The quilt is held together with water-soluble glue, blocking a quilt means dampening it, the glue will disperse, edges WILL lift, and small pieces or details could potentially fall off. Same goes with throwing these babies into the washing machine. No! Don’t do it. These collage quilts are art for the walls, not (functional) art for a bed. The same goes for a good dose of steam pressing. I had a great steam iron once, steamed the heck out of a piece that had all edges glued down, and then wondered why so many edges were loose again as I started quilting. Duh.
So, use a little warmth and massage with an iron to relax the quilt, and it should now be looking nice and flat.
Next, it needs to be squared off. I use a rotary cutter and cutting mat(s). Depending on the size, I place it either on the floor or on a table. I employ as many tools as I need to get a good result. I use straight edges, transparent plastic quilter’s rules, metal rulers, even a metal carpenter’s square. If it is an exceptionally large quilt I may have to use all of these at once—adding a carpenter’s chalk line when squaring up my 22 foot long quilt of Stevie the crocodile. Do whatever you have to do.
To ensure that the trimmed edges are perpendicular and parallel to one another, I start with a large, square quilter’s rule (below left). Once the first corner is cut correctly, I can then measure off those two edges to trim the others (below right).
I check for square by measuring from each side and diagonally from corner to corner. I take my time doing it. Checking and double-checking myself. I may be pretty loose in constructing my quilts, but if a quilt is meant to be square, I’m going to be precise.
Measure twice—or three times—or more—cut once.
Wrap and Glue Binding
The first time I tried a wrap and glue binding it was on the portrait of my then 3-year old son, Sam. I took the quilted—but not yet trimmed to size—image to a fiber arts group I was part of. I described how I planned to trim it square and edge with a fine red (Sam’s favorite color at the time) binding. They gasped and said, “No! He has too much energy to be confined like that! Leave it like it is and just hang it up!” Now, there was batting still sticking out the edges and it was a highly irregular shape overall. I cut it square (see above note about being precise).
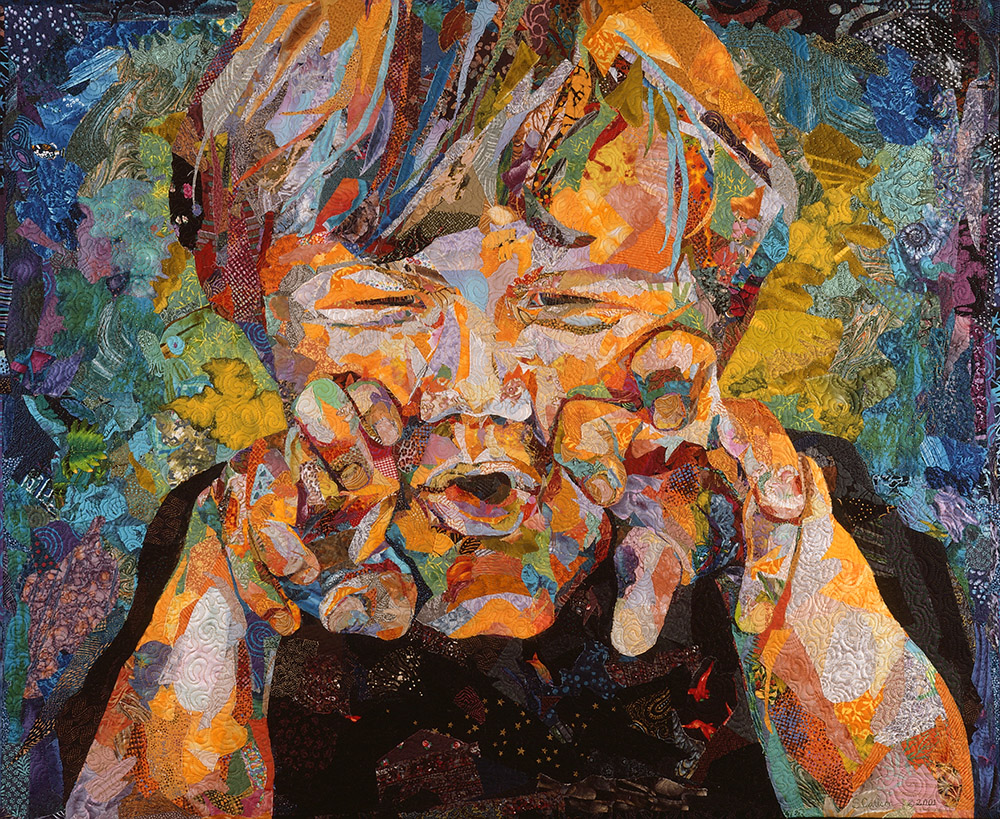
However, I did think about what my friends said about not confining his dino-energy and thought about how I could continue his image around the edge. I selected bits of leftover scrap fabric that I already used in the portrait, blending them into and gluing them onto the top of the quilt. With each little piece, I added more glue as I wrapped it around the edge and secured it—yes, with glue—to the back.
The effect was to continue the image right up to and around the edge, for a “borderless” appearance.
Since that quilt, I’ve used the wrap and glue technique on other quilts. In my big ol’ butterfly quilt Exuberance, for example, the small one- to two-inch squares I had scattered like confetti in the background seemed like they’d be a good choice for a glued edge as well. So I started doing that, but after a couple feet of gluing those small squares, the amount of time it took had me thinking twice about it.
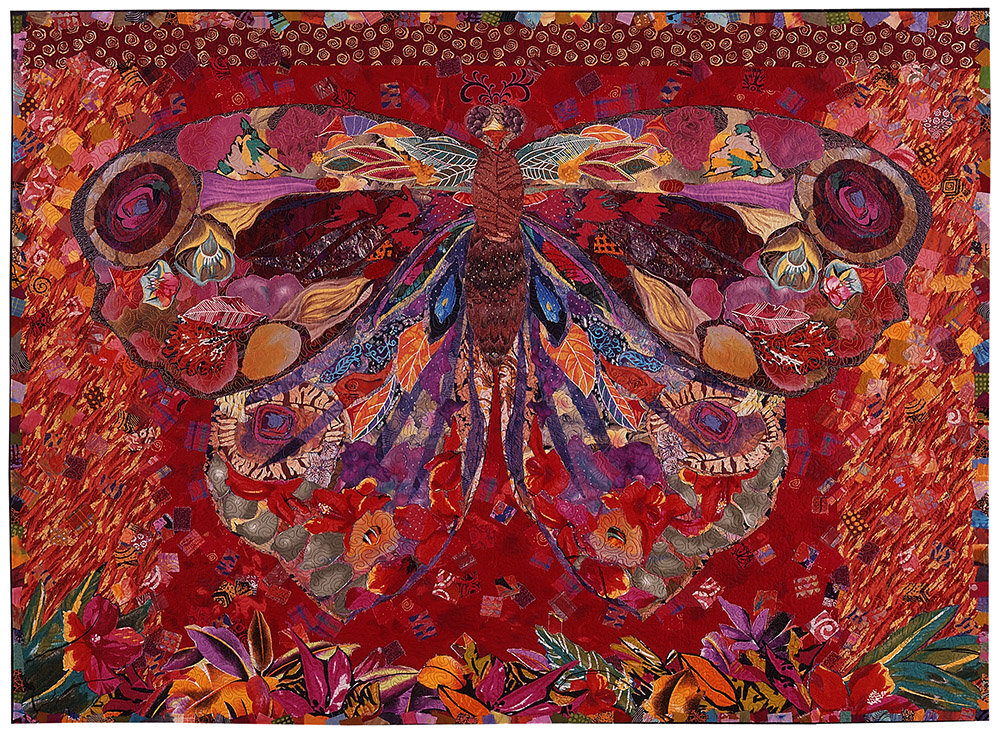
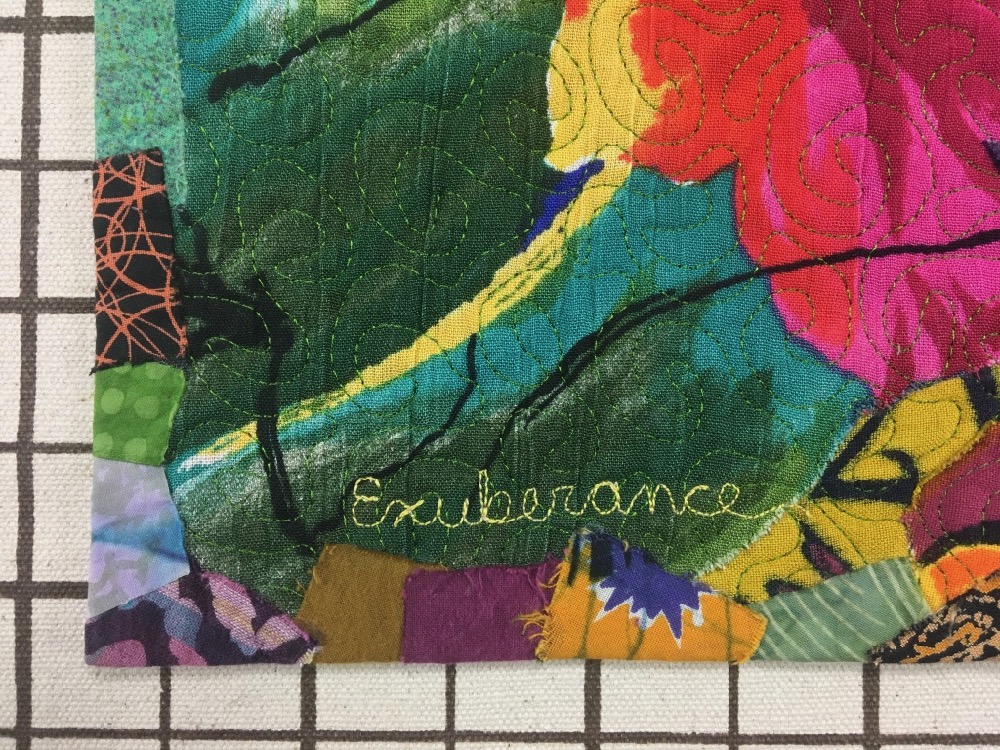
When I bring this finishing technique up in classes, my students light up, hearing that they can just keep gluing all the way to the end. But I do point out that this is not necessarily a quicker way of finishing an edge. It will depend on the size of your quilt and the size of the pieces of fabric you’re wrapping with.
On Exuberance, there was lots of surface area on all those individual squares, with a slow progression of linear feet covered. But when I saw how it was coming together, I decided I liked it, and bit the bullet. So it took a day or so to cover that perimeter. It was done, and it was appropriate.
But I’m particularly happy with how the binding of my mandala quilt, Toad and Dragonfly worked out.
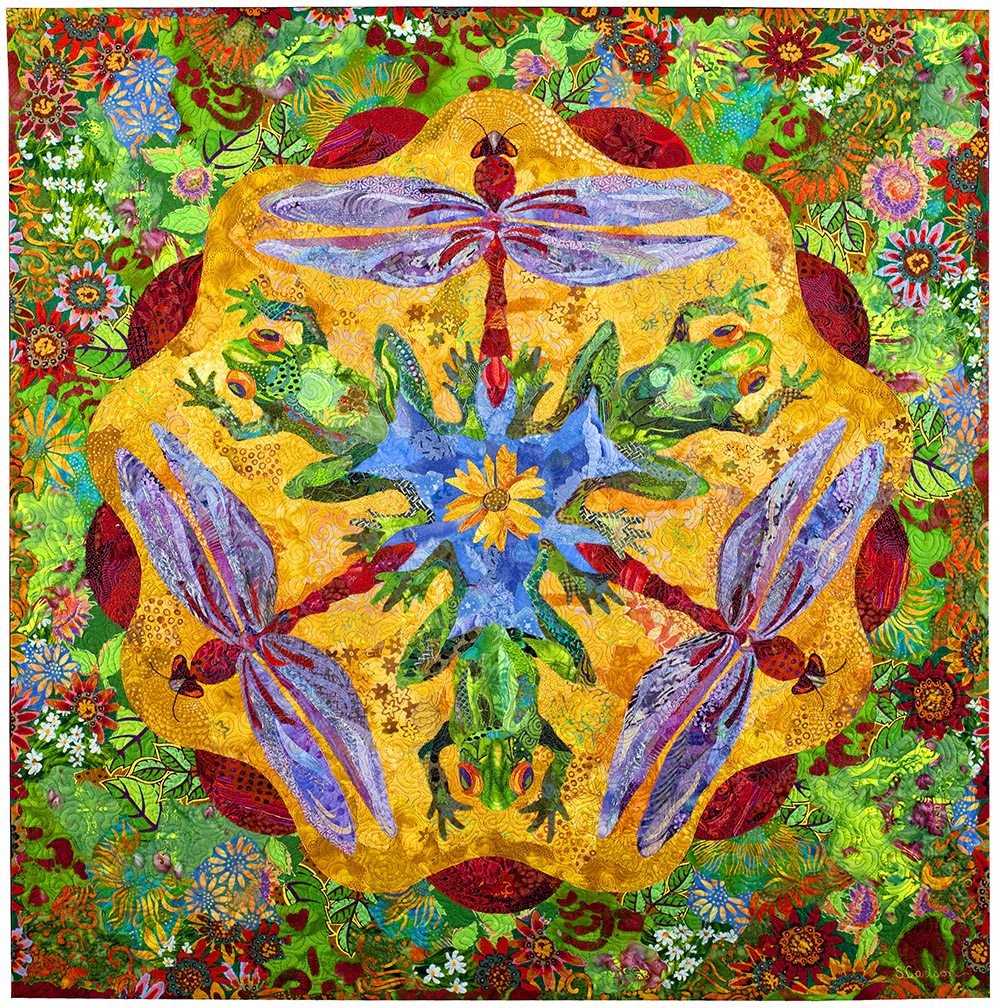
The garden flowers of the background were cut from many different fabrics and collaged in place. The greener parts of those fabrics were placed next to the mandala itself for contrast, with more and more of the multi-colored flowers worked toward the edges—creating a vignette.

Once it was quilted and trimmed, I thought about how to finish the cut edges. Continuing cutting out flowers to wrap around the edges of the quilt seemed like a natural. It was just what I wanted for my garden pond mandala.
So if this finishing technique interests you, here’s a video showing how it’s done.
Maybe a wrapped and glued binding will further the idea or story of your quilt, or maybe it’s just something you want to try. Either way, gather scraps and bits of fabric that blend or maybe contrast with the quilt. Lay them along the cut edge to see what looks good. Grab the glue bottle, smear some glue onto the back of a fabric piece, press it onto the top of the quilt, wrap it around the edge, secure to the back. Repeat until done.
FAQ’s
Q: Do you neaten up the edges of all the individual fabric pieces on the back of the quilt?
A: No. I may trim off stray ends but I usually glue them down as they are. I like the unexpected randomness for anyone who cares to look at the back.
Q: Can you use this binding if you have tulle as a top layer as with shadow quilting? Will the glue adhere through the layer of tulle?
A: Yes, but you definitely want to get a nice smeared coating of glue onto the bit of fabric that’s going to wrap around—though not so much that it squishes out when you apply pressure to adhere it to the quilt top. The glue will sink through the tulle and attach quite nicely to the fabric beneath.
Q: Do you then add more quilting to the top of the quilt, over the now glued edge?
A: No, it remains a purely glued edge, attached on top of the quilt. When I first tried this technique with Samuelsaurus Rex in 2001, I was wondering about how this sort of binding would last through the years. As it happened, I was finishing a series of three beetle quilts at that same time, wrapping and gluing those edges as well. So for a test, I ran a topstitch around the beetles, leaving Sam’s as a glued edge only. Time—now 16 years of it—has proven that either way is fine—though I like the look without the topstitching better.
The beetles left to right: Fire Beetle, Life in the Leaves, Rolling Up the World; 2001, each 33 x 49 inches.


I am so waiting for you to come to Canada!
Love your work!
Good morning Susan….thank you for this tutorial. You are such a great teacher. I want to say I enjoyed seeing the Toad and Dragonfly quilt again. Your use of the green fabrics around the main part of the mandala reminded me of the need to allow some breathing room before continuing on to the edge of the quilt. LOVE LOVE YOUR WORK.
PLEASE schedule a class in the Baltimore/Washington/Lancaster area. I know it is not YET on your schedule, but please CONSIDER this.
Good Morning! Susan, I love your tutorial! I just purchased this weeks Dick Blick special 5 11×14 canvas boards for $9.99. This would be great to use as my trail run.
Wow! Thank you so much for this tutorial. I’ve always felt as though binding takes away from the overall effect of an art quilt. I cannot wait to try this!
Thank you, Susan! What a fantastic tutorial and video! What you explain in writing becomes so clear once I get to see you do it. I hope you’ll come down to Baltimore to teach a class.
LOVE your quilts! How do the judges view the wrapped binding? Are they all right with it being irregular on the back? Also, have you considered teaching at Paducah??
I have the same concern regarding judges. I might have to use an Art Quilt category at the next fair and see what their reaction is.
A possible choice would be to cut a straight edge on one side of the fabric scrap piece to be on the back side , glue it down first, then wrap around the irregular edge of the fabric to the front & secure with glue. Hope that makes sense.
This might satisfy the local judges. Will definitely give this a try and see what happens at next year’s fair.
I had no idea how you did the binding until I read and watched your video. I know can’t wait to try this when I do it on my landscaped art piece I’m working on for awhile. Thank you for your blog and videos.
Thank you so much for sharing your techniques, am loving your chatty posts, stunning photographs and simple instructive videos. I WILL do an art piece using this technique very soon……
Your work is so inspiring. Don’t think I could ever do it but love yours.
I’ve been a quilter for nearly 40 years, but your collage quilts are a brand new discovery for me! I am really hoping
to be able to make it to one of your classes!
This gluing technique works on art quilts that are too thick to bind or face with stitching. Since attending your class at Asilomar earlier this year…glue has been my most favorite tool to use.
Thanks again for sharing your technique with others!
Having become a patron just recently, I am catching up on your weekly blog posts from the past and realize I have to slow down my enthusiasm just a tic! So much inspiration, so much to learn, and so many ideas swirling in my brain have given me a whole new horizon of possibilities! Thank you so much for sharing your talent and teaching us how to solve “problems” creatively. Your wrap and glue binding is ingenious, and I can’t wait to try it on a piece I have had laying around for over a year because I got “stuck” right at the end. Thank you!!!
I wish I had seen this video years ago! Love the look and will have to try it on my next art quilt. Thank you!
I am currently working on the Toad and Dragonfly quilt pattern from your book and I now plan to try this type of binding but I wonder, how do you then hang it? Do you sew a sleeve on the back or ?
Thanks!
The binding doesn’t affect what kind of method you use for hanging. Check out Susan’s blog post (which is next week’s Throwback Thursday: “Hang It Up: Making Your Art Quilt Art.”
Same question as Lizzie – how do you hang it. All quilt shows require a 4″ hanging sleeve. How do we attach it?
The binding doesn’t affect what kind of method you use for hanging. Check out Susan’s blog post (which is next week’s Throwback Thursday): “Hang It Up: Making Your Art Quilt Art.”
I don’t even know how I ended up on this website but I have been staring at all the photos of your quilts for over an hour! This is all new to me, but I want to know more! Where do I start? I’m 74, I don’t have much time left!
Nancy, Welcome to you. I have 30 years of fabric collage experience. Hopefully you can benefit from it. The easiest way to find out more about the process is to use the search feature you’ll find on the right hand side of the page of the website (if you’re on a computer) or at the end of the article you’re reading. There you’ll find a feature that allows you to search the blog by category. You might start with “How To” which will show you a collection of posts explaining the techniques I use and teach. I also have various means of learning fabric collage that you can purchase: a book, eWorkshops, videos and so forth if you find you need more organized instruction. I hope you find what you’re looking for. It’s not too late!