
I grew up crafty. When I moved to Maine I was cunning (as in, “ain’t you cunnin’.” Insert forced smile here.) Now I call myself an artist, but also I’m a maker. I make things—art quilts mostly—but I sometimes deviate and dabble in other media. And when the holiday season hits, hard-wired memories from my teen years helping with our family’s seasonal “Craft Cellar” return, and out comes the glue gun and Mod Podge.
A few years ago I was taking a defunct white wire pre-lit Christmas tree to the trash can. A Muse whispered in my ear and an idea formed. I took the tree back to my studio, tore strips from fabric scraps and started wrapping. Transforming that tree became a winter project while I was sitting watching TV or movies. It’s now my year-round studio tree, strung with lights it’s the first thing I turn on when I start my day and the last thing I turn off when I end it. Well, along with the plastic light-up goose. Occasionally I put some ornaments on it—the tree that is—but I love it just as it is.


Below are some before and after photos—the pink pipe cleaners in the left photo are to hold the rings of branches together (there was more than one reason why it was trash-destined). The photo on the right shows it being graced by a few of the funky animal ornaments made by my friend, children’s book author and illustrator Carey Armstrong Ellis. She makes limited edition ornaments every year and I believe I have (nearly) a full set.


Since I made the tree years before a blog was even on my radar, there are no in-progress photos. Still, I would like to share this wrapping project with you—a gift for the other arty-crafty-cunnin’-makers out there.
For the following projects, wrapped hanging spheres or garlands, I took a defunct string of lights as a base to wrap around. So when that string of lights goes out in the middle of your decorated tree, don’t despair, you’ll have the start of a new project! Just add fabric scraps and glue.
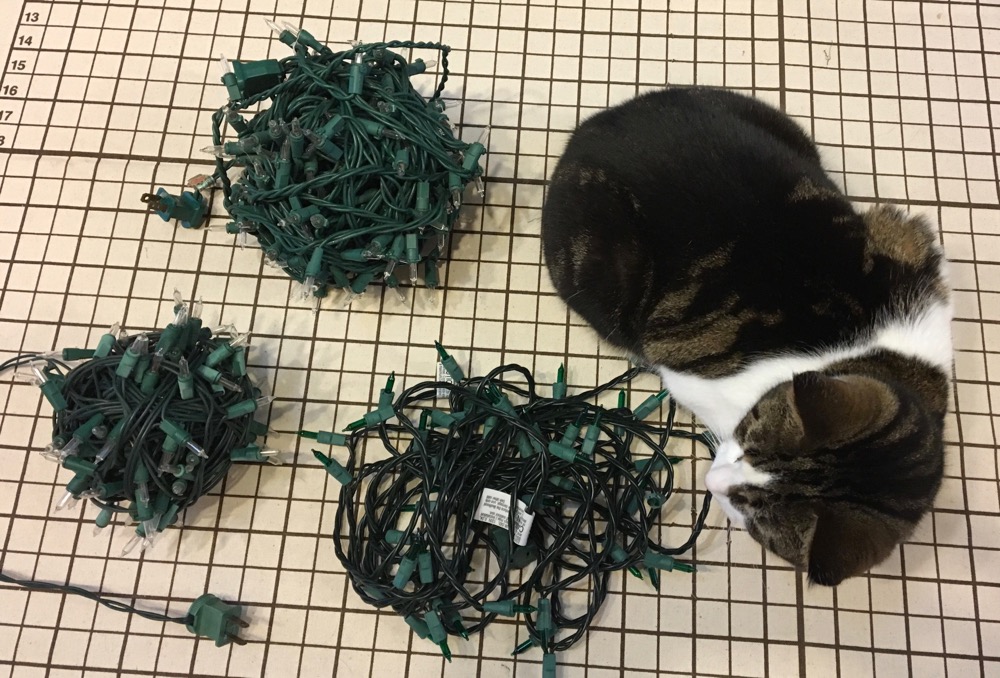

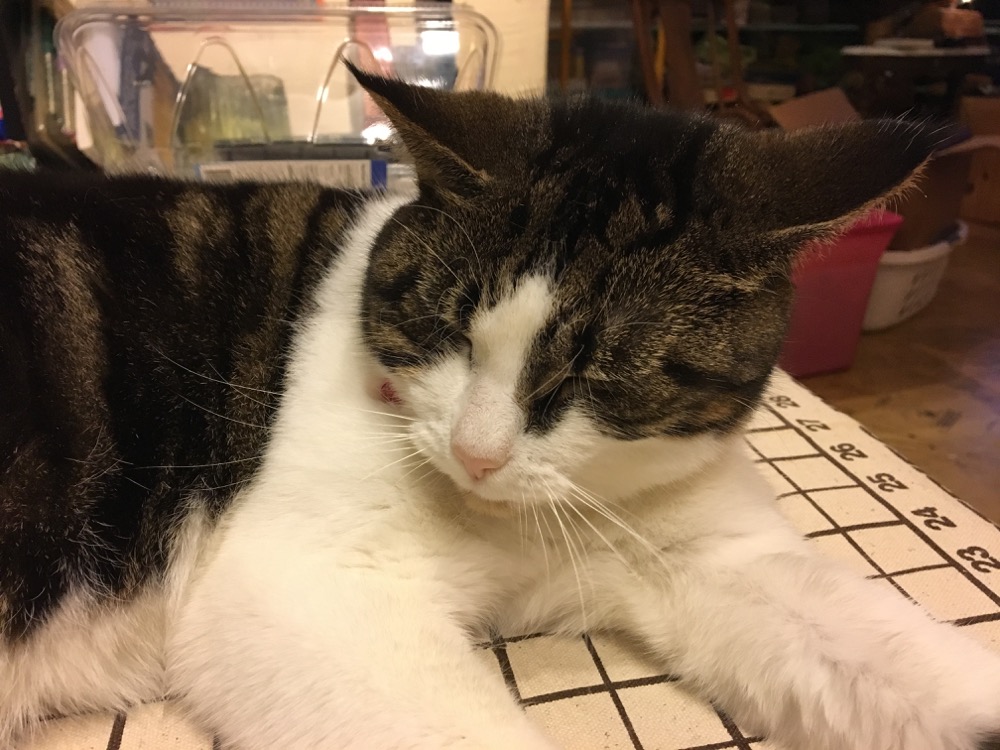
For this demo post, I had a few hours, and a helper: Djinni cat.
Above left shows the string of lights, along with a couple balls I rolled up as a base. Below is the result of the fabric-wrapped balls—kinda funky but they were fun and serendipitous—pretty mindless to work on when I was listening to the radio.


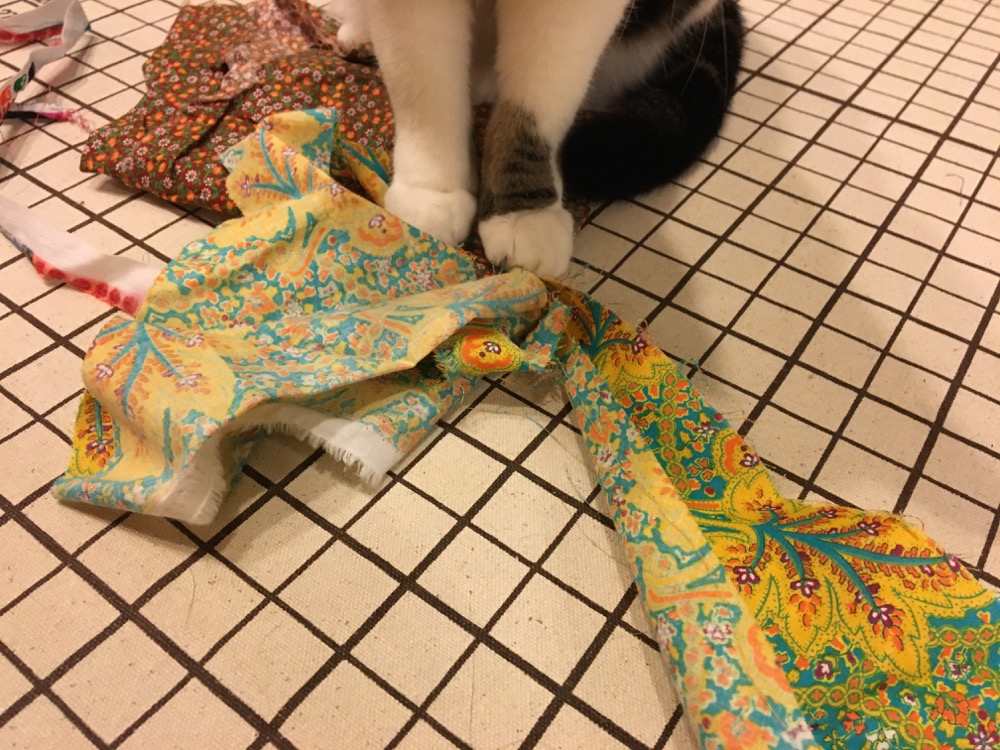
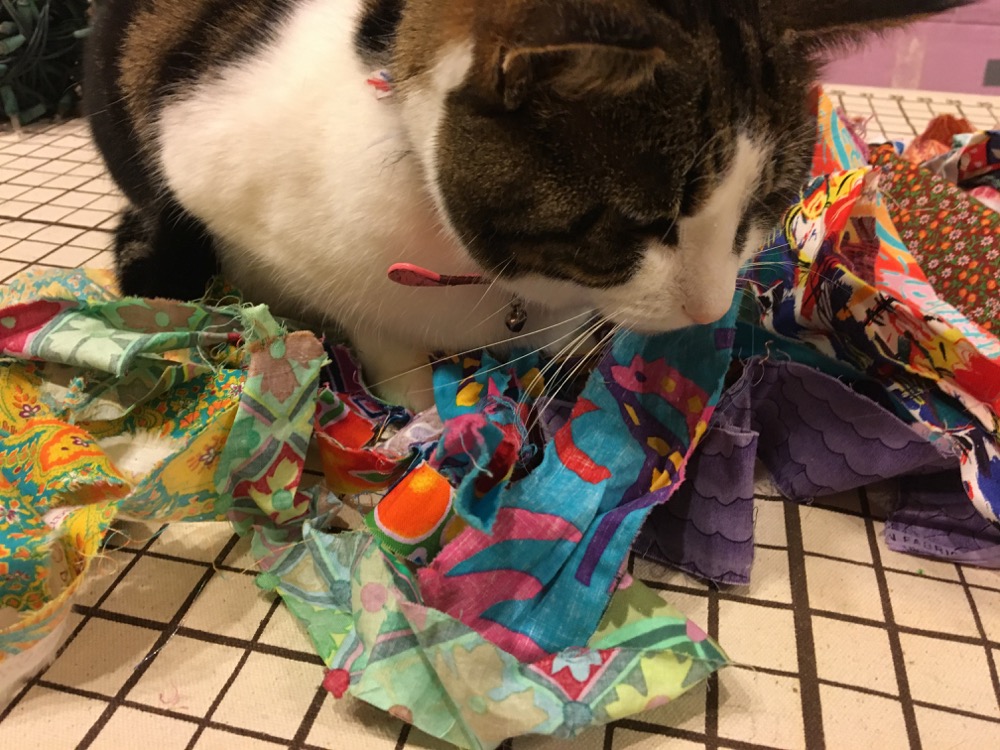
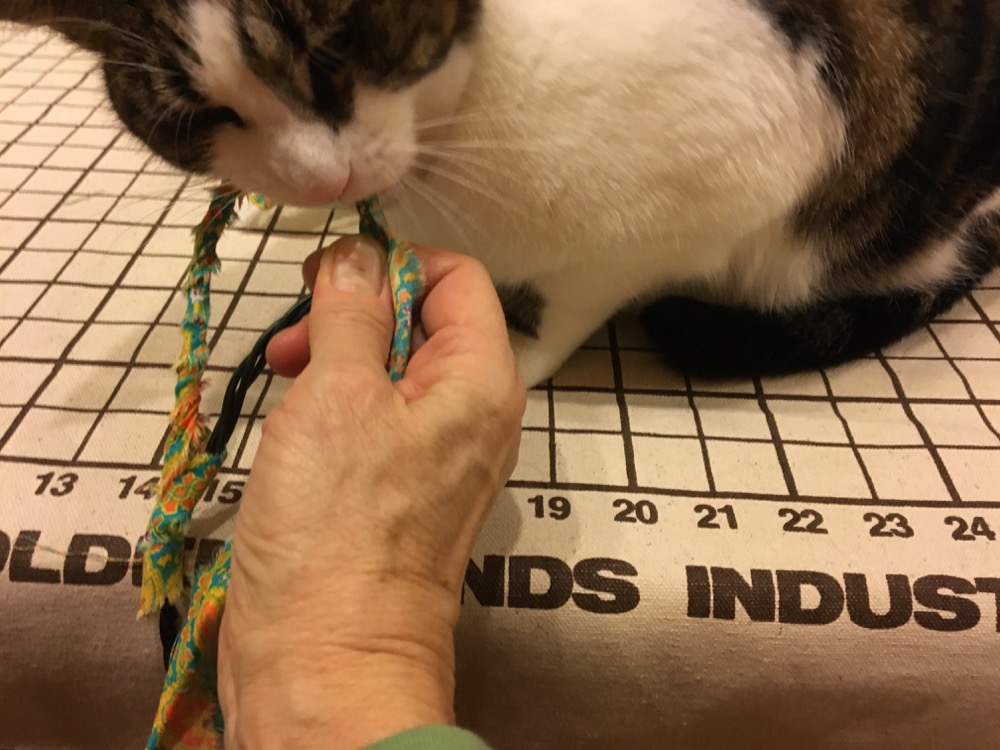
But back to the demo—once you have your wired lights and decided to create a garland or hanging balls, next comes fabric selection—in my case it’s also known as “playtime with cat”.
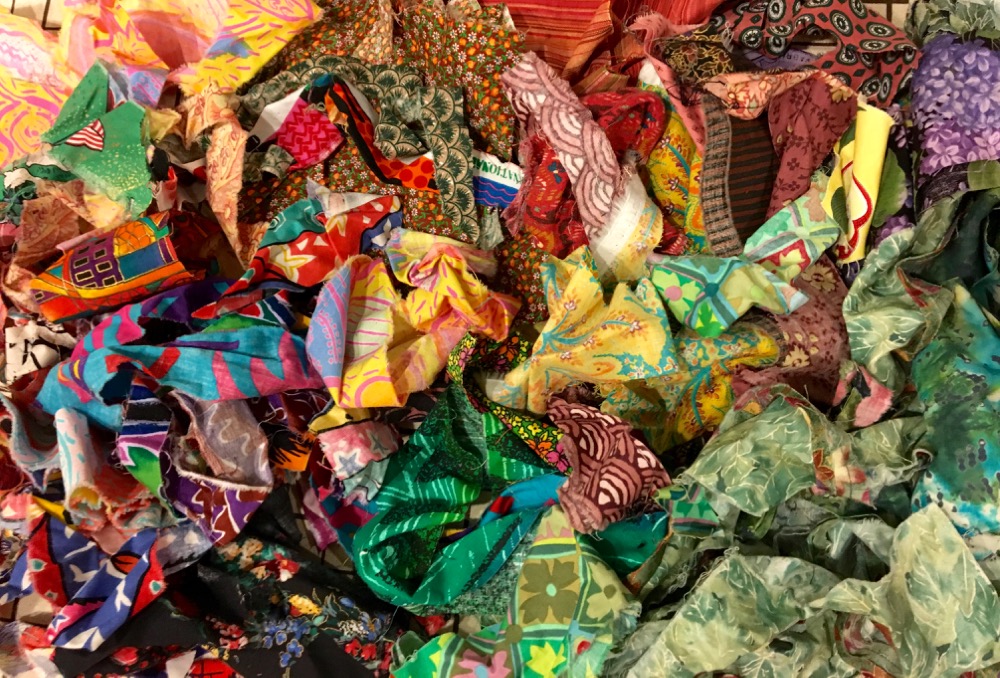
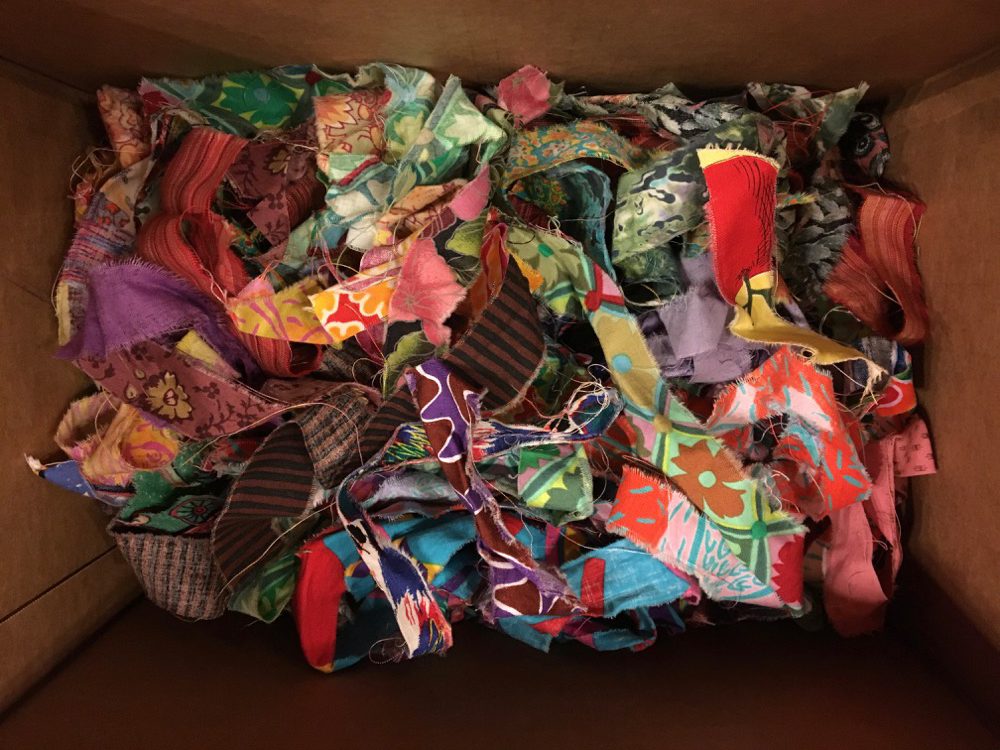
I dug into a bin or two of fabric scraps (as did Djinni Cat) looking for longer strips of fabrics, usually ones I’d be less likely to include in one of my quilts, though with some ol’ favorites thrown in. The strip you see below, top left, is a strip of fabric that I have no idea where it came from. I love those little surprises. No doubt it was gifted from someone, and now will find a use.
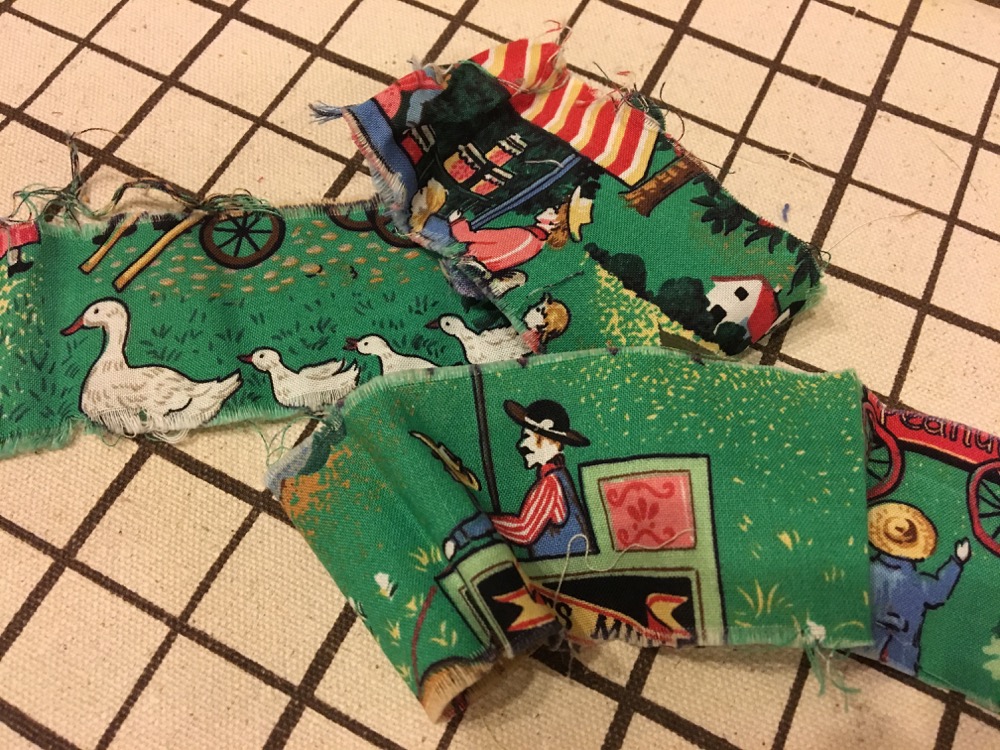
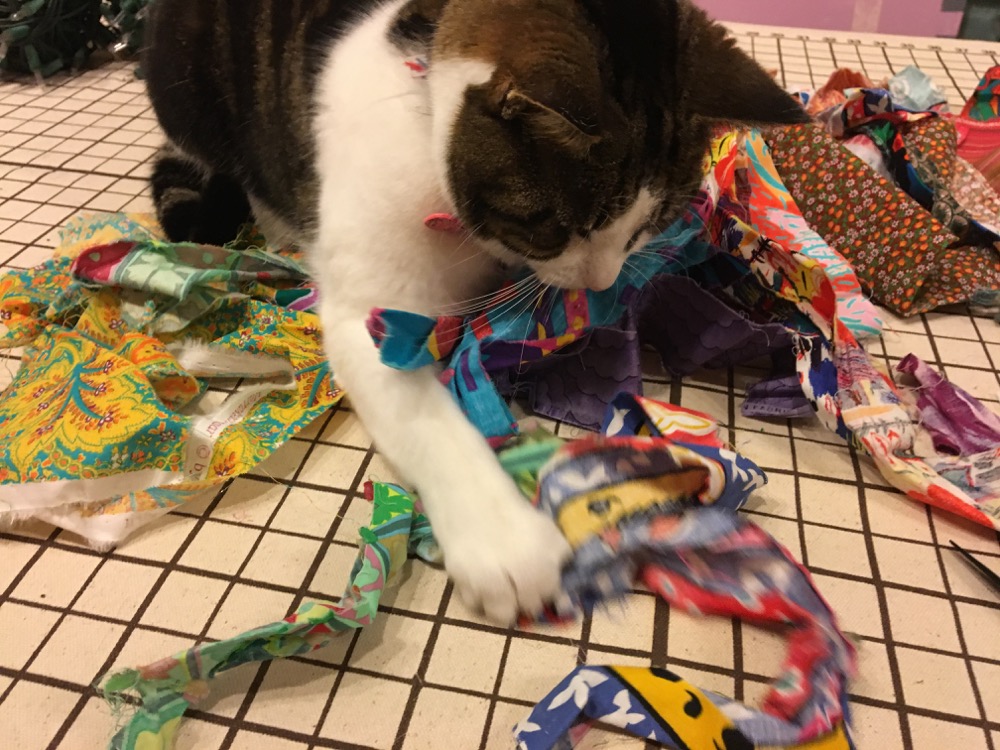
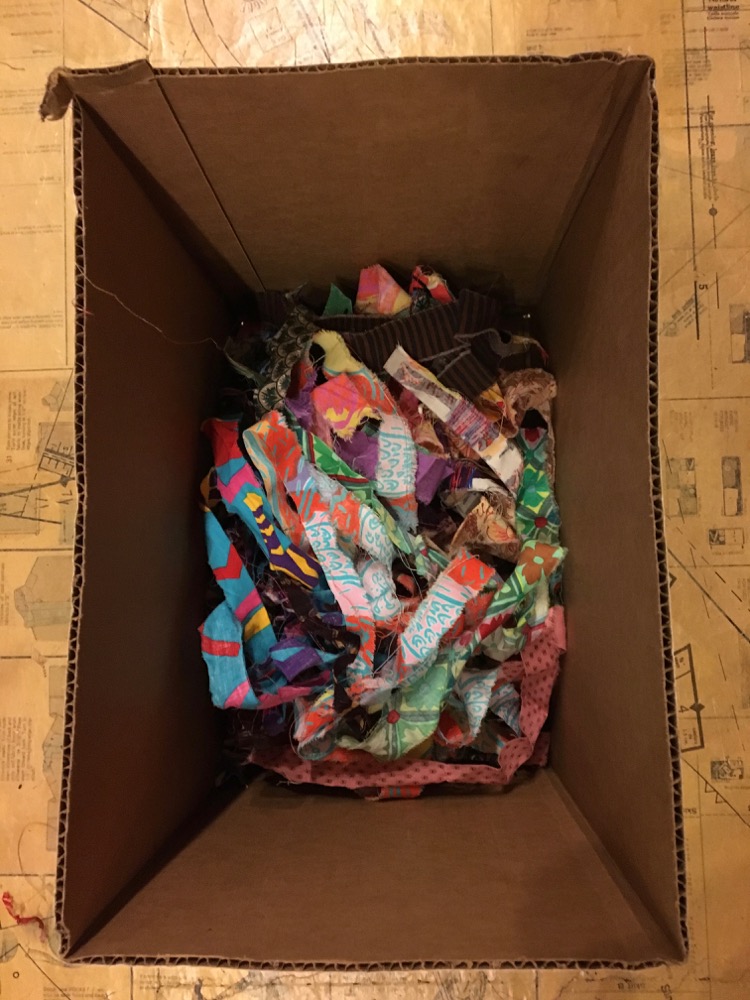
These strips needed to be torn to about an inch wide. I got a little carried away with tearing strips. In the end, I only needed about 18 of various lengths to complete my six-foot garland—I’ve got a few more than that left over. I tossed the strips into a box to keep them separated and contained, but not out of cat-reach.
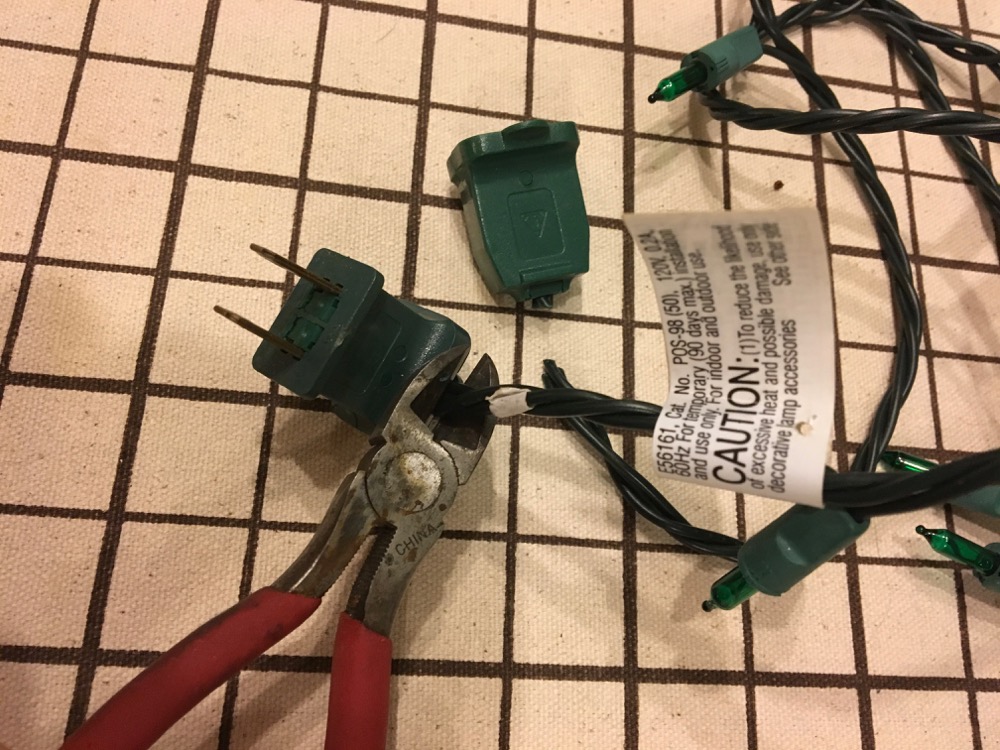
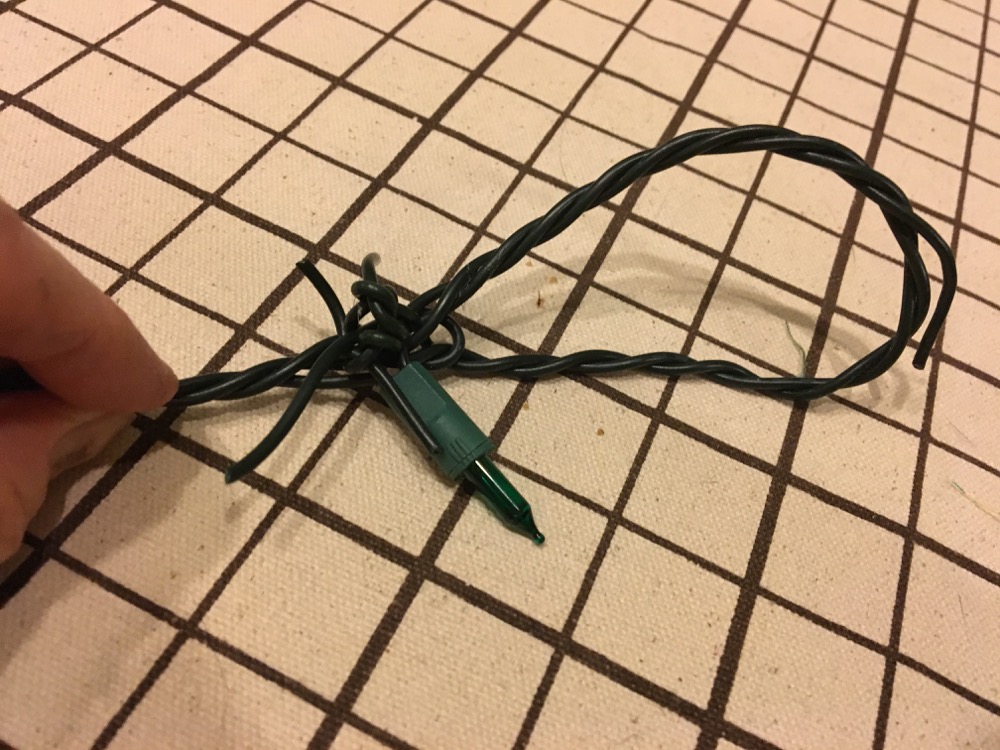
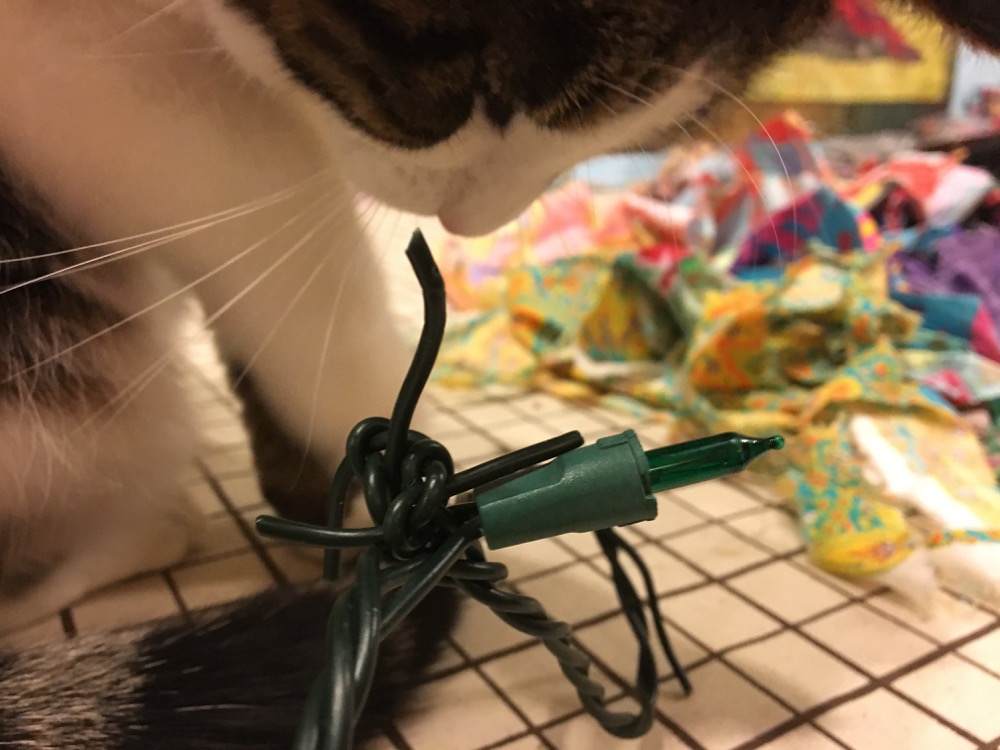
For a garland, prepare the light strands by snipping off the plugs with a wire cutter and cut the wires to your chosen length. My string of lights was long enough to cut in half, and half again—giving me four six-foot strands. Make loops at each end by tying the wires together. It doesn’t have to look pretty, just secure.
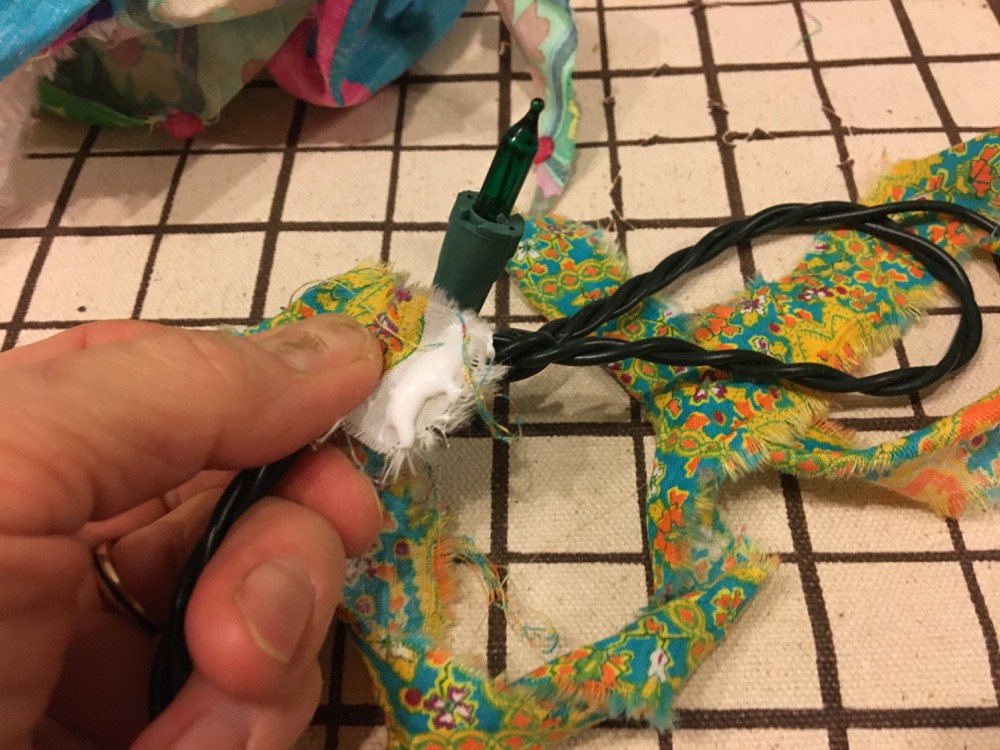
Then grab a strip of fabric, dab on some white glue (my favorite is Aleene’s Tacky Glue—the original version), glue the fabric to itself going around the wire, and start wrapping. I started just below the knot and worked around the loop first. Keep a little tension on the strip as you wrap—you don’t want it all bunchy. When I came to the end of the strip I applied more glue to keep it in place.
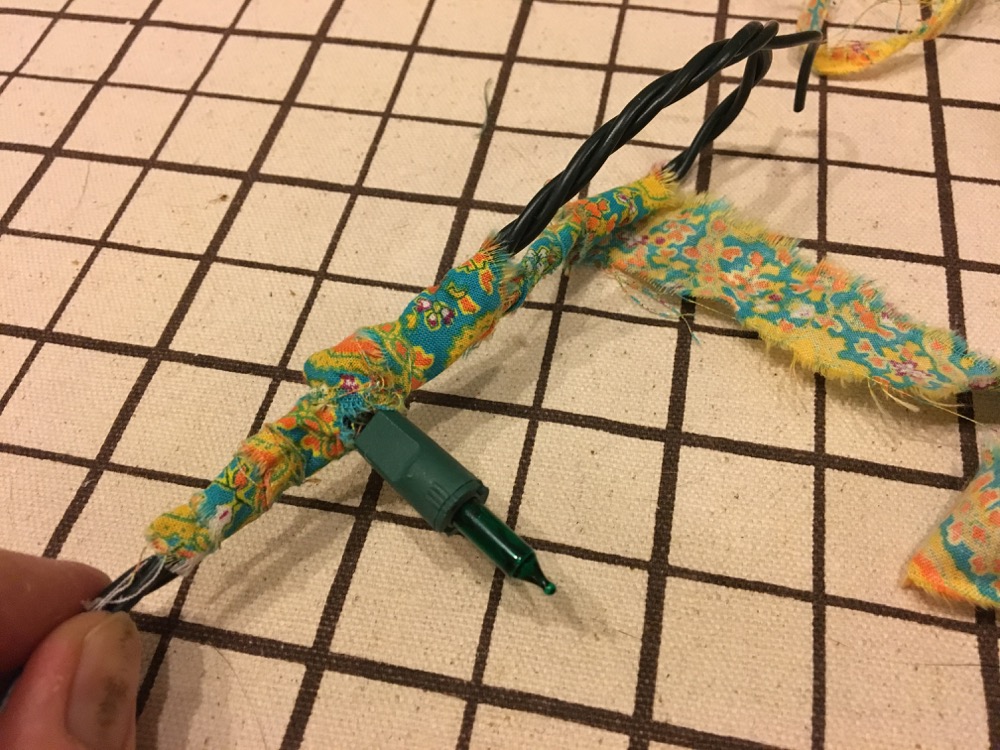
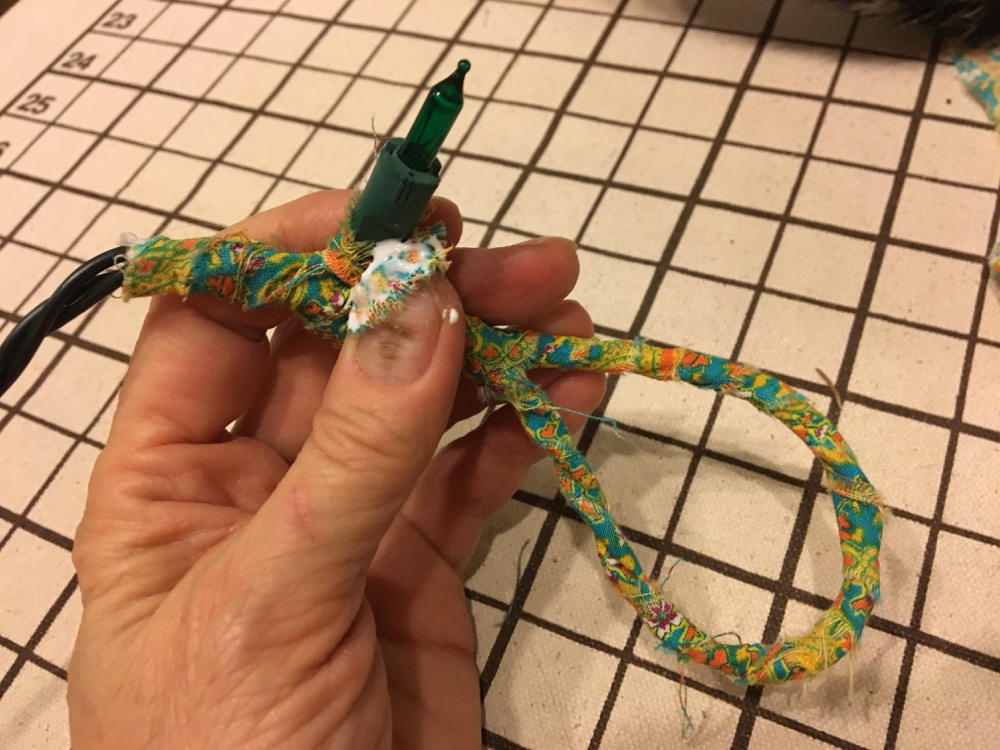
And voila! First strip down, many more to go. All the other strips are done the same way: secure strip with glue on one end, wrap tightly in the middle, glue other end.

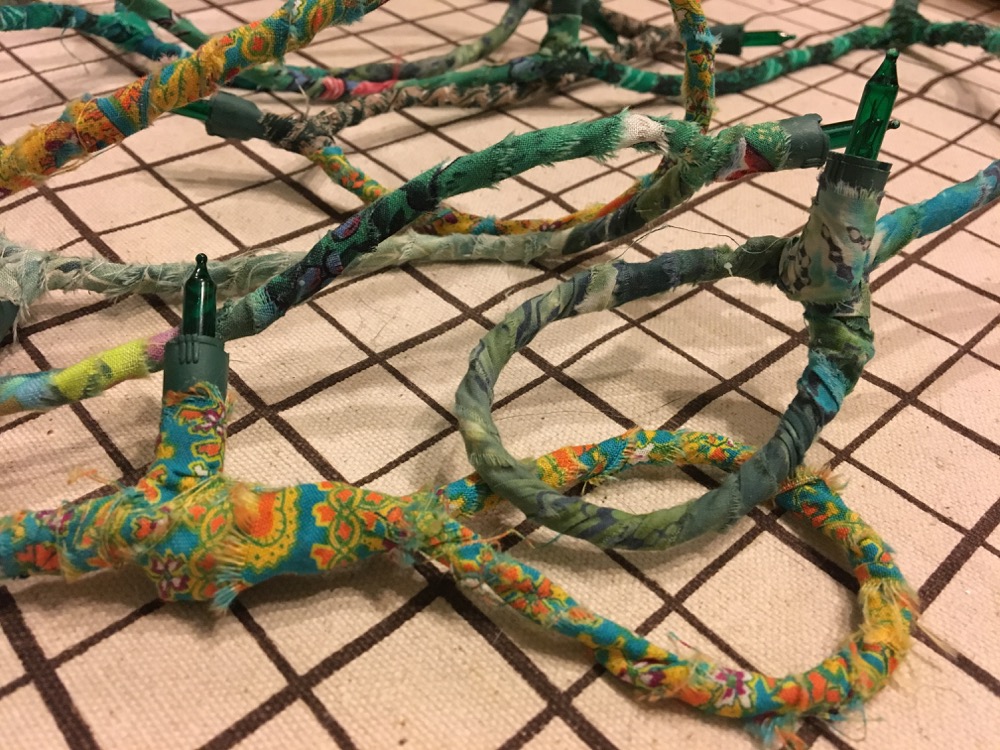
I had initially picked out a variety of colors but I liked the way these greens were working together, so I went with it. Next time I might just reach into the box and wrap in a totally random fashion. You can see why this is a great TV/movie watching activity.

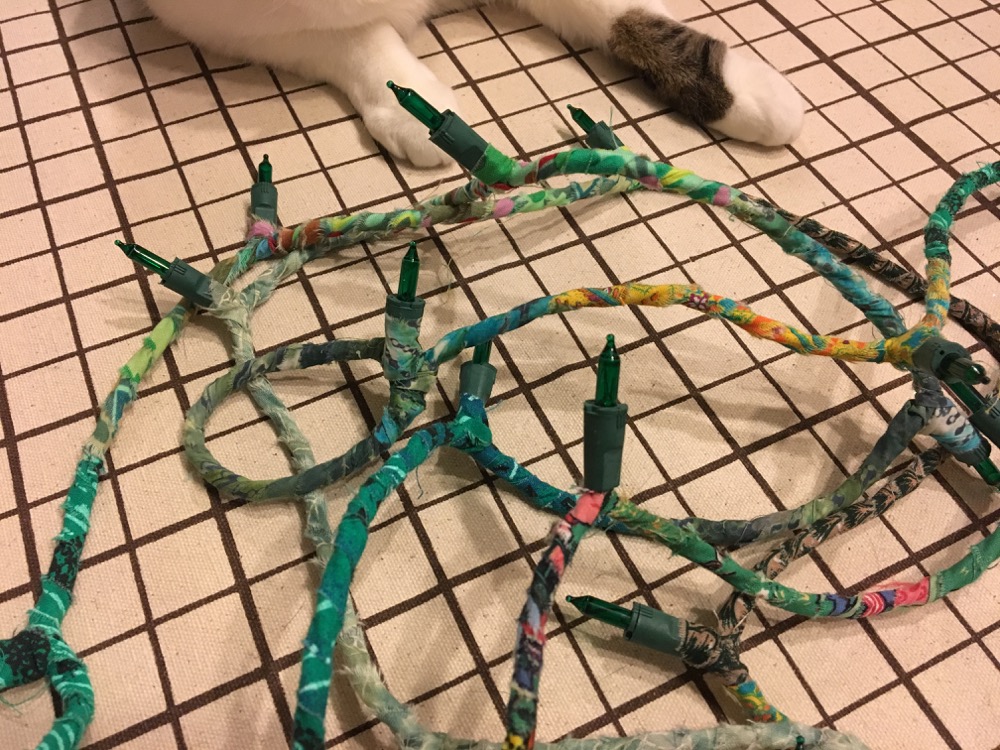
And then, eventually, it’s done. At least the length is. You can see the loops forming the ends below. I didn’t wrap the bulbs on this garland, yet. If you look back at the original tree, I wrapped the bulbs as I went so they’re covered with all different fabrics.
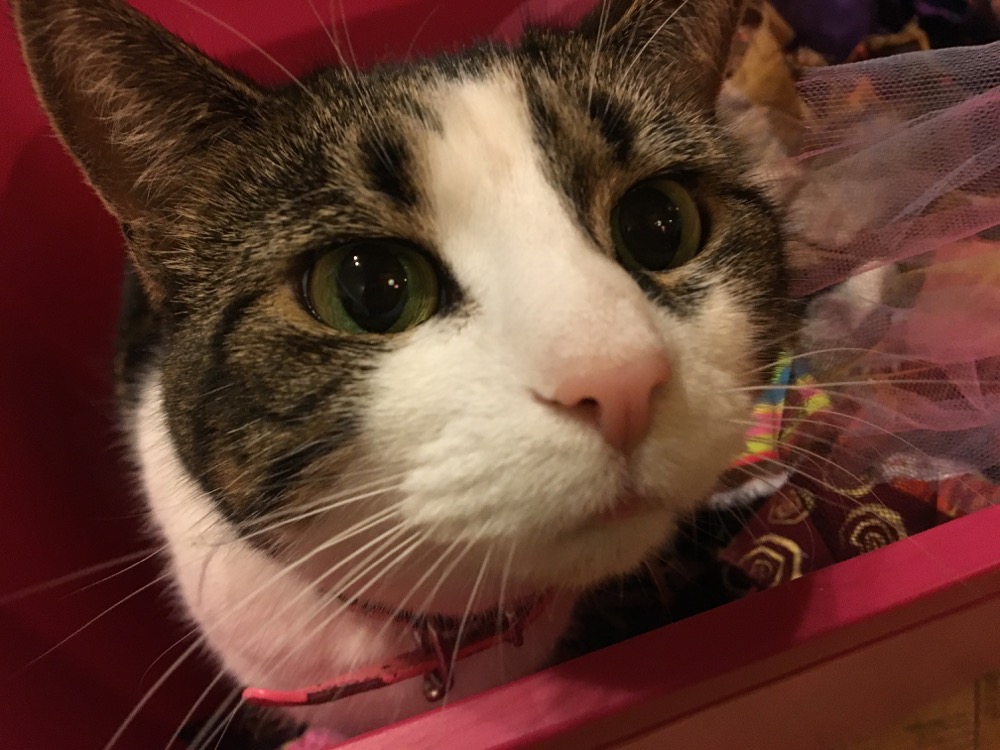
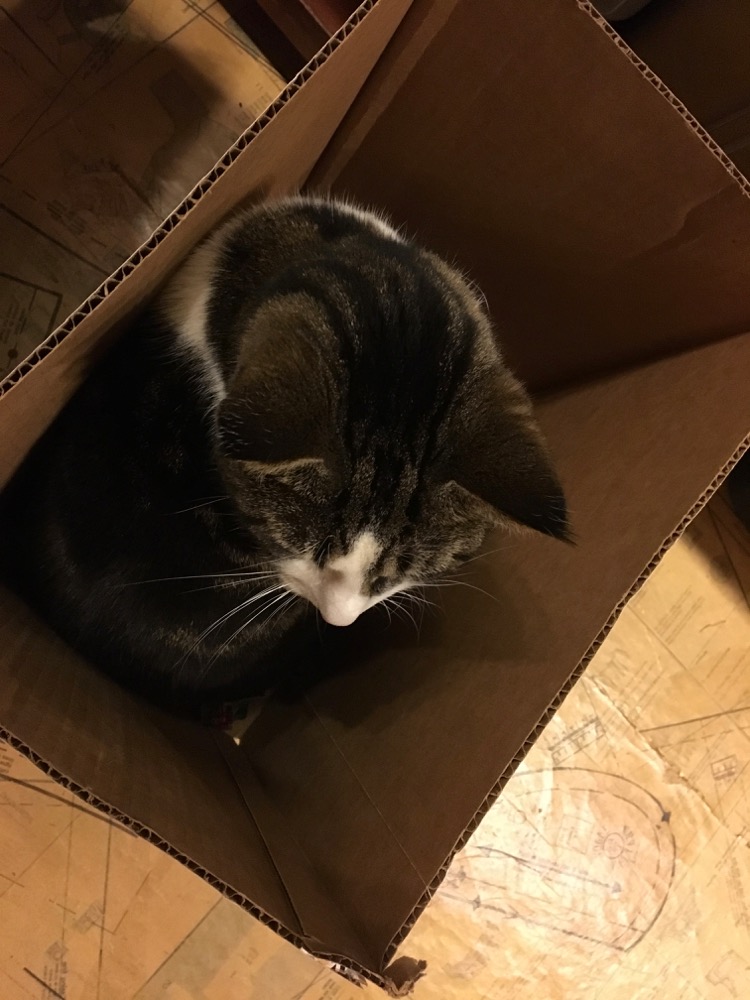
Djinni finally lost interest, which made it made it much easier not having to watch out for playful cat claws.
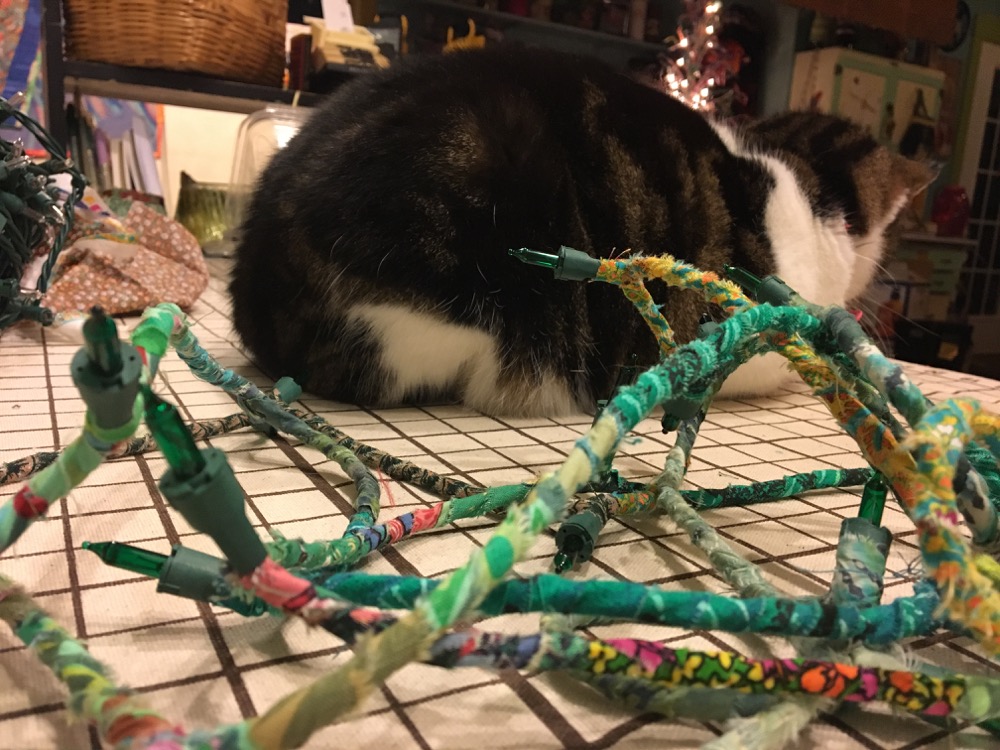
She said goodnight and settled in for a cat-nap.
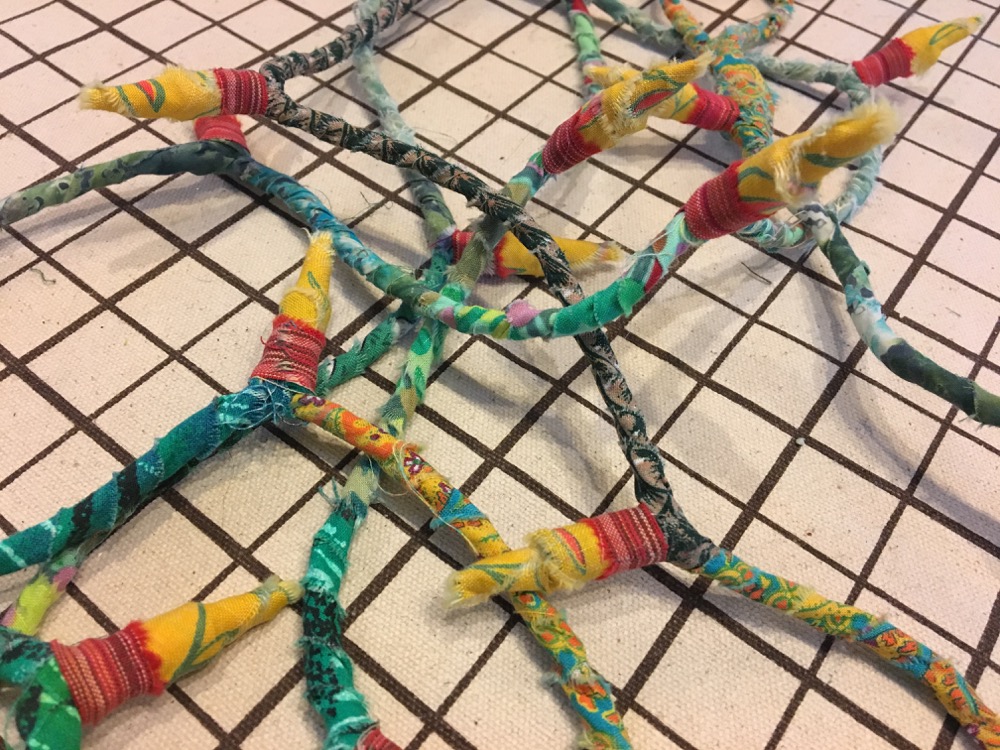
I had decided I wanted this garland to still have “lights” on it, but a fabric-wrapped version. I tore strips of a yellow fabric for the “glow” and wrapped it up and back down on the bulbs. Some short red strips finished off the base. See steps in photo below.
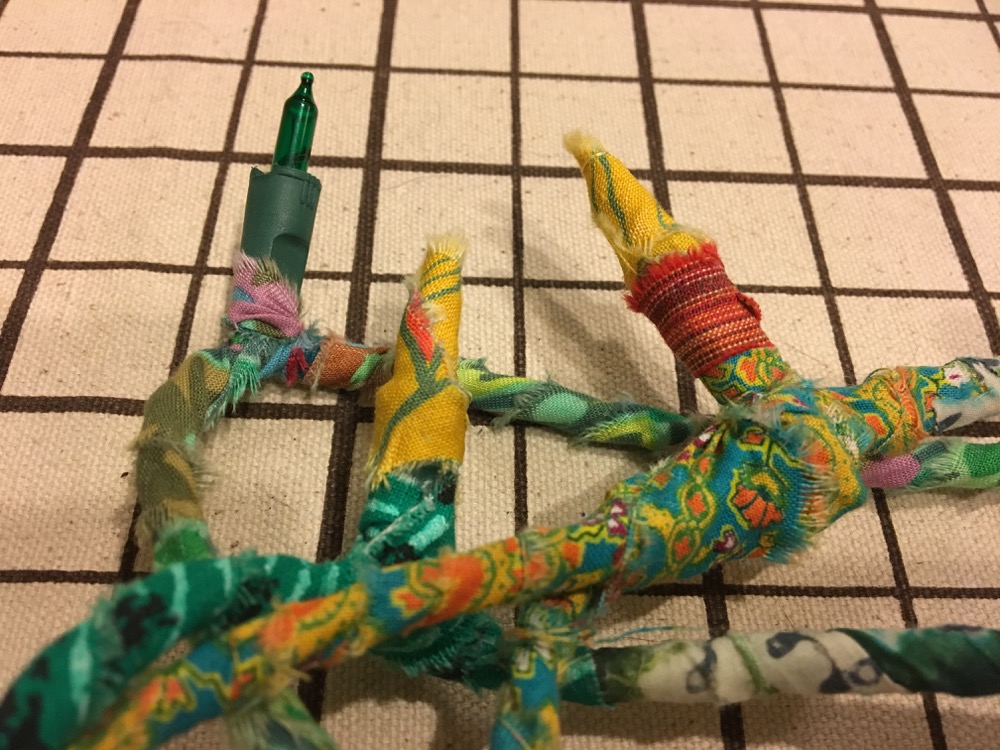
Yellow lights. complete…

… red accents added. Finished.
Here’s the garland hanging for the holidays. It has a whimsical look and is pretty easy to do—with the added benefit of reusing something bound for the landfill. Wrapping can be adapted in all sorts of ways. I’ve seen wrapped wire lampshades, frames, chandeliers…. If you try this yourself, send me some photos to share!

One more thing, look at that pretty pile of leftover threads pulled from the torn fabric edges. What could I make with those? Hmmm, there’s gotta be somethin’ cunnin’ I could do….
While I’m waiting for the Muse this time, I wish you a warm, bright, creative, and illuminating Season of Light.

Merry Christmas and Happy New Year Susan. Love this tree!!!
Thanks Carolyn – and a beautiful season and New Year to you too!
I love it-taking something used, broken, or not wanted and turning it into something creative and fun!
Merry Christmas! 🎄🎄🎄🎄🎄
So true, Debbie – Merry Christmas!
That pile of pretty threads/strings would make cool “hair” for your muse’s next idea!
Yes! Maybe for the Muse herself! 🙂
Love it! I’ve got a large twig/branch that I’ve wrapped in fabric strips. It’s planted in my studio.
And, for the leftover threads, I’ve used them for the hair of a doll pin. Actually, mine had been run through the washer/dryer and were much more matted together. That worked, too.
Susan Your emails are among my favorites. Thanks for sharing so much of yourself. I love it and will add this to my list of things I want to craft! Wishing you a very Merry Christmas and only the best for 2017!
Merry Christmas Susan, I so enjoy your posts.
I’ve always cringed when I hear people (in Maine) say that word–instead of saying clever or even crafty. I just happen to have a few strings of non working lights–and ………… fabric (laughing) so, after the holiday baking is finished–I may sit down to Rap. We have this in common–not being able to throw anything away that could possibly be used again–or not as originally intended. Happy Holidays!!!!!
Merry Christmas, Susan. God’s blessings in the coming New Year.
What a beautiful, creatively executed tree! I love it.
Happy Christmas to you and yours.
Kristin
How unique! Your muse knows how to think outside of the block.
Best wishes for a Merry Christmas.
Those ravelin’s. There was an article in the last issue, or one before, of Quilting Arts that had portraits made from cheese cloth/gauze. Perhaps these could work in a similar manner and I’m sure you have left over organza or sheer to hold them in place. Or maybe your next “portrait” project (I’m being assisted by a feline too).
Merry Christmas from the cold and snowy Pacific Northwest.
Your Christmas tree inspires, even across the ocean. Seasons greetings from Belgium🇺🇸🇧🇪.
Love the tree! THANK YOU; you’re a maker and a sharer. Question…is it still UL approved?!
Merry Christmas, Susan. Thank you for sharing this. I remember your awesome tree in your studio. It caught my eye immediately.
great ideas and photos. As for the thread piles – beautiful to behold, but also could form the unseen (known only by you/the maker) core of a Temari (ball). Most of my Temari are made from fabric and thread scraps that have some nostalgia. However, if your threads are long enough and have sufficient thickness, they could be used for the external stitched design on the Temari.
Aren’t you cunnin’! I love your comments, the garland and the cat antics.
Thank you for sharing your wonderful ideas wishing you happy holidays
What a lovely,, kookie, creative idea to upcycle these spend strings of lights! I’d already discarded the defunct lights this year —- oh but the next ones that finally fail – have a bright future ahead of them Thanks, Marge T Austin TX