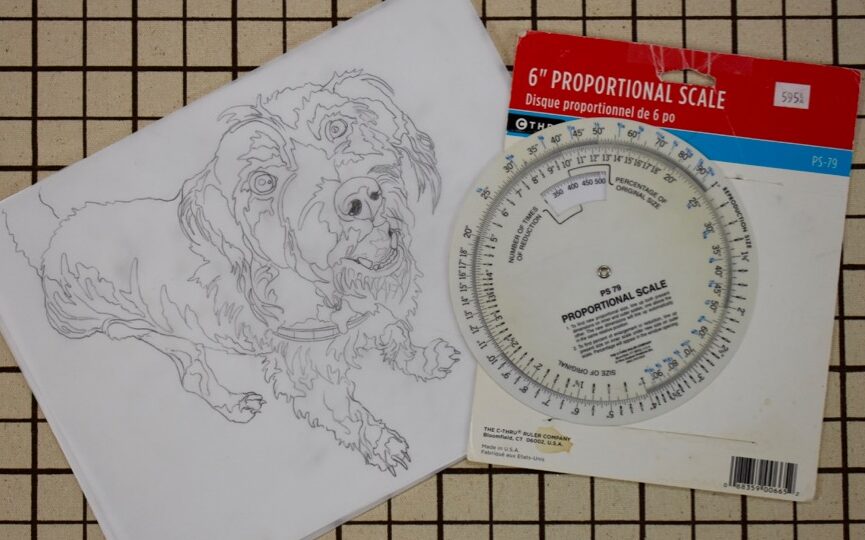
An important step in creating your fabric collage is deciding how big the final piece should be. After you draw the smaller line drawing of your subject, you’ll need to figure out the percentage for your enlargement.
For example let’s say the pattern of your subject is ten inches in height and your want the final image to be thirty inches in height. That’s an easy one, right? Right? Right.
The enlargement percentage in this example would be 300%. But most of the time the math doesn’t math as easy as that.
Top Tip:
If math isn’t your friend, a proportion wheel can be.
Let’s say a student’s subject is a portrait, a good rule-of-thumb is to enlarge a design to the proportion where the eye of the subject is 2 inches or so in length. Eyes have a lot of detail in them so you want them large enough to be able to create that detail without driving yourself crazy.
So what if the eye measure on the initial drawing is 3/8ths of an inch? To get the enlargement to two inches, what’s the percentage for that?
Well, you can definitely use math to figure that out—my husband Tom, likes to take that tactic. However, since math and I have a respectful but distant relationship, my tool of choice is a proportion wheel (or scale).
I first ran into a proportion wheel in the graphic design classes of my college days and have been using it here and there ever since. It’s a handy tool to know how to use. The way a proportion wheel works is by matching an original measurement on the inner wheel and lining it up with your desired measurement on the outer wheel. Then you check the little window in the center for the enlargement percentage.
Here’s an example: Let’s take a look at a cropped version of my tripod pup Felix, from the photo above.
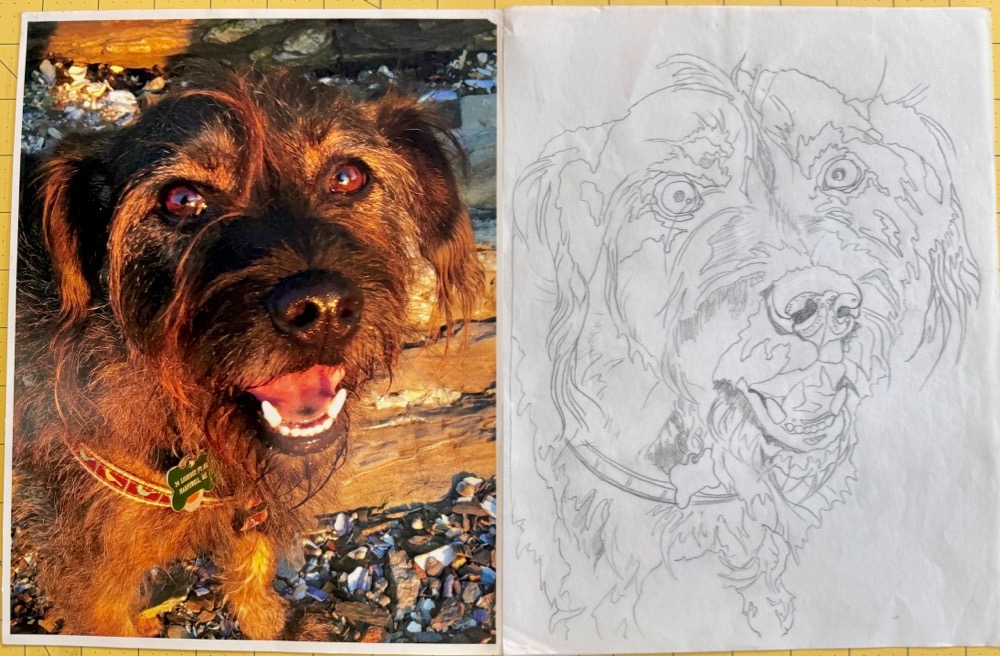
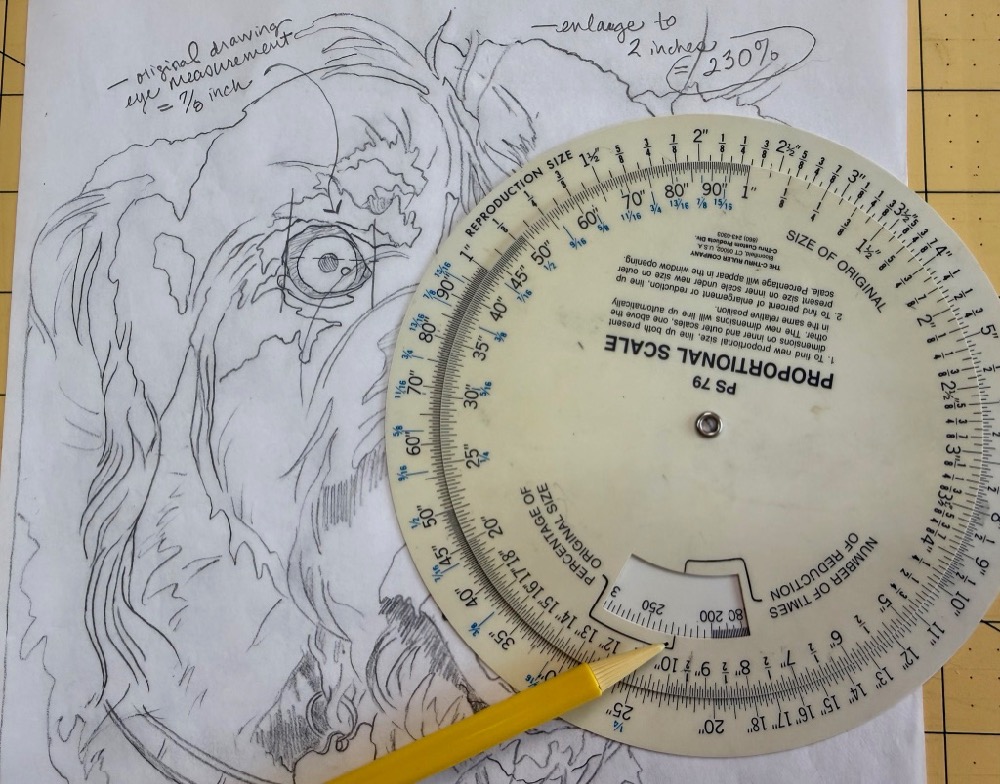
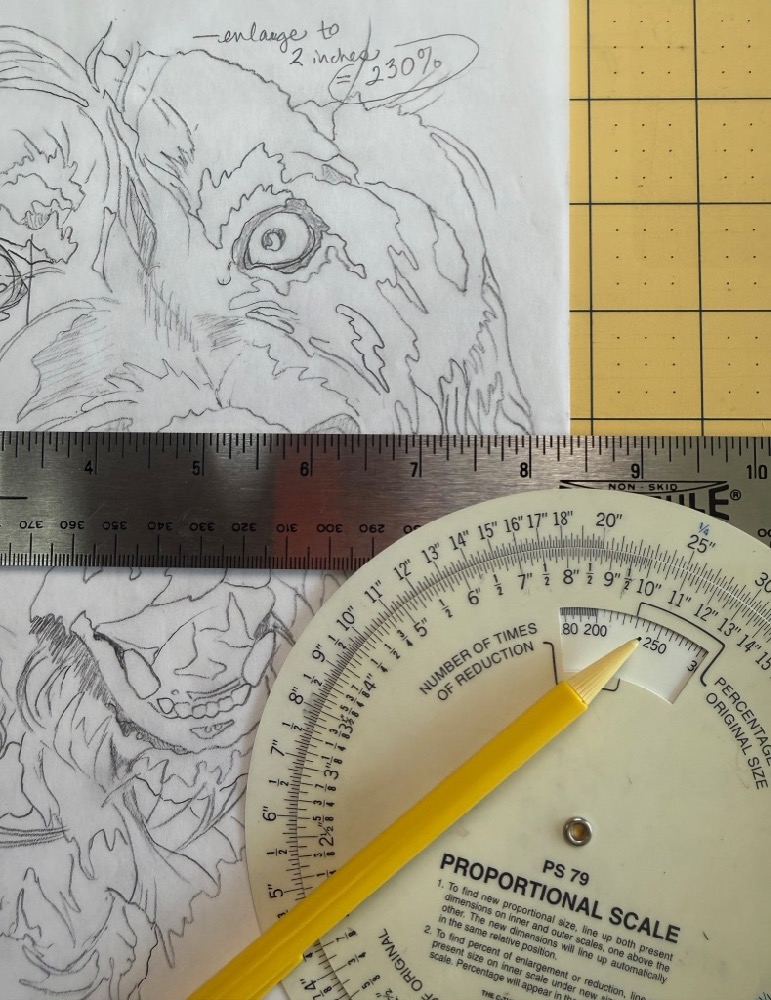
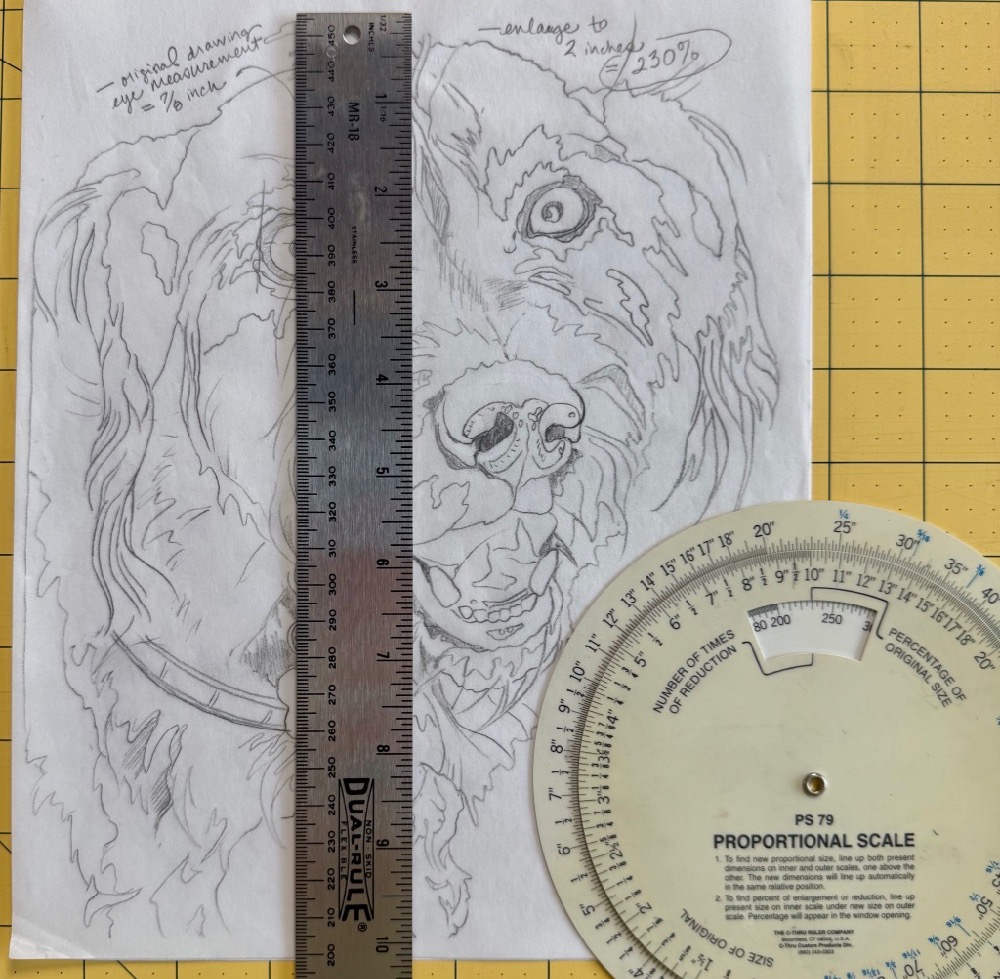
These particular calculations mean that with a 230% enlargement of my small drawing, I’ll have an 18-1/2″ by 23″ design for my collage of Felix. If that feels too large or small for me, I can keep adjusting and playing with my proportional wheel for alternative computations. My math buddy could become my best buddy.
Top Tip:
If math isn’t your friend, a proportion wheel can be.
For further information, see this post: Enlarging a Pattern for Fabric Collage: How to Do It at Home Online, first posted July 20, 2024. Among other tips, it features the short video below, giving another example of using a proportion wheel.