Among you, the readers of my blog post, there are so many who are familiar with my family—there are old friends, neighbors, other family members, and students and followers who have become friends. In addition to all the fabric collage stuff, I’ve written about family summertime posts, trips and pets, and earlier this year I shared the passing of my mom, Oma Meta. Now, I share the news of the death of my dad Bill, a.k.a. Morfar (“mother’s father” in Swedish). He departed last Sunday morning at sunrise, almost five months after my mom who passed away at sunset. May they both be at peace.
For the rest of August and through Labor Day weekend, I’m going to once again take some time off from the writing of weekly posts—therapeutically focusing and immersing myself in my own artwork. And, just like Tom did in March and April after my mom’s death, he is again going to fully take over a few blog posts. Today’s post is a Throwback post we had already planned, but starting next week, he’s going to pick out more of his favorite past posts to share with you, as you sit back and sip on your favorite summer (or winter, for you southern hemisphere folks) cuppa.
Take care, and thank you for being out there.
—Susan
Today’s Post
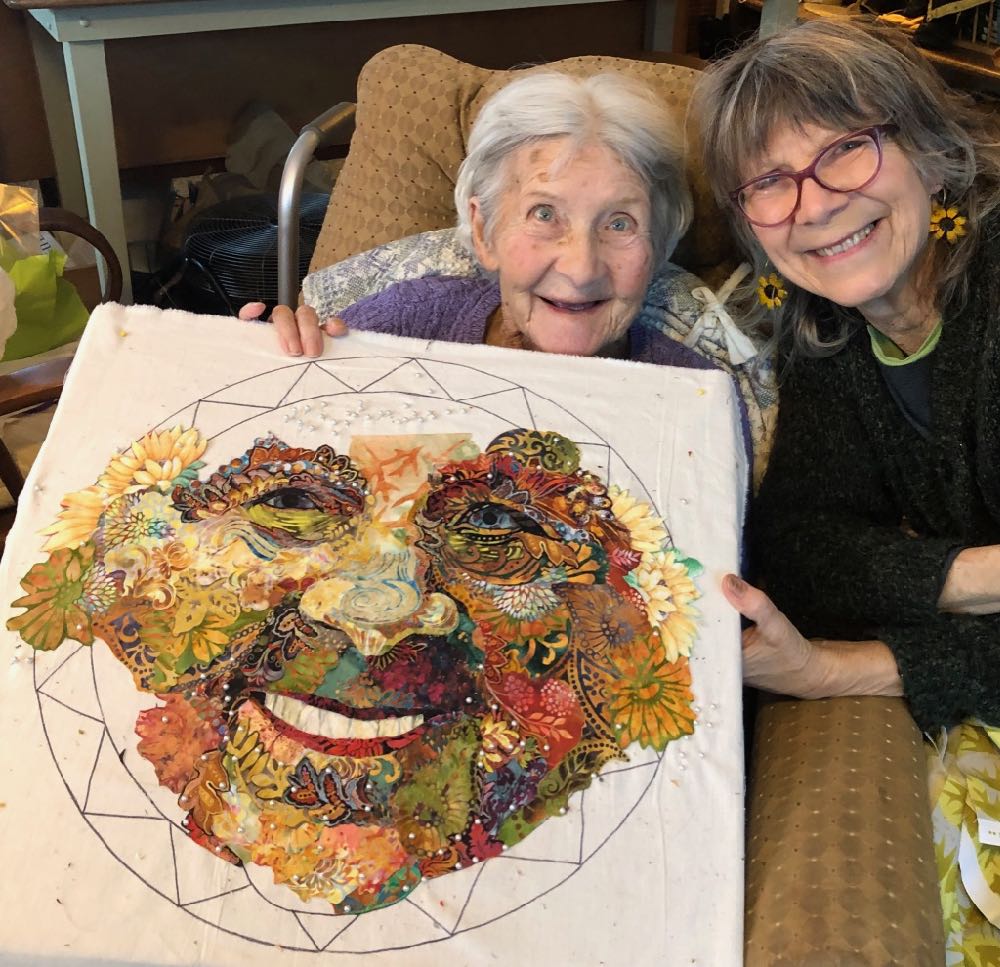
Learning is always easier when it’s fun. One way to learn fabric collage portraiture, that I and others consider fun, is by creating a sun or moon portrait. It’s fun because we expect it to be fanciful, and therefore give ourselves a break on “perfection.” Late in the 2020 Thursday Night in My Studio Live! Zoom series that I talk about below, a couple evening presentations were all about using your own photos of family or friends to create drawings that could fit in a fanciful way into my sun or moon designs. Among other family member examples, I used a photo of my mom to create a drawing to add into the template of a rayed sun.
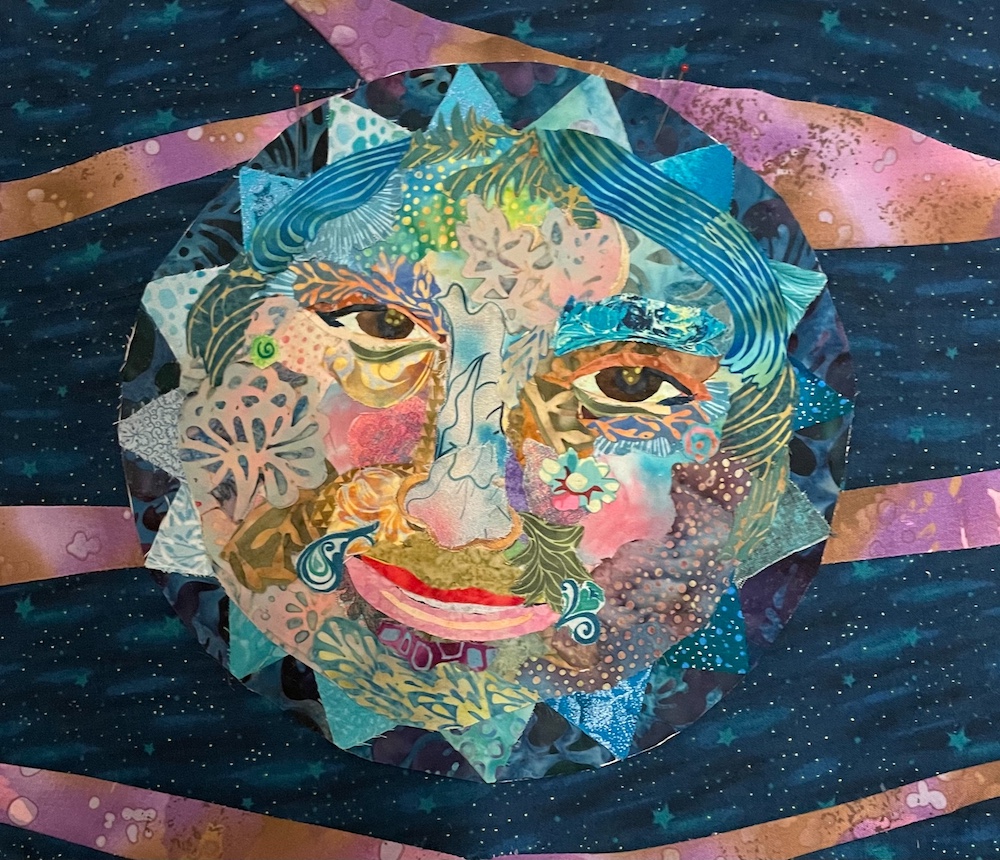
I then encouraged viewers to consider personalizing my Sun or Moon Portrait patterns with facial features of someone they knew. The first-draft results of a few of those student works are seen in today’s post—including Sandra Koterba’s sweet moon face featuring her granddaughter Kai, above.
For those interested in portraiture, in June of this year, I introduced an eWorkshop focused on fabric collage portraiture called Facial Features. This online learning resource utilized videos I had created during a Zoom Thursday Night series called, you guessed it, Facial Features. The eight videos in this series address each facial feature—eyes, nose, mouth, and so on—in detail.
The Facial Features eWorkshop is best when accompanied with the Fabric Collage Master Class, and we’re offering offering a special discount through the end of August to new members of the Master Class when you purchase both. Click the links to learn more about these online learning resources.
Susan Carlson Fabric Collage: Sun Portraits—First Drafts
Original Post February 11, 2023
During January’s Fly on the Wall series “Sunshine Oma,” in which I began a fanciful sun portrait of my mom, Meta, I invited watchers to create their own portraits using my sun portrait pattern as a base. Quite a few worked along with me as each week I added features to my portrait: nose, eyes, mouth and so on. Several were kind enough to share their (mostly still in-progress and definitely fantastic) work with us today, which you’ll get to see in Sun Portraits Special Treat: Student Work, below.
Sunshine Oma: Considering First Drafts
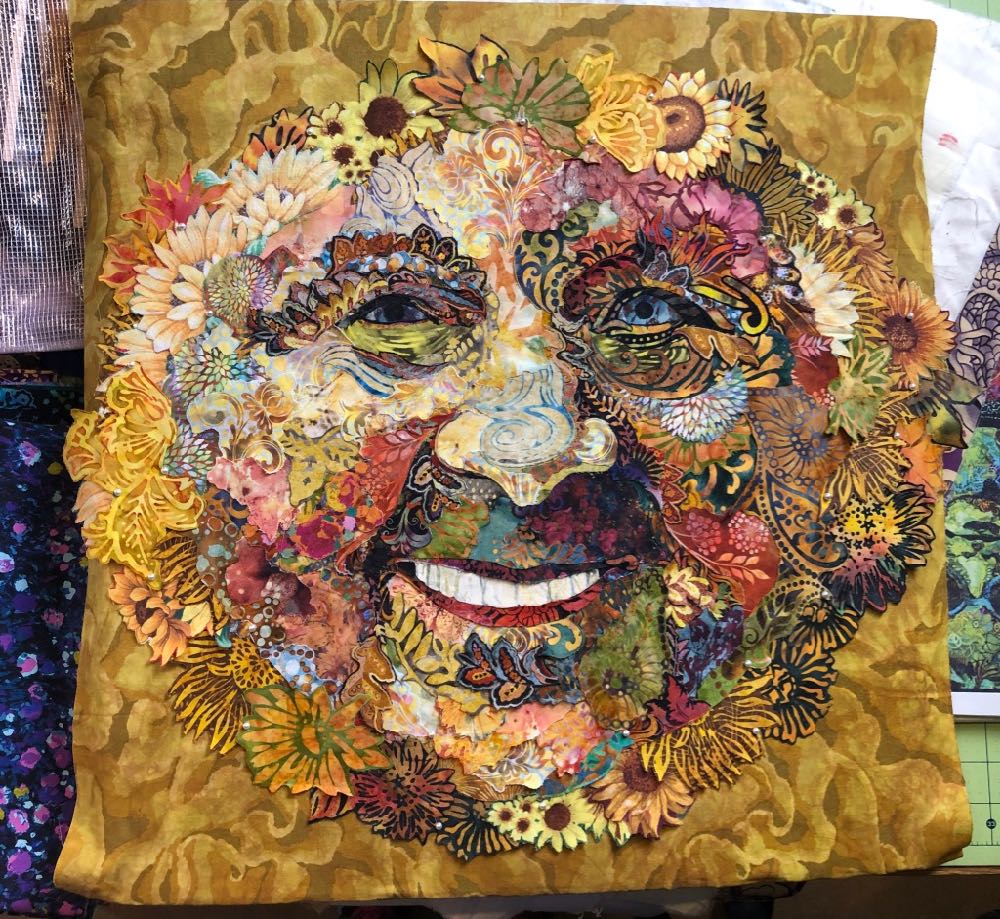
The sun portrait I’m creating of my mom is currently at what I consider to be the end of the first draft stage.
A first draft is putting fabric pieces down onto a foundation fabric—much like one would put pen to paper in writing. You gotta get those ideas out and into a tangible form in order to step back and see what you’ve got—be it a fabric collage or an essay. It’s not expected to be perfect, it’s a first draft, you know there’s editing to come. But you can’t edit something that’s not there, so you just have to start with something.
At best, a first draft is playtime with your fabric. At worst, it’s hitting one creative wall after another. The key is to let your subject or “story” develop in an unexpected direction (if it wants to)—brainstorm by throwing fabric pieces around on the foundation fabric—see where it leads you, you can edit later. That’s what the second draft is all about.
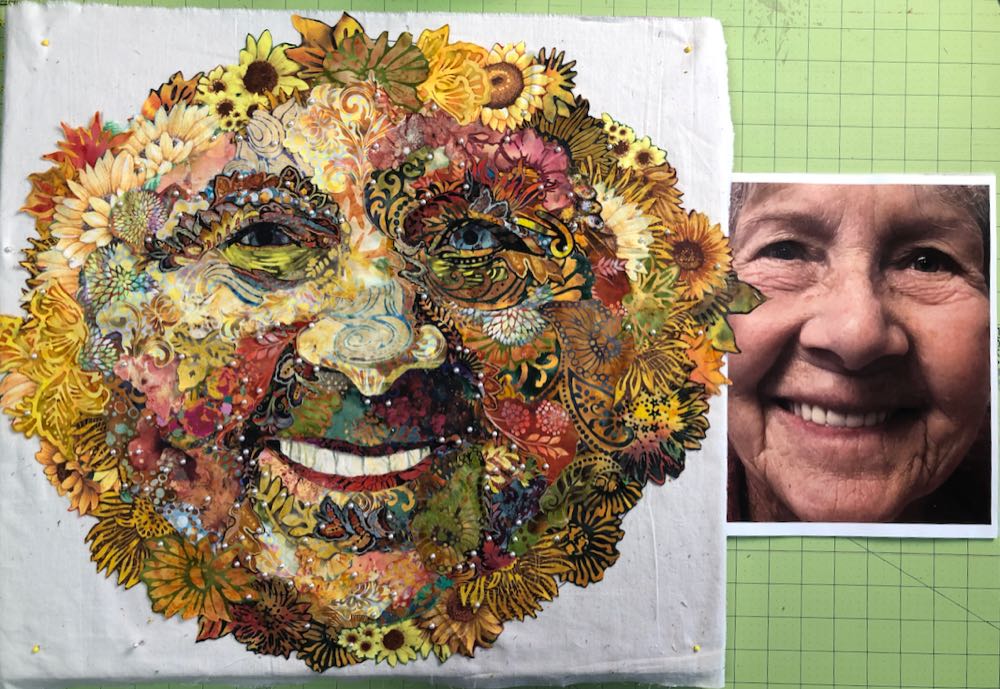
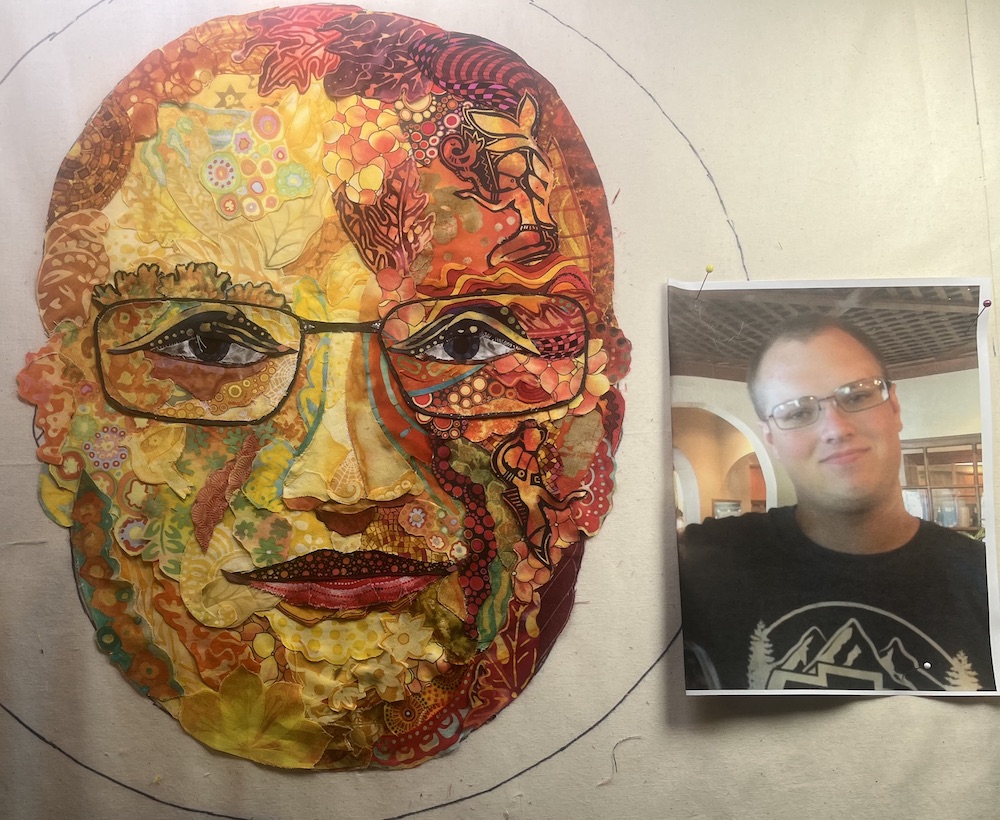
This portrait started with finding a picture of my mom I wanted to use. Then I created a line drawing by tracing the photo image onto tracing vellum. The line drawing was then incorporated into the circle defined by my sun portrait pattern. This meant broadening her cheeks to fill the roundness of the sun. A video from my 2020 Thursday Night at My Studio Live presentations describes the process.
Choosing fabric to use is very enjoyable for me. It’s very easy to get carried away by pulling out many more fabrics than I can ever use. In this case I managed to narrow my choices down to 31 different fabrics (twice as much as I recommend to my students—ah well, no one’s perfect). Above left is a portion from which I created the fabric palette in the above right image. When I create a palette I am cutting down my fabrics into usable (hand-sized) pieces and in the process, previewing them to see how well they work together—how they blend from one to another in both color and value—which is one of the biggest considerations with how I approach fabric collage.
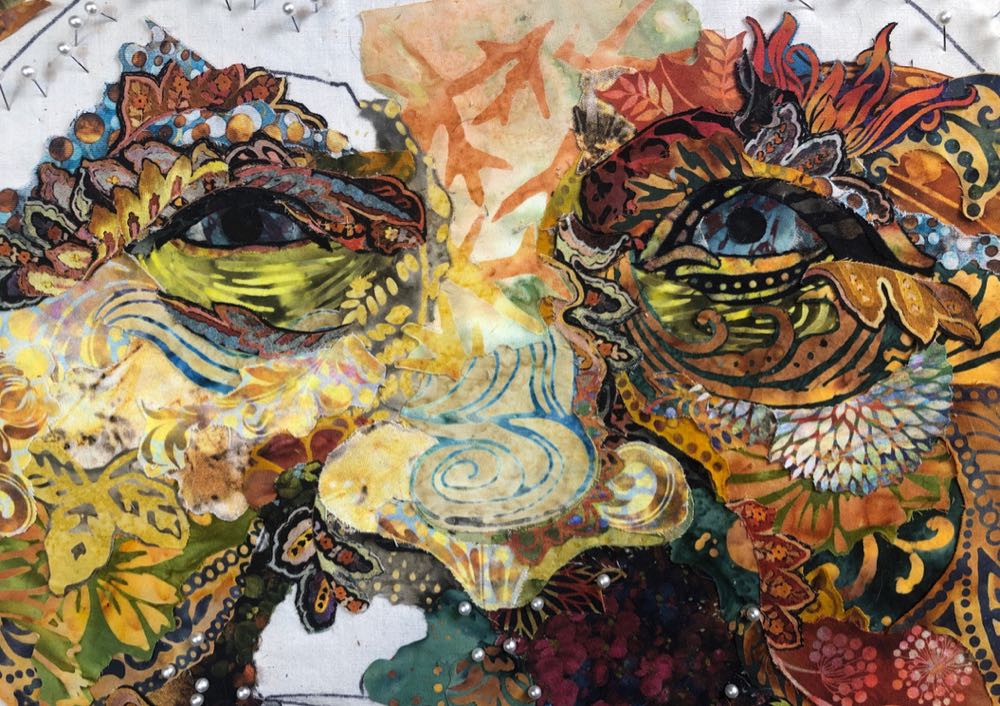
The first Fly on the Wall session dealt with fabric selection and getting started—the playing with your fabric part. I started with my mom’s nose and moving into her cheeks. This way I could familiarize myself with my fabrics before I got into the “serious” stuff—like her eyes—which happened during the second week. One eye was created during the Zoom demo, then forming the second eye during the week between sessions.
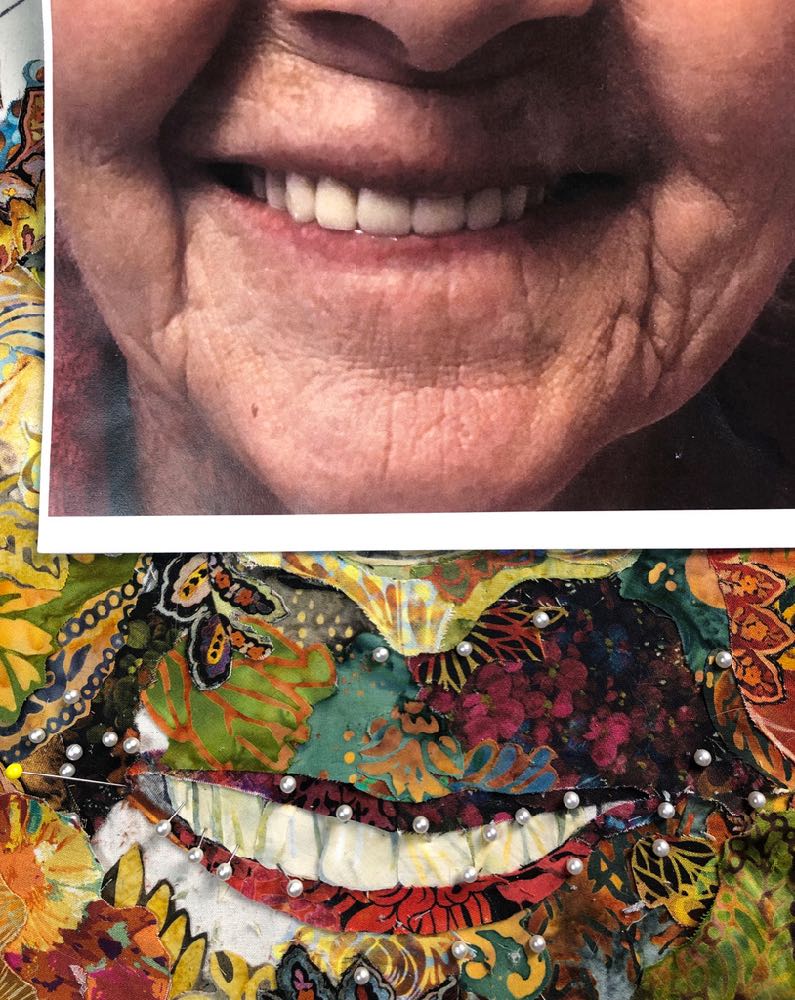
The last facial feature to tackle was the mouth. I avoided toothed portraits for years in my early years of fabric collage. Teeth can be tough. If a student shows up with two optional photos to work with on a portrait collage, one with teeth and one without, guess which I’ll guide them towards? But my mom’s smile, which pairs in such a lovely way with her laughing eyes, was imperative to include. And I figured she’d want to have her teeth “in” (though we think she’s adorable when they’re not).
Another video presentation from my 2020 Thursday Night at My Studio Live presentations describes the process of how to create a toothy smile.
I work well under deadlines, but even with the deadline of my mom’s 90th birthday as incentive, I couldn’t quite get the first draft completed for the big day. But I was able to get her chin almost done and worked into the borders along her cheeks. I was beginning to play with the idea of turning my mom into a sunflower as opposed to a sun.
At the end of my mom’s birthday, she said how much she had enjoyed the day. It was only six of us there with her, and that’s she wanted. She was a happy mama, and Oma (both her grandchildren were there). As to her portrait? She liked her eyes and mouth, but her nose was way too big. I’ll give her that. I did get a little playful with the round print batik on the tip of her nose—it was fun—but a woman’s nose is (obviously) a serious thing. Narrowing it a bit will be first on the list for the second draft.
A week later was the final Fly on the Wall. By then I had filled in the gaps of my mom’s round sun(flower) face and given her a wreath of trial sunflower prints, just to see how they’d look. It took the portrait to the point where I could audition potential background ideas and fabrics for the Zoom presentation.
I’m still not exactly sure if my mom’s portrait will be a sunflower or back to a sun or just a sweet face emerging from a background. I temporarily placed it onto on an overdyed print attached to a board and propped it in my mom’s house. After living with the piece for a couple weeks and seeing it from a little more distance, my mom assures me it’s growing on her. But the nose….
Guess I’ve gotta squeeze in some time to get going on the second draft!
And when I do get going on it again, I’ll remember not to leave it sitting flat on my worktable. In preparing for this post, I brought the portrait back to my studio for some photos and Djinni cat seemed happy to see it again. I admit she was so cute I let her enjoy the moment. I’ll just add “pick off cat hair” to that second draft list.
Sun Portraits Special Treat: Student Work
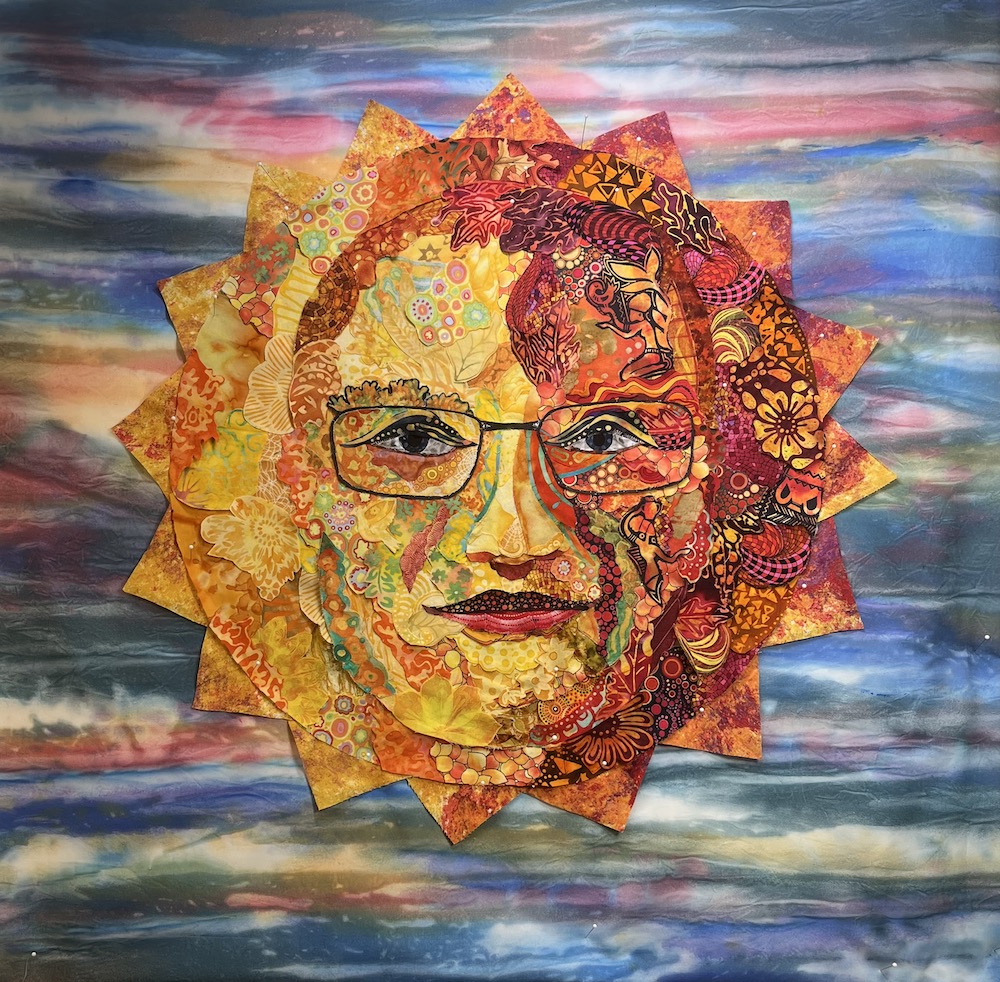
The following fabric collage pieces were made by my Fly on the Wall attendees. These women all did a remarkable—and fantastical— job. For a couple, it was their first try at a portrait. I think this project, where a familiar face is worked into a playful sun face outline, is a wonderful way to introduce fabric collage portraiture. While each of the subjects below are recognizable in the quilts, liberties have been taken, they are looser and more flowing than portraits tend to be when a perfect representation of the subject is the goal. These are all playful and fun, with plenty of places where the fabric is placed with whimsy rather than strict adherence to human anatomy.
Thank you, ladies—and congratulations! These are amazing! 🙂
Grace Crocker
From Grace:
Couldn’t resist trying my own sun face while I watched Susan’s Fly on the Wall. Playing with a background before I finish Draft Two. This is my grandson, Austin. I did his brother, Damon as my Man in the Moon.
Jackie Dalley
From Jackie:
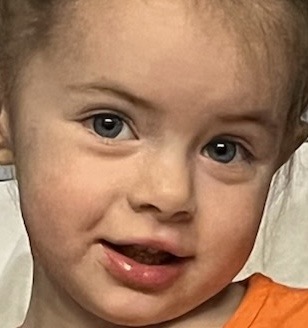
The subject is my daughter-in-law, Beth, and I am making this for her 2 year old daughter (my granddaughter) who inadvertently provided me with the palette included below.
Sandra Koterba
From Sandra:
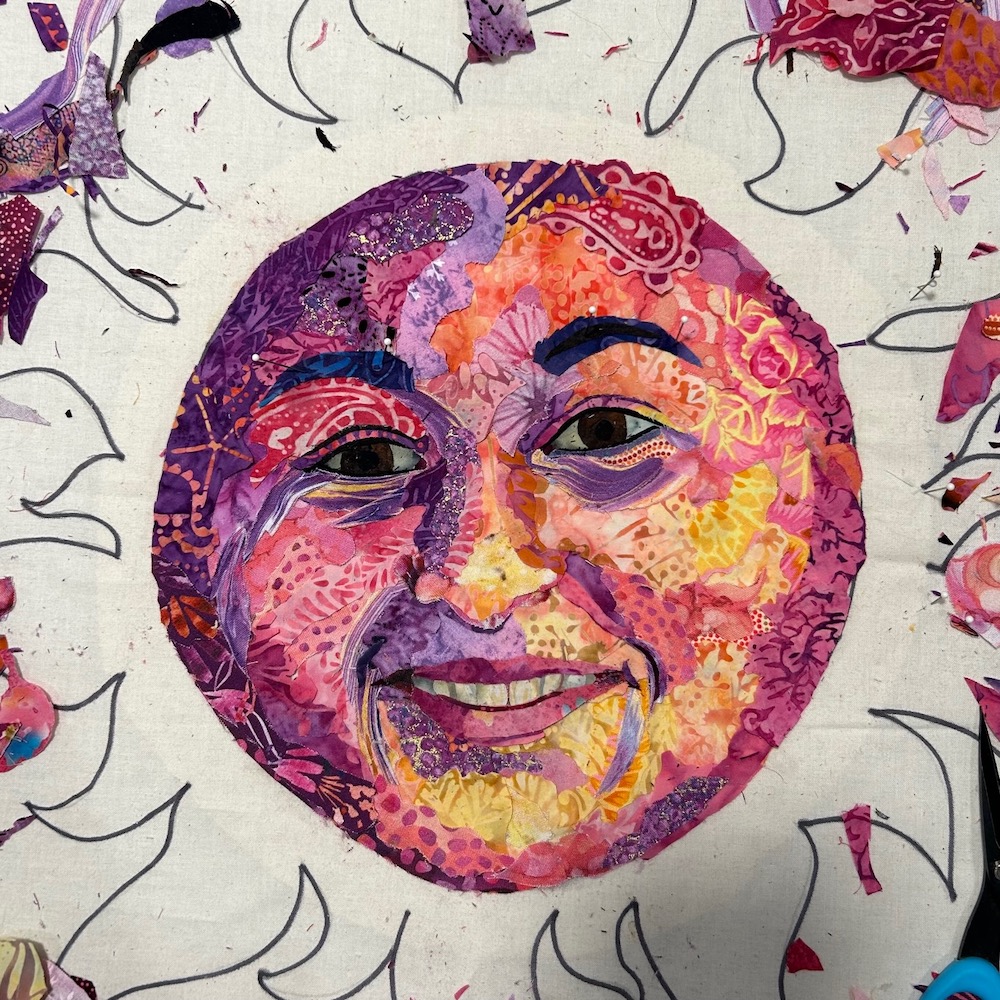
I chose this picture of my granddaughter Kai because she always says I love you to the moon and back! She is a very special youngster and I wanted her to have something created by me that she could keep to always remember me by. Kai also loves to do crafts and is now starting to take an interest in sewing. I hope that someday this piece will encourage her to delve into the art of collage.
Jenny Satterthwait
From Jenny:
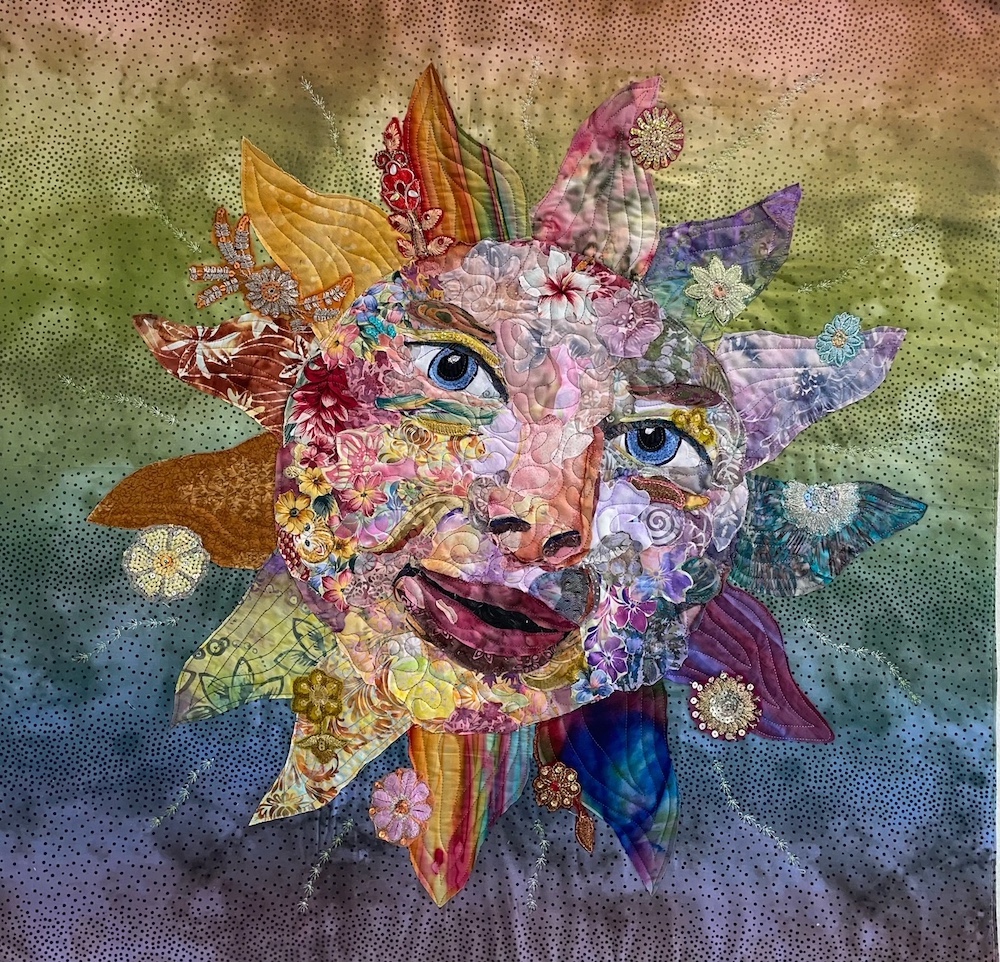
My daughter in law‘s picture of Caroline captured my heart. I just fell in love with her all over again. When Susan offered the Sun portrait class, I knew immediately that I would do it and use this picture. It was also a unique opportunity to see Susan work because even though I’ve taken 2 of her classes, you don’t really get to know what thought processes she is going through. It was a great zoom demonstration and I’m so glad I did it. As a side note, I used pieces of Sari’s for the highlights in the Sun beams. My granddaughter loved them. She is only 3.
Live Online Classes Fall 2023
For more information on both classes, click here.
September 25-29, 2023
Live Online Fabric Collage ALL LEVELS Class with Susan Carlson–Animals Only
Class size is limited to 10 students.
$1,195
Subject matter limited to animals only. Suitable for all levels of students. Subjects limited to animals.
October 16-20, 2023
Live Online ADVANCED STUDENTS Class with Susan Carlson
Class size is limited to 8 students.
$1,495
In an advanced class we ask that a student have taken at least two classes or other fabric collage learning venues from Susan (e-Workshops, private coaching, Patreon Show-and-Share) so I have an idea if this level will be a good fit for you. If so, Tom will then send you a link to sign up for the class.
Facial Features eWorkshop
Click here for more information.
- Eight videos (over 8 hours combined length) collected into one convenient and organized spot
- Each annotated with “Jump Points” allowing you to scan forward and backward to the information you need
- Facial Features Templates included as PDF’s to download and work along with
- Like the Fabric Collage Online Master Class, membership in this eWorkshop is for life
$99
BUY NOW
(With a special Summertime offer good from now through August 31st, 2023)
Fabric Collage Master Class
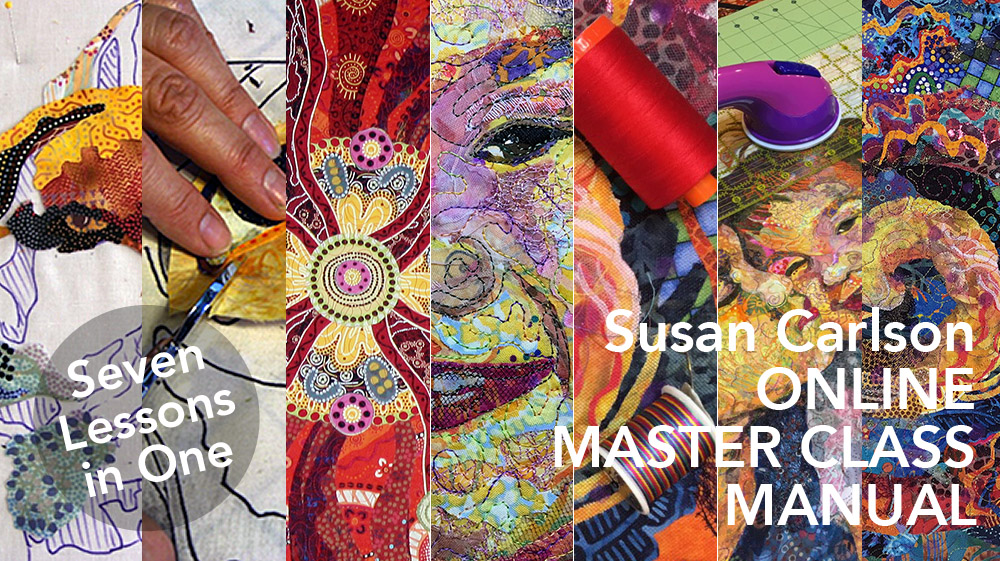
For instructions on the entire fabric collage process, you can purchase the Susan Carlson Fabric Collage Online Master Class Manual. Using video, photos, and text I take you from soup to nuts, beginning to end in creating your own fabric collage masterpiece.
Susan Carlson Fabric Collage: Spiral eWorkshop
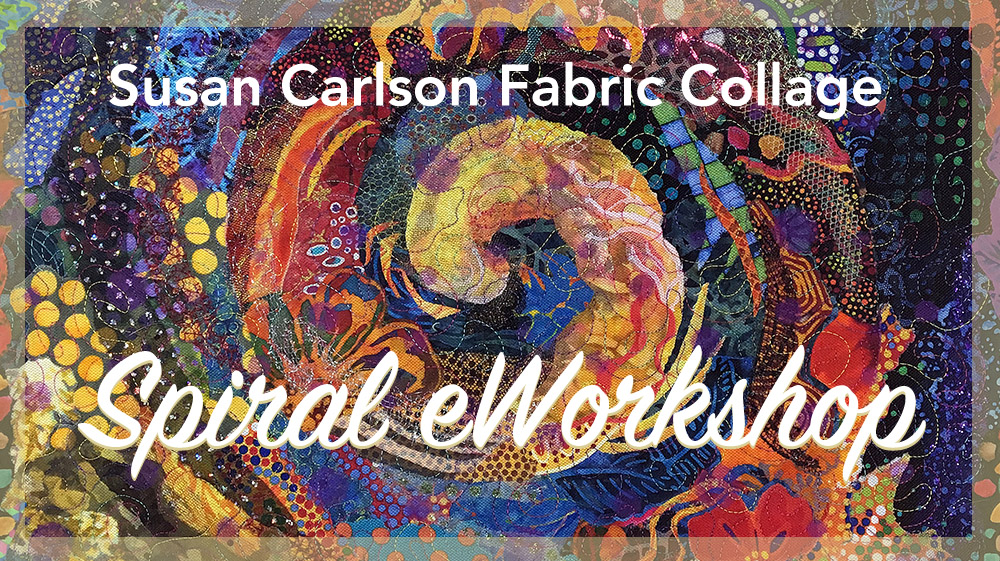
Wondering if fabric collage is for you? This eWorkshop is intended for beginners in fabric collage. The spiral project is simple, low stress, but still teaches the basic techniques of fabric collage. It also serves as a handy refresher course for those with more experience.
Susan Carlson Fabric Collage: Sea Turtle eWorkshop
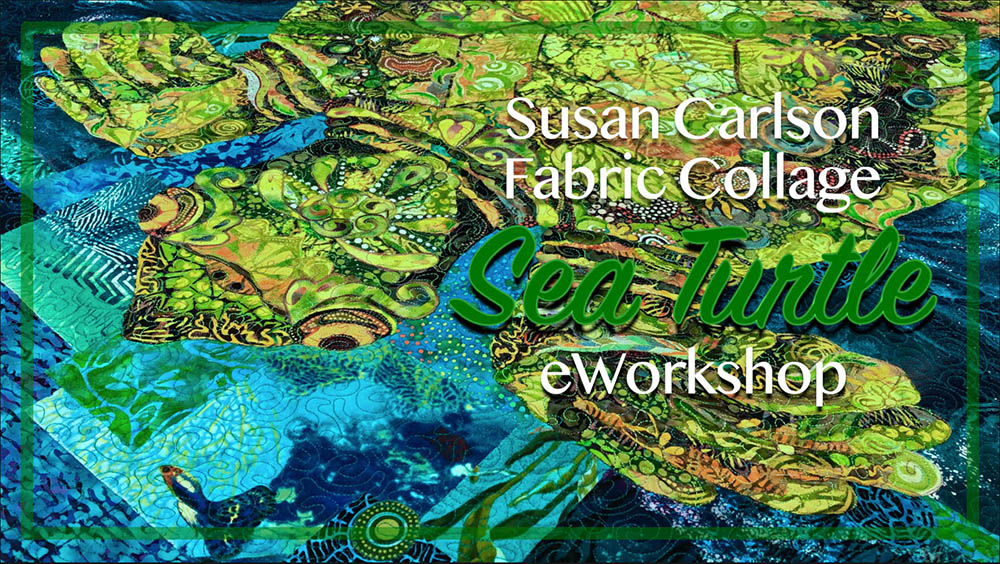
Learn fabric collage with Susan Carlson. Each step is clearly written, illustrated with photos, and demonstrated with video. Learn with a Sea Turtle then launch into any fabric collage project you wish.
Serendipity Quilts for Sale
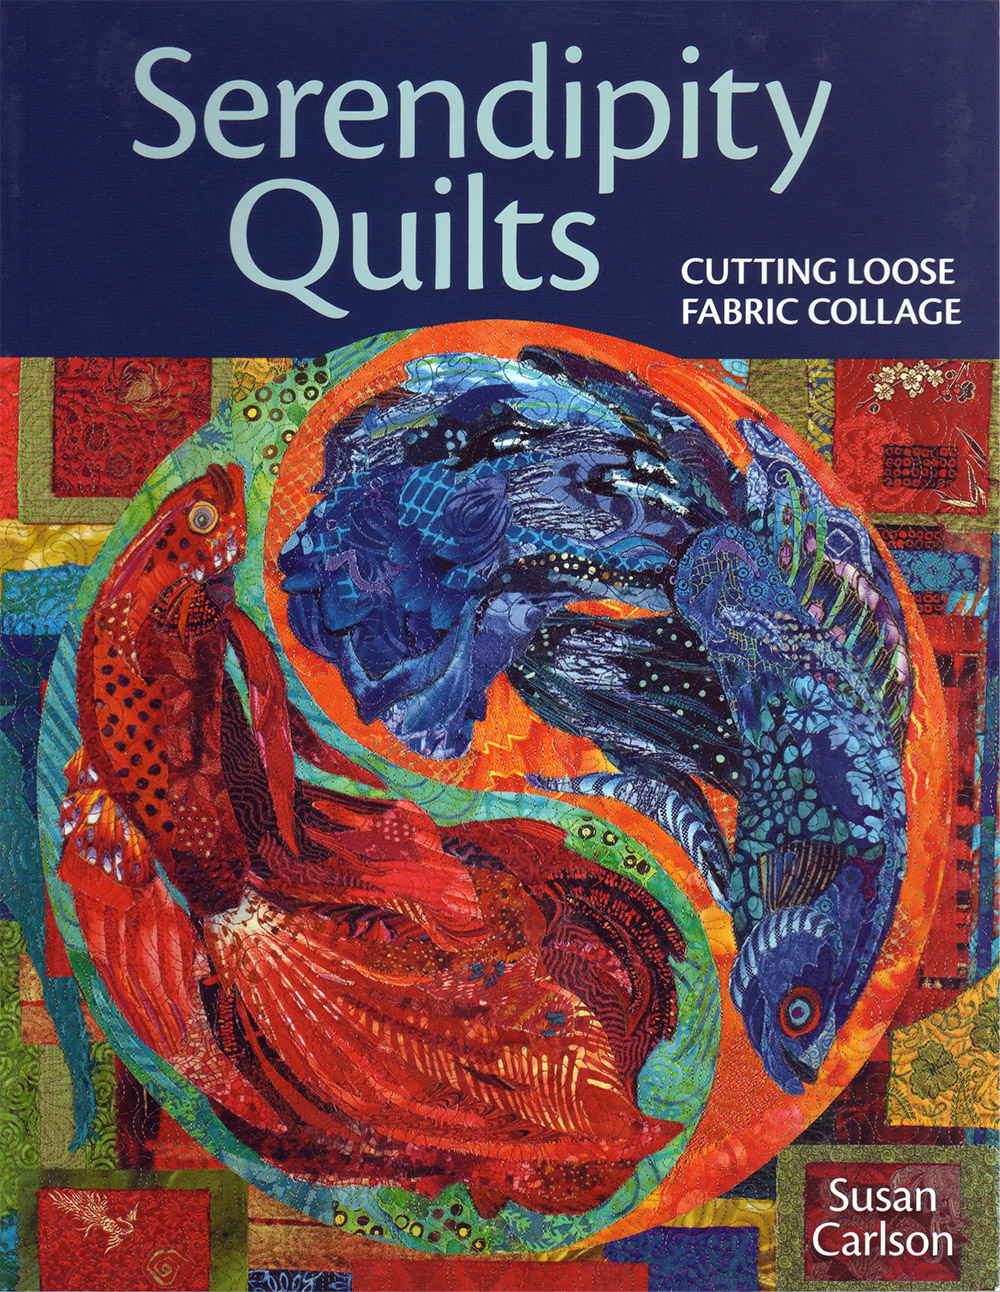
$29.95 plus shipping. Full color throughout. Four complete projects, start to finish, of increasing complexity. Learn fabric collage with this book.










Susan,
I’m so sorry to hear of your father’s passing. You have my sympathy. I’m glad to know that you changed your teaching schedule/method in time to savor your last few years with your parents. You took such exquisite care of them. Take good care of yourself now. I can’t wait to see what you make next. Sending lots of hugs!
Jackie Zydeck (Chicago)
I’m so very sorry Susan. What a tough couple of months you have had. I am thinking of you and your family. Take care.
Susan, prayers for you and your family. I am sorry for the loss of your mother and now for your father. May you find peace in your family memories.
My condolences for the loss of your parents. May you find solace during this time of mourning.
I am so very sorry for your loss. Sending love and hugs, may the comfort of your studio and your art practice assist you through this grieving process.