When Is My Fabric Collage Quilt Done?—Fabric Collage By the Numbers #12
By its nature fabric collage is flexible. It allows you to make changes on the fly. Even after you’ve made one choice you can change your mind.
The only down side to this flexibility is that it’s sometimes hard to know when to stop!
Each fabric collage quilt is different, but there are some criteria that I use that may be helpful you when you reach this stage in your collage. Those criteria are covered in this week’s post.
Tom and I are using part of our summertime to provide you with a sort of DIY Summer Collage Camp—or a Winter Collage Camp for those of you in the Southern Hemisphere. We’re calling it “Fabric Collage By the Numbers,” addressing all the steps of creating a fabric collage quilt. We hope you’ll participate from wherever you are in the world—no travel involved.
Pulling from six and a half years of fabric collage blog posts as reference material, we are delving into that content to give you a summertime lineup that you can follow along with. At the start of this series, there were eight weeks left of summer (not by the calendar but by the very subjective lens of the Maine climate!) so each week we’ll deliver two posts for a total of sixteen in the series—unless we re-discover more relevant posts along the way!
Posts from our Summer Special include; #1—choosing your photo (posted on July 7), #2—choosing a subject (posted on July 9), #3—making a pattern (posted on July 14), #4—how to choose fabric (posted on July 16), #5—making a fabric palette (posted on July 21), #6—using glue in fabric collage (posted on July 23), #7—sequence in fabric collage (posted on July 28), #8—sequence in faces (posted July 30), #9—adding sheers in sequence (posted August 4), #10—using your background to tell the story (posted August 6), #11—basics of adding sheer fabrics to your collage (posted August 11), to eventually hanging your fabric collage on the wall (planned delivery on August 27), we’ll cover each step with at least one previous post.
You may have read some of these posts before, if so this will be a refresher for you. The information may also be reminiscent of information found in our online learning resource the Fabric Collage Master Class. If so, know that you’re not imagining things. Much of this information is gathered, reorganized and expanded upon in the Master Class. For more information about the Fabric Collage Master Class, click the button below.
When Is My Fabric Collage Quilt Done?

Making a fabric collage quilt—it can go on forever. There is no ribbon stretched across the finish line to break through when your quilt is done. Maybe you’re a perfectionist—I find that many quilters are—and you want to get your image just right, so you tinker, adding this, taking away that. Since it’s a collage, you can always add more fabric. So how do you know when it’s done?
This is one of those questions that can be answered tritely with a response that isn’t really an answer at all:
It depends.
Or even better:
When you think it’s done.
These answers aren’t helpful, of course.
In my own personal case, a quilt is often done when I run out of time. I sometimes use quilt shows or exhibitions as added incentive to start the next big project. There’s always a deadline attached to such events, which for me means working right up to the last minute, pulling an all-nighter or two near the end, and shipping the quilt off while it’s still warm from the machine-quilting.
This is not a method I recommend for deciding if your quilt is done. And it does nothing for your partner’s stress level.
Instead I offer you this checklist of questions to ask yourself when you get to that “Is it done?” stage. You may find all of these questions helpful, or you may rely on one or two, or it may vary from case to case.
- Have you asked someone you trust for their opinion?
- Have you created and completed a punch list?
- Are you excited to get working on a new collage?
- Have you added bits of the favorite fabrics you picked out before you started?
- Have you learned all you can from working on this particular piece?
- Is done better than perfect?
- Have you reached the final draft stage?
1. Have you asked someone you trust for their opinion?
The someone I refer to might be a particular person or a group of people. I emphasize that this should be someone you trust to give you an honest opinion while delivering it in a way that won’t be hurtful. It does you no good to show someone your nearly finished quilt and have them say “Looks good to me!” It’s nice to hear that, but that’s not what you need. Equally, it’s not terribly helpful for someone to say “I don’t like it but I’m not sure why.”
I have an in-house critic. And believe me sometimes he’s tough. But he’s observant and worth getting his opinion. He caught a flaw in the leg anatomy of my twenty-foot croc, and even though the initial draft was nearing completion, they needed to be changed. He knows that after months of working on a piece, it can be hard to see it clearly and objectively. I could miss the little details as well, like a shadow under a nose or a highlight that will make a feature stand out more.
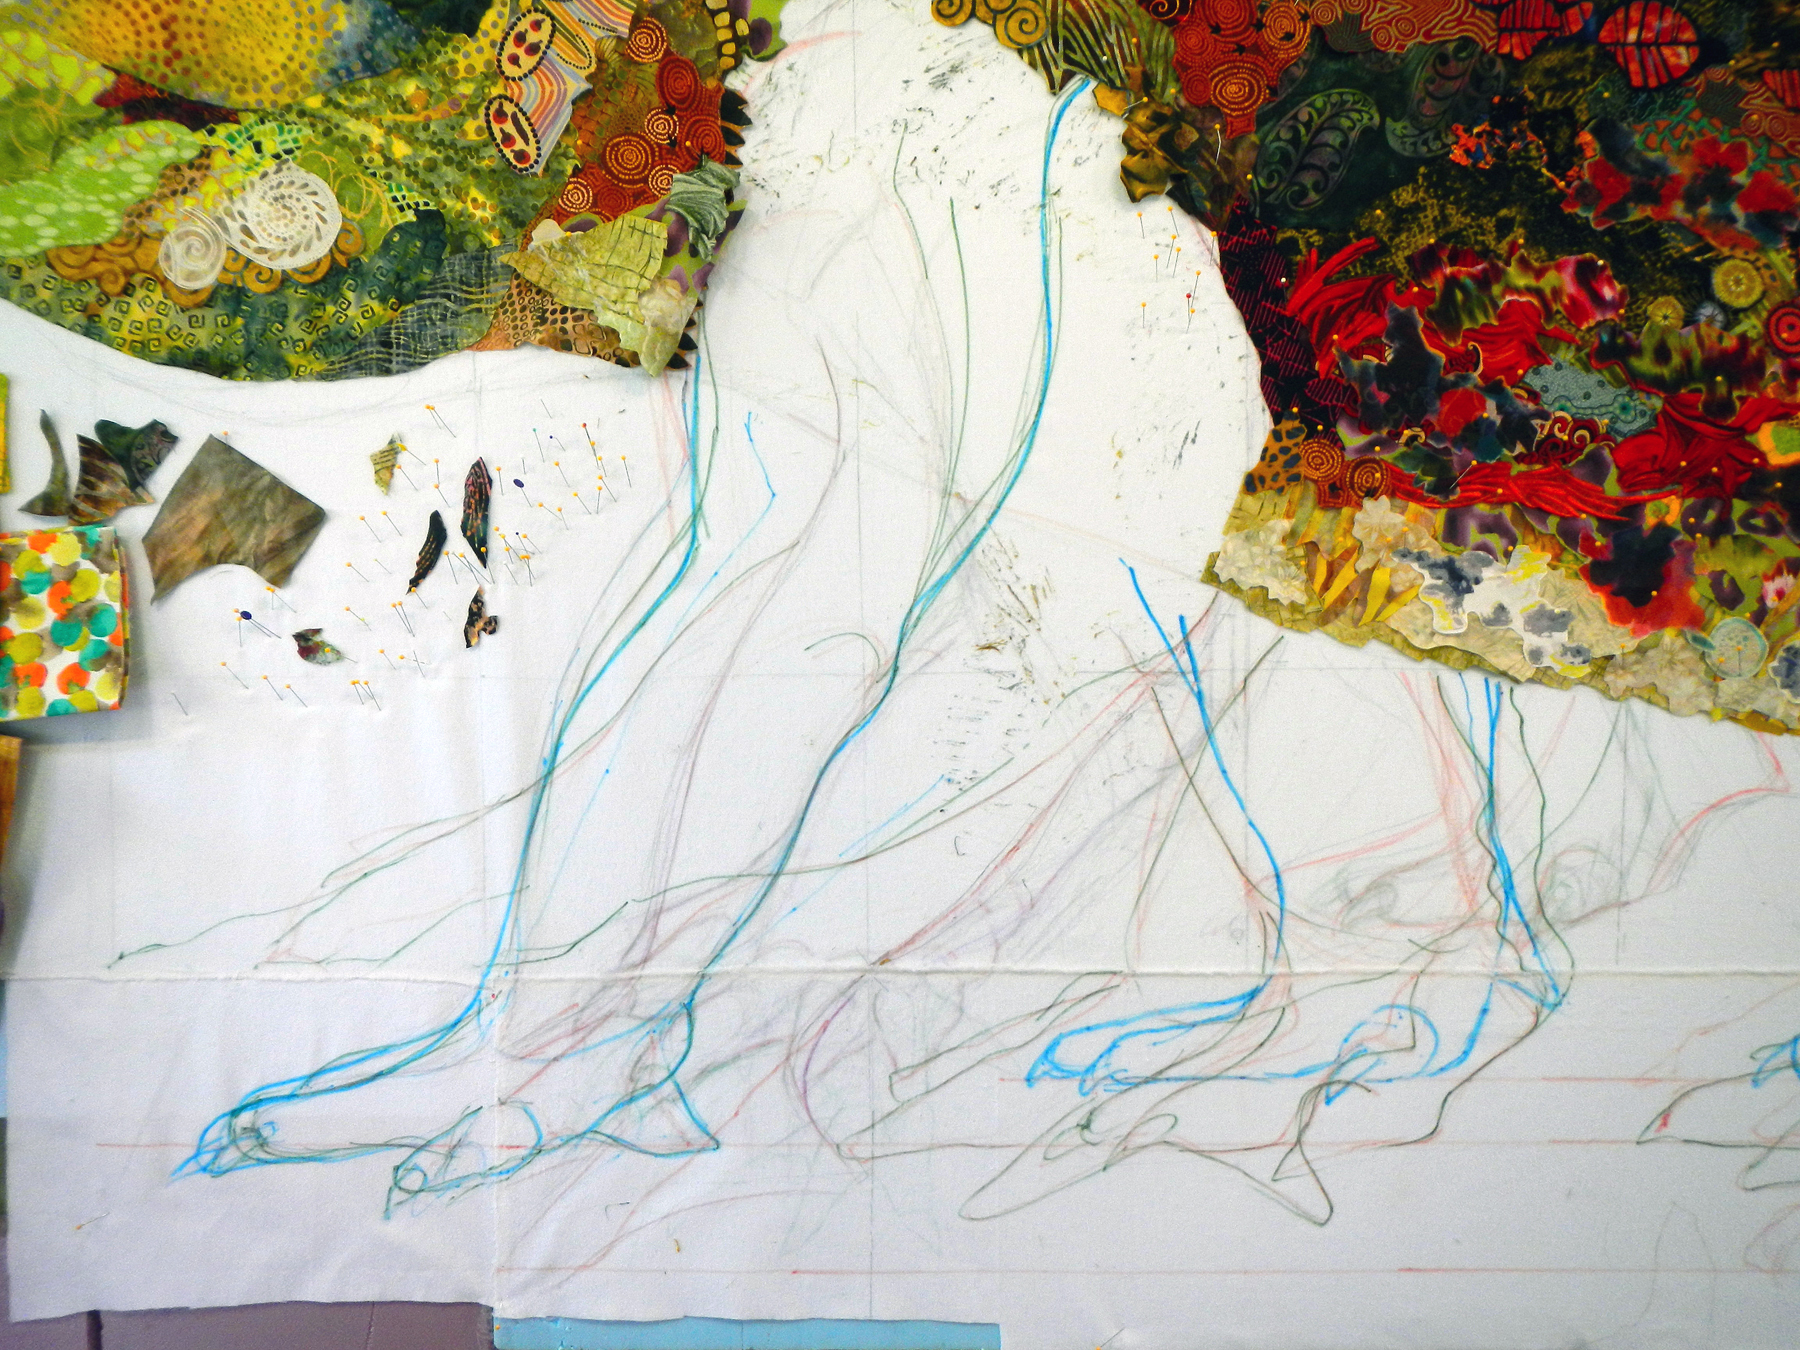
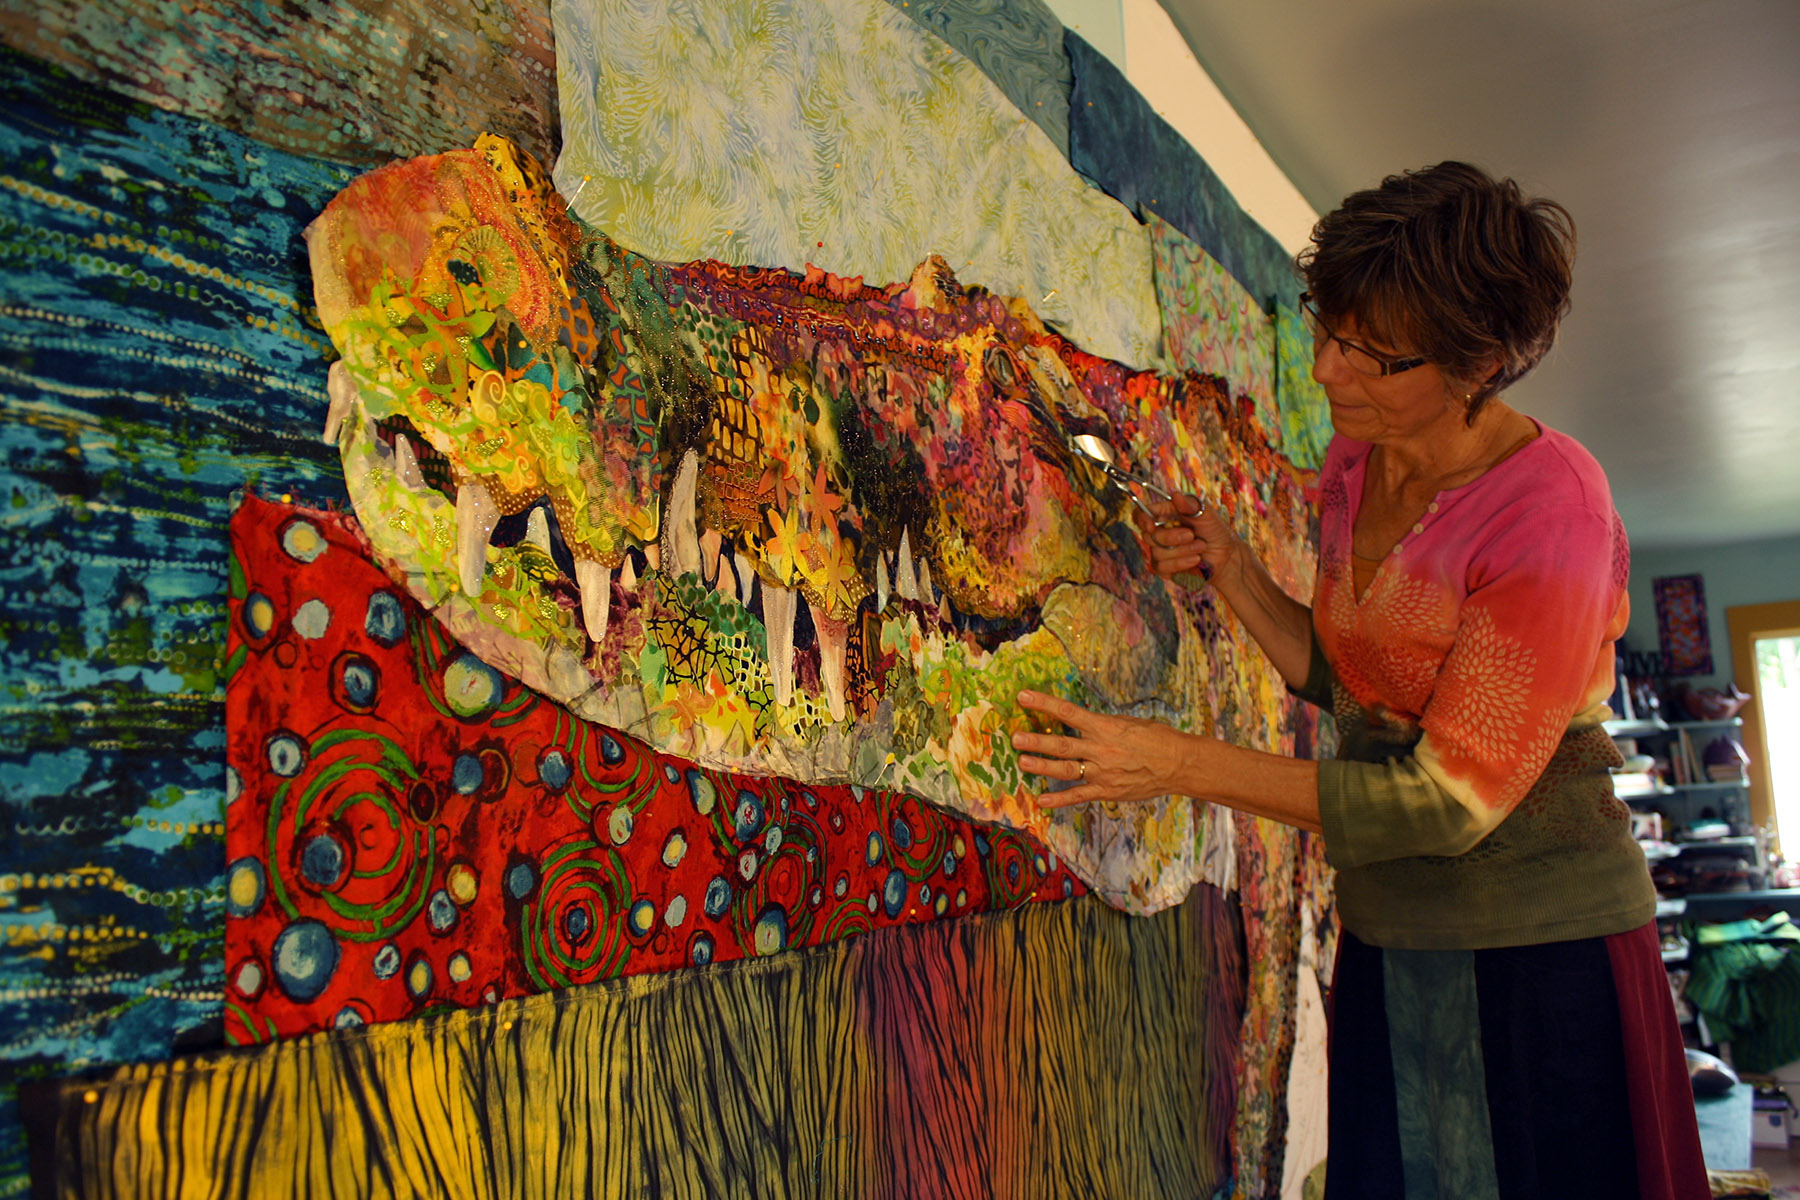
The person or people you trust to show your nearly-completed quilt to needn’t have quilting experience. The person you trust might be another kind of visual artist. Or maybe not. Tom doesn’t consider himself a visual artist, but he has a “good eye” and he’s willing to challenge me.
Find someone who has a good eye and who will be honest with you. They’ll help you decide whether your quilt is done or not.
2. Have you created and completed a punch list?
When I get near to the end, I develop a “punch list” of things to fix, part of what I refer to as a third (or final) draft. I’ve already taken care of the bigger and more obvious issues, but fixing all the little niggly things really adds some polish to the piece.
In the video excerpt below, I talk about the punch list I developed for “Monarch Maia.” Note that the level of detail on the list is fine and specific. These are the small things that I feel make a difference in the end. I know I’m close to finished if the things I find to fix are getting smaller and smaller.
3. Are you excited to get working on a new collage?
I find that if my thoughts keep straying from the image I’m working on to new ideas or new projects, I’m probably done with the current quilt. This happened to me while finishing up my newest quilt, “Monarch Maia.” Toward the end, my mind kept wandering to what I would do next.
While I haven’t actually started the next quilt, I am ready to move on. I’m no longer thinking about how to portray monarch butterfly wings. I’m not worrying about whether Maia’s nose is too wide. My mindset has changed. I’ve shifted gears. It wasn’t even totally conscious, but something in my brain knew that “Monarch Maia” was done and it was time to consider the next collage.
4. Have you added bits of all the fabrics you picked out before you started?
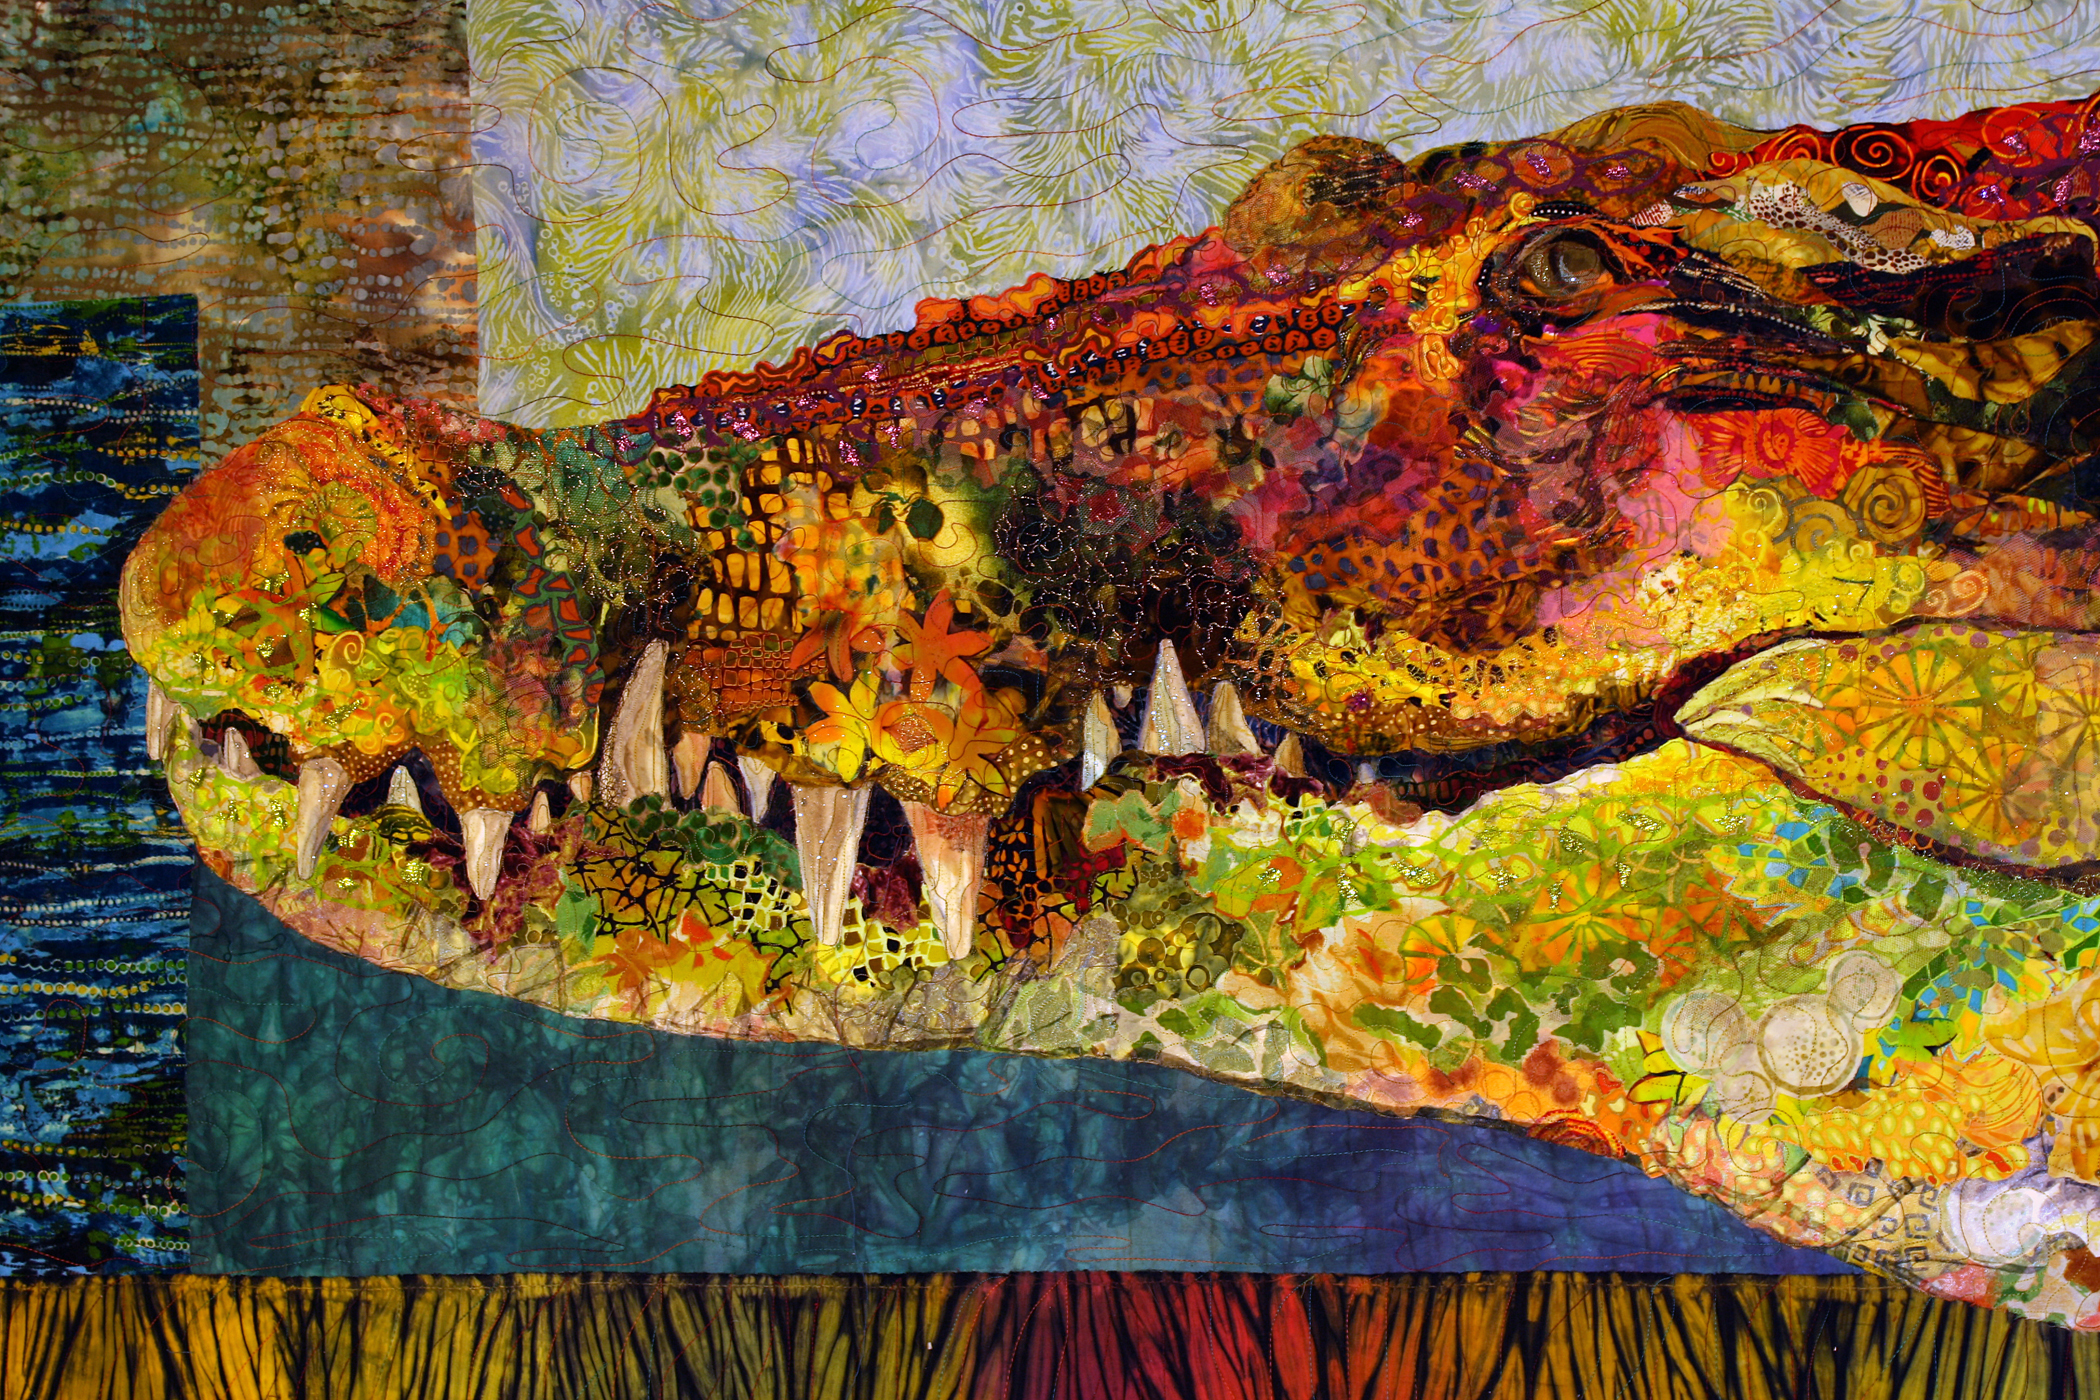
Let’s set the stage. I’m finishing up my quilt “Crocodylus Smylus.” It’s the evening before the morning when I’ll pack her up and take her to the quilt shop where I’ve arranged time to use a long-arm quilting machine. After nine months of steady work, I’m tidying up the fabrics I have piled in heaps at the base of my pinning board. Then I find them: a stack of fabrics I pulled months ago, ones that I bought specifically to use in this quilt—beautiful hand painted and stamped beauties, set aside for the final crocodile skin details. I haven’t touched them yet, I forgot I even had them.
What do I do? Shrug and say “Oh well, they didn’t make it in”? Not on your life.
Instead I brew of pot of coffee and pull an all-nighter so I can work them in. And it was totally worth it.

Again, not something I recommend. But in theory, using those special fabrics you really wanted to include when you started, is a pretty good indication that you’re close to being done.
5. Have you learned all you can from working on this piece?
Sometimes, it’s better to use a fabric collage as a learning experience rather than requiring it to be “perfect.” Other artists practice their art by doing exercises or studies. Painters do this with sketches. Sculptors do it with clay. They learn from these attempts then apply what they’ve learned to future work.
Maybe your fabric collage project fits this description. You’ve learned a lot in the making but it will never be exactly what you had in mind. So why worry it further? We all have UFOs (UnFinished Objects). It’s not the end of the world. Take what you’ve gained from the experience and move on.
6. Is done better than perfect?
But let’s say you can’t move on and leave behind a UFO, you gotta finish this quilt if it’s the end of you. Your quilt can still get done, though it may require being nice to yourself and letting go of perfectionism. That’s my new favorite saying: “done is better than perfect,” and it applies to oh so many things in life.
I think it’s because we compare ourselves to others, all the perfect this or thats we see in the media and online. And we want it all now. We’ve worked long and hard on this #%*$ collage and it’s going to get done, galdurnit. If that’s the case, then read and work through Question #7—and call it done, regardless of how perfect it may be.
7. Have you reached the final draft?
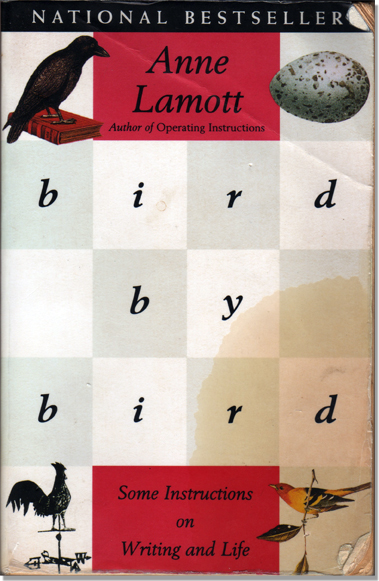
It may help to think of your quilt in terms of drafts. As I outlined in my blog post, “Bird by Bird”: How I Use a Book on Writing to Teach Fabric Collage, author Anne Lamott has developed a way of thinking of her writing that I (and others) have found useful to apply to our own art. (My well-loved copy, complete with coffee stain and dog ears, appears below.)
Lamott defines three stages of writing: the downdraft, the first draft where you just get stuff down; the updraft, where you fix up what you’ve put down; and the dental draft, the final draft where you check each tooth to see if it wiggles or not.
In the case of my own work, I find that downdrafts and updrafts tend to run together (I sometimes make improvements to the first draft as I go along) and the dental draft itself usually has two or three stages, picking tinier and tinier nits.
It might help you to think of your fabric collage quilt in terms of drafts—and keep it to three. You’ve completed the downdraft, covering your entire quilt. You’ve worked through the updraft, fixing or improving the major issues. If you’ve finished the final dental draft and checked off the punch list (see Question #2). Then maybe, just maybe, you’re done.
When is it done?
The more experience you have the easier it will be to answer this question. Maybe your art quilt group says it’s done. Maybe you’re satisfied how you’ve used that fabric set aside for this collage. Maybe you’ve been in the final draft stage for a week and are ready to be done. All these things will tell you that you can stop. Put down your scissors and your glue bottle. Get your machine ready for free-motion quilting. Or, maybe even set it aside and walk away.
Pat yourself on the back. Then start dreaming about your next fabric collage quilt.
Susan, thankyou for your wonderful emails. I love your work, reading your news and processes and looking at your masterpieces. You have created so much inspiration for me. I can’t wait to try and create a collage. My son would like me to makes him a wall hanging with a kookaburra. Time permitting I will study your process further and dive into the process. I have a sketch..
Thank you and have a lovely day.
Kind regards
Carole Young
Thank you for your lovely comment, Carole. I suggest you dive in before you’re “ready”—figure it out as you go, step-by-step—and you already have the first step done! Steal some time here and there to create that kookaburra and it will eventually come to life. Your son will probably enjoy seeing the process (and will appreciate the work that you put into it!) if it comes together over time. My latest quilt, a portrait of my own son Sam, took two years to complete (between life’s other moments), and Sam was home to see it evolve through all its stages and edits. Have fun with your collage!