")
Fabric collage involves a lot of fussy cutting—and trimming—and snipping. Inevitably the process creates a ton of scraps. I tell my students to save their scraps. And they ask me, how big does it have to be to save?
I tell them no scrap is too small to save.
At times, students in a classroom haven’t taken me at my word and after they’ve left (I’ll admit this), I’ve gone around and scooped up the juicier scraps from the floor. Yes dear readers, I have a deep appreciation for scraps.
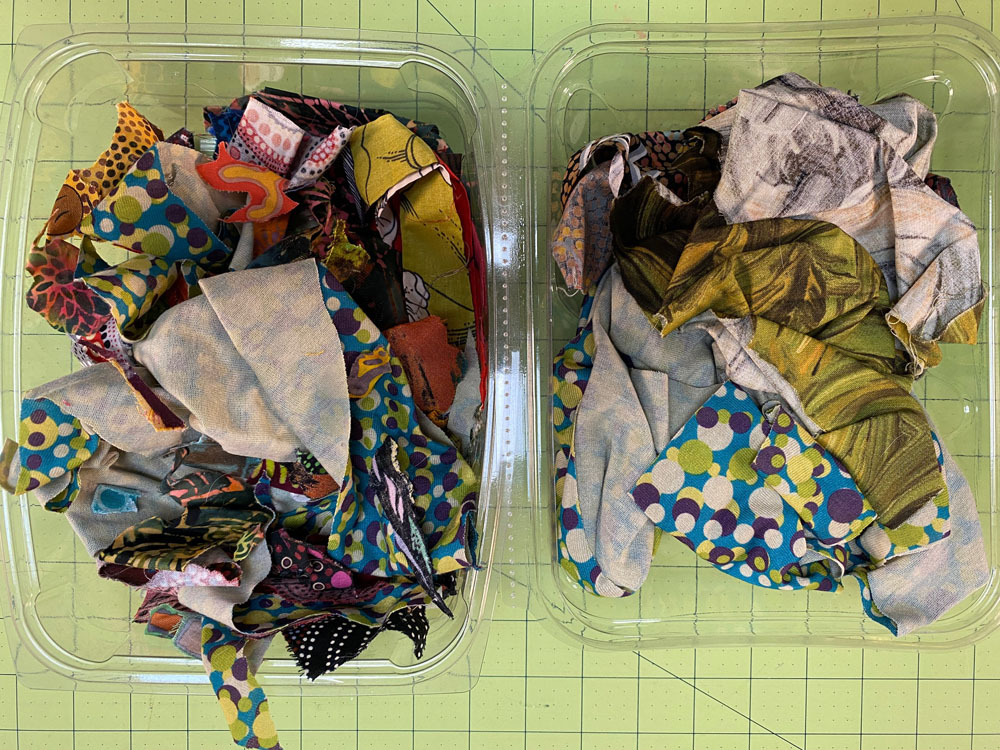
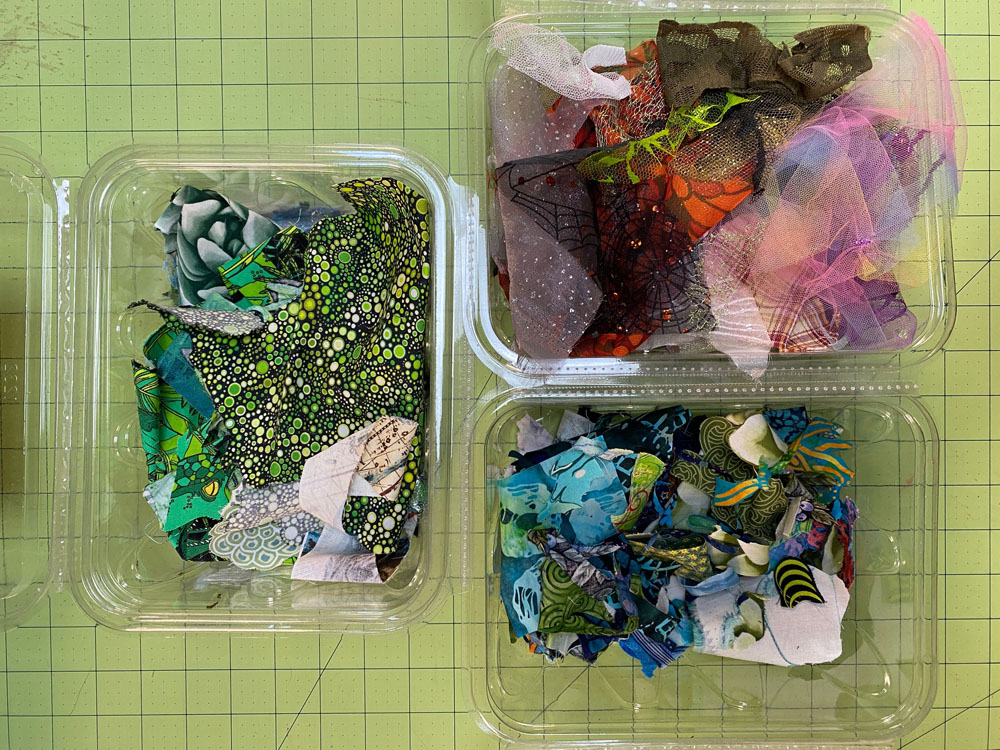
Of course, saving fabric scraps creates the issue of how to organize and store them. I’ve been less successful at organizing and more successful at storage. It’s easy to stuff scraps into bags or boxes. I’ve stored many a bushel of scraps in those now vintage hard-sided suitcases. Though nowadays, I tend to organize scraps by project or by color in plastic lettuce boxes, as you can see in photo above.
For more information on storing fabrics of all kinds, see my blog post: “Sort It Out: Organizing Fabric (Updated)”.
At the completion of each collage, I’ll be somewhat surrounded by a collection of fabric bits—sometimes more, sometimes less—but always enough to save, mementos of the creation of that quilt.
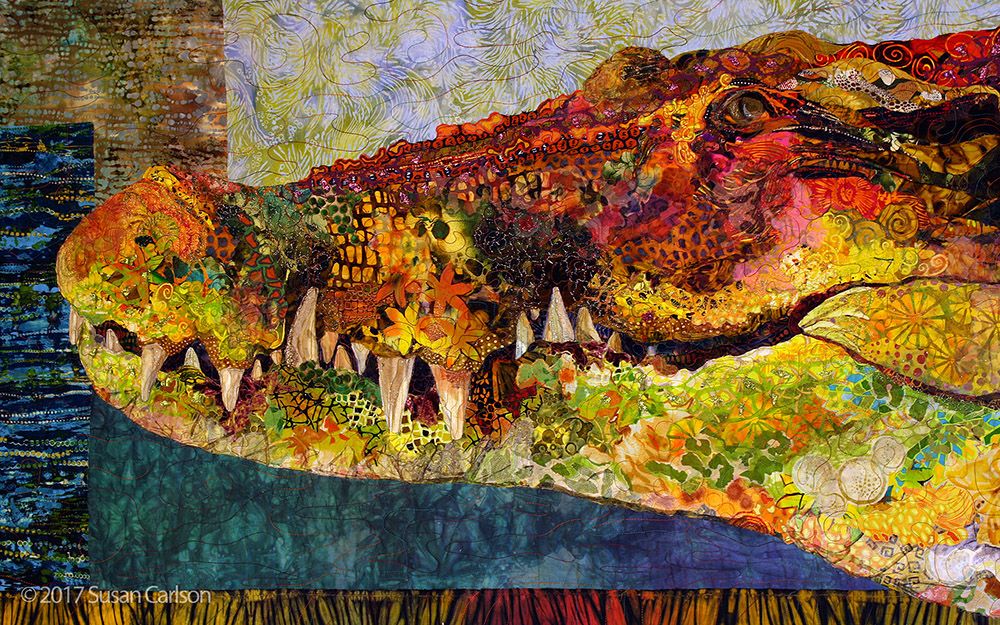
Crocodylus Smylus
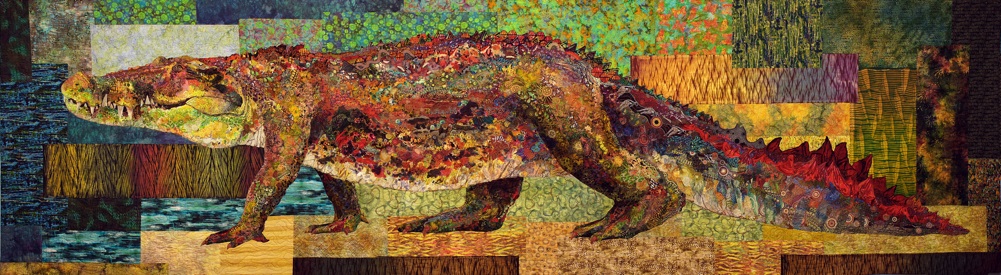
Tom says I could make another twenty-foot saltwater crocodile out of the scraps I created making “Crocodylus Smylus.” That’s an exaggeration, of course.
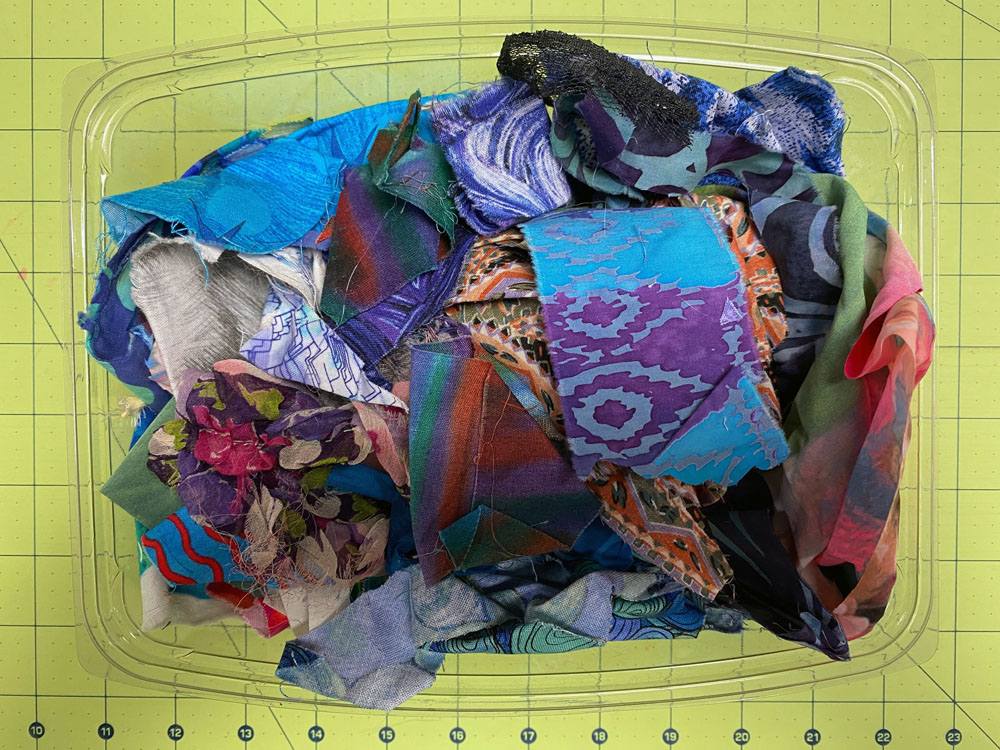
The scraps in the lettuce boxes below aren’t organized by color. But they are handy enough so that if I wanted to find a particular fabric it wouldn’t take long. Sometimes that happens, you know. I think to myself, “What I really need is a piece of fabric I used here in this quilt. I wonder if I have some scraps of that?”
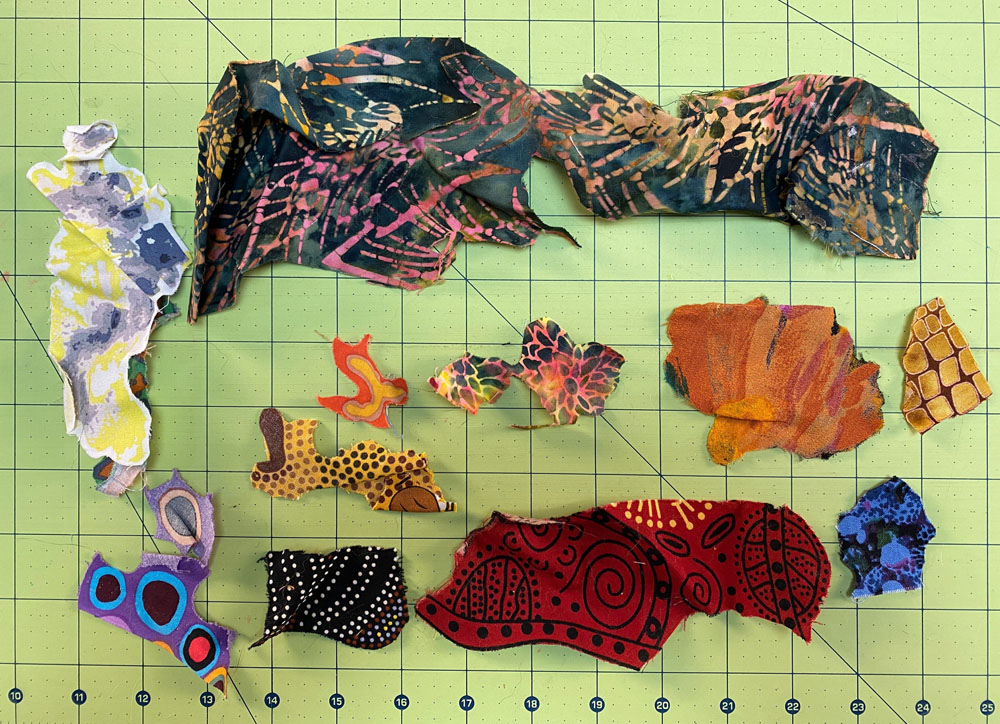
Can you pick out the (somewhat) scaly textures in the prints of many of these fabric pieces? From darker shadows in the leg joints to highlights on the belly there’s a little bit of everything. I did take much artistic liberty in the choice of color and selection of prints for my “Stevie” the Crocodile.
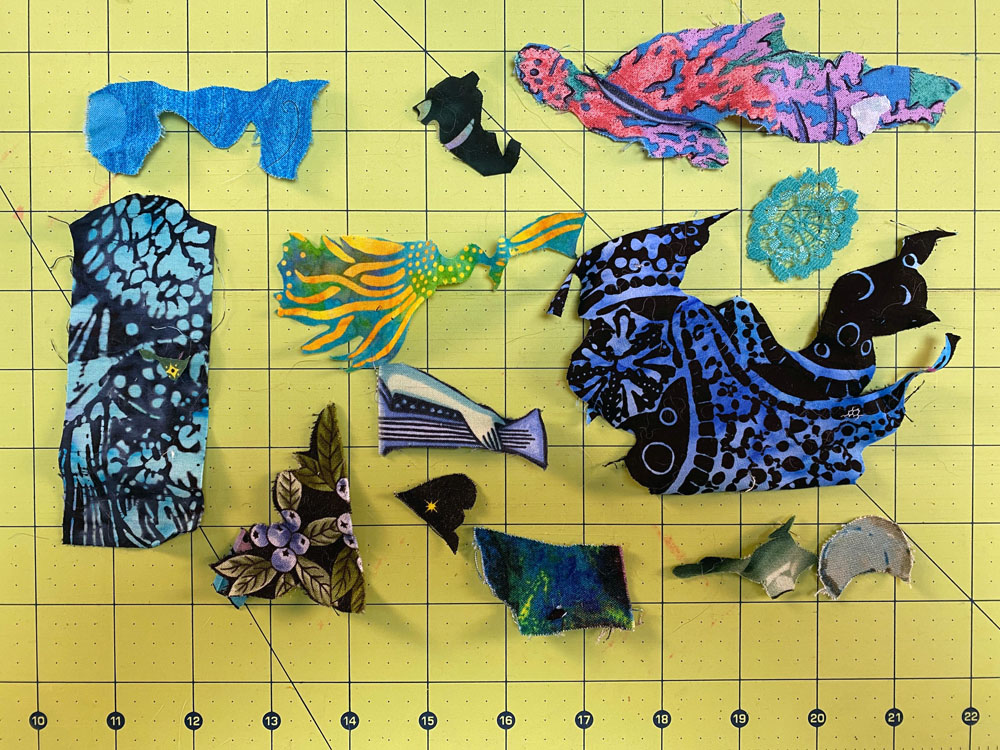
The grid background in these photos is the standard one-inch grid on my cutting mat. You can easily see how small some of the pieces are that I save—and many others are even smaller.
Earthshine
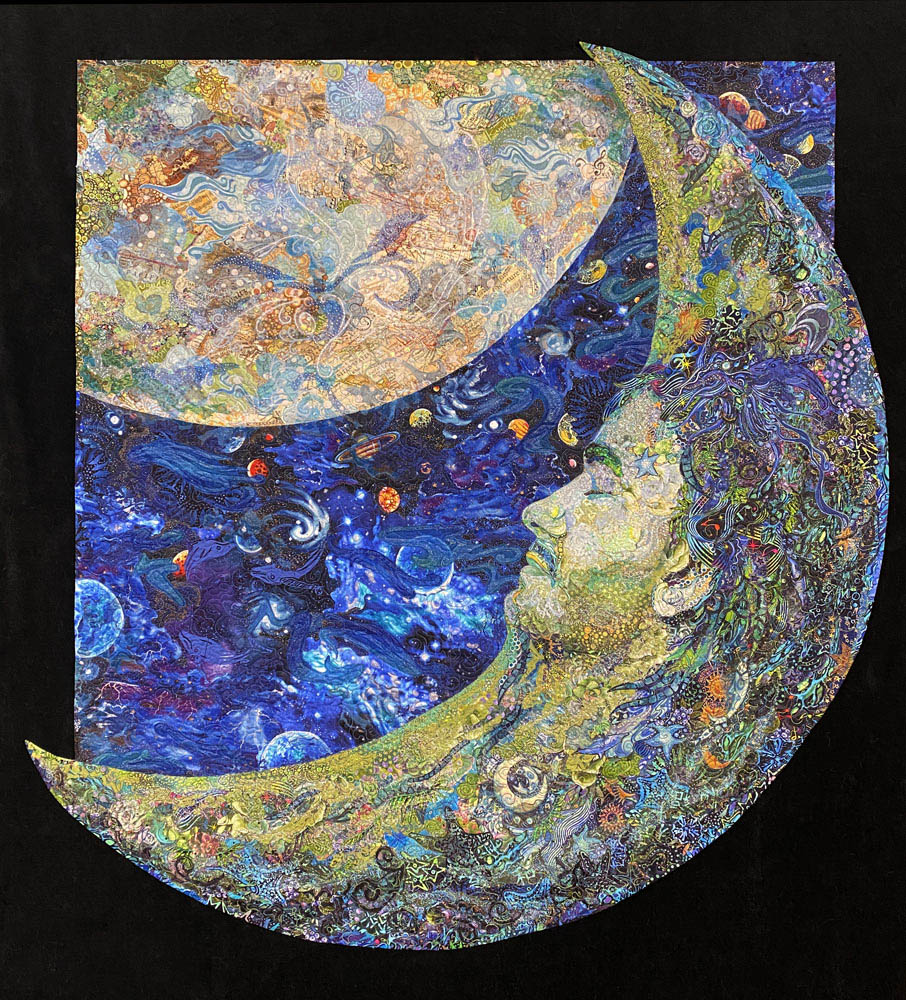
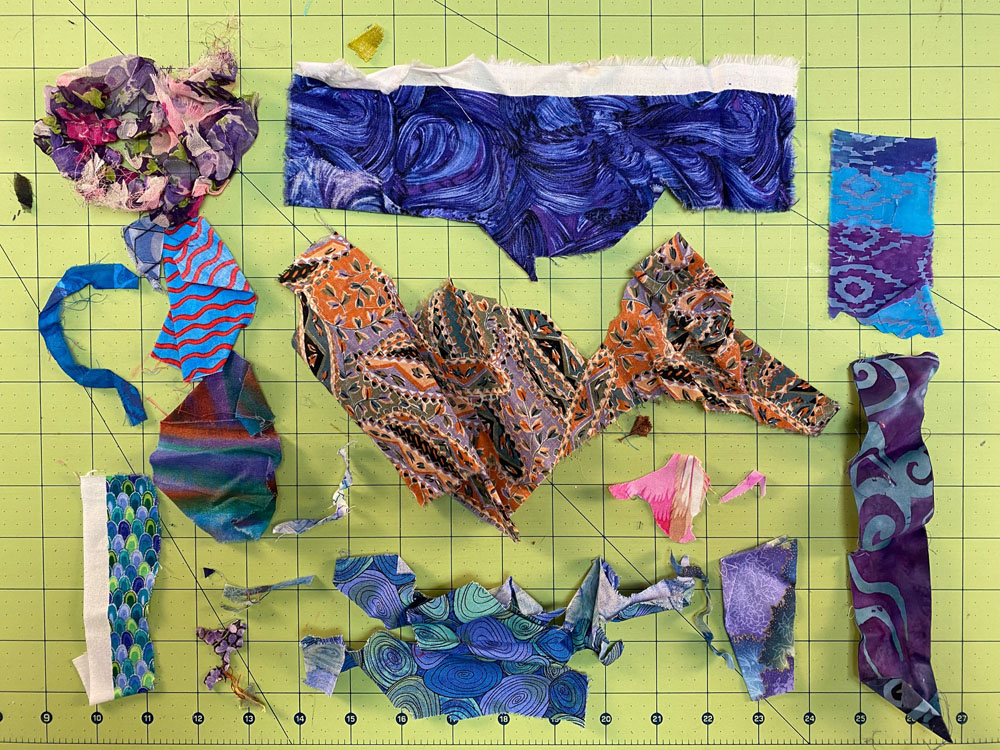
Below are some of the scraps I saved from making “Earthshine”—my most recently finished quilt. I had a little more time available as I was cleaning up my work space, so these scraps managed to get organized by color and type: mostly greens, mostly aquas, and netting.
The prevalent color in “Earthshine” is blue, so it’s no surprise that there are so many blue scraps. Throughout the piece I mixed in motifs from novelty fabrics. We live along the coast of Maine, so starfish and blueberries were an easy choice to include. Sam was a musical theatre major so I used several musical motif fabrics, though the guitarist didn’t make the cut (so to speak).
Kaloli Moondance
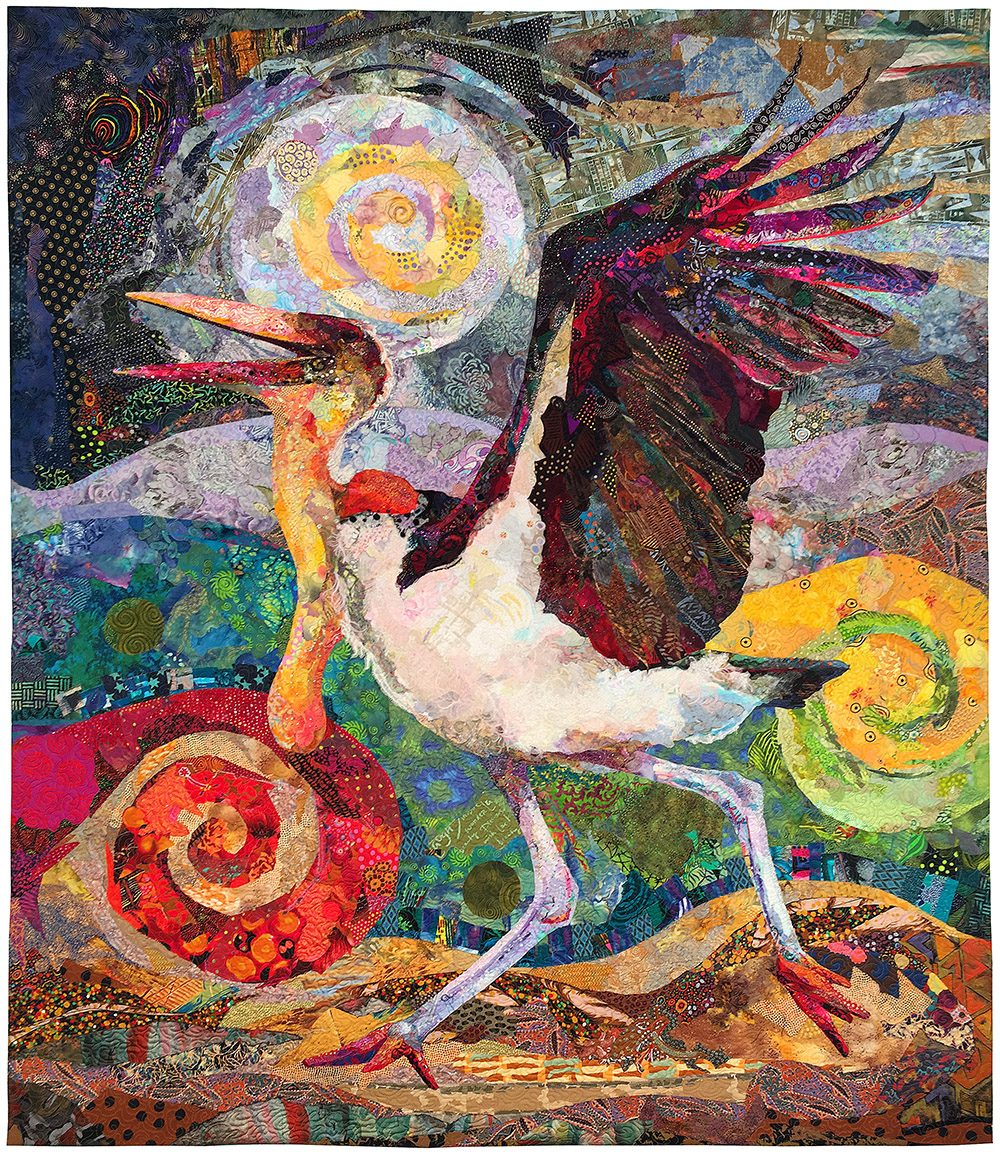
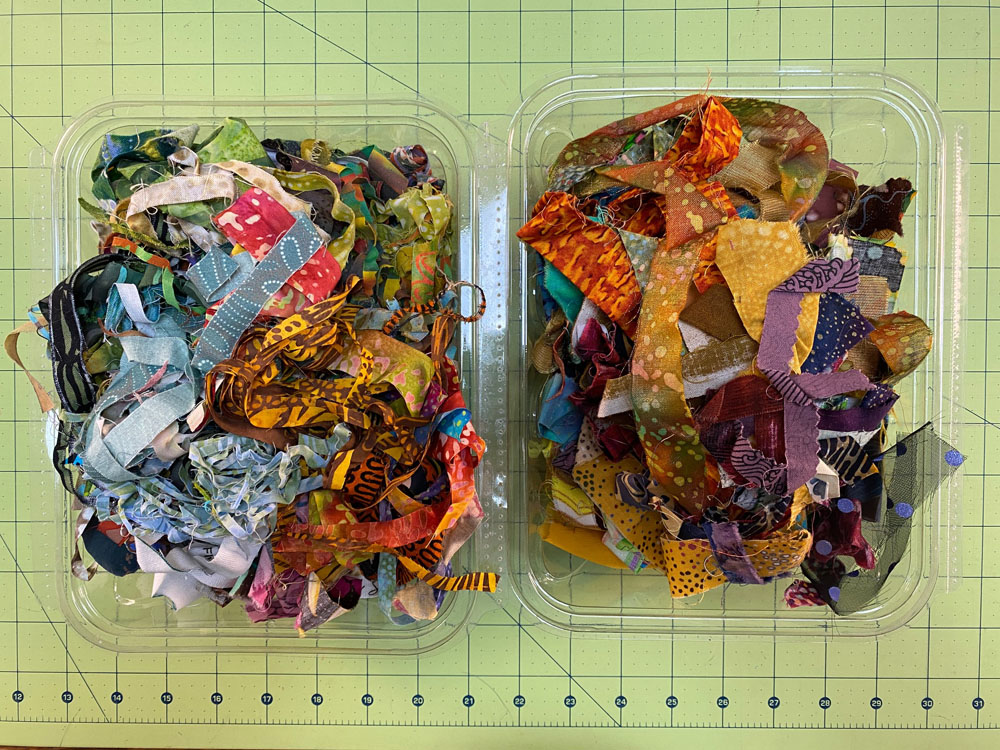
The point of choosing a Marabou stork as a subject was that they are scavengers. As such it only made sense to use existing scraps. After a couple decades of creating fabric collage quilts I had plenty to draw on.
Because I started with scraps which came from various sources, the box below represents a variety of fabrics I’ve used through the years—cottons, printed organzas, lace. And though I clearly found a home for a fair amount of scraps, it still seemed like I had just as much volume as when I began. As though, as Tom says, scraps somehow breed, creating more of their own kind.
Working with available scraps often means I need to be flexible with general color choices for parts of the collage. For instance opening up one of my “suitcase surprise” collections, there was an abundance of blue scraps. With no blues in the bird herself, I considered those blues for the background. So blue scraps were divided into piles of warm blues (leaning to the greens and yellows) and cool blues (leaning toward purples and reds)—eventually to become warmer and cooler bands of landscape and sky in the background of “Kaloli Moondance.”
Growing to the Light
I created this collage sample during our pandemic-inspired Thursday Night in My Studio Live! presentations. This piece, begun for the Facial Features Introduction presentation, was also created using existing scraps. Though still an in-progress sample, you can read more about this piece and the scrappy approach to fabric collage in this May 2020 post.
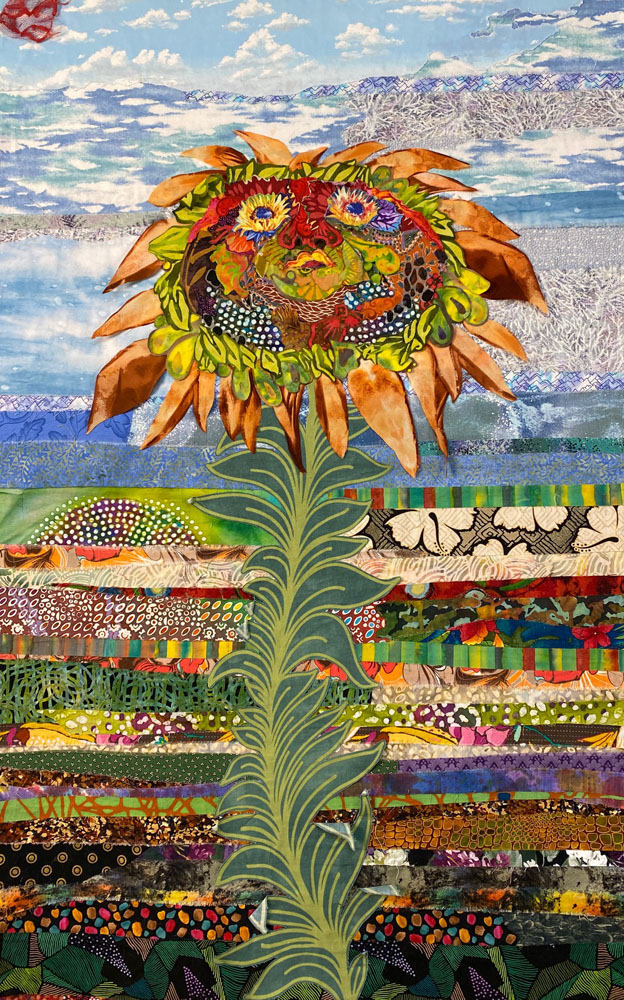
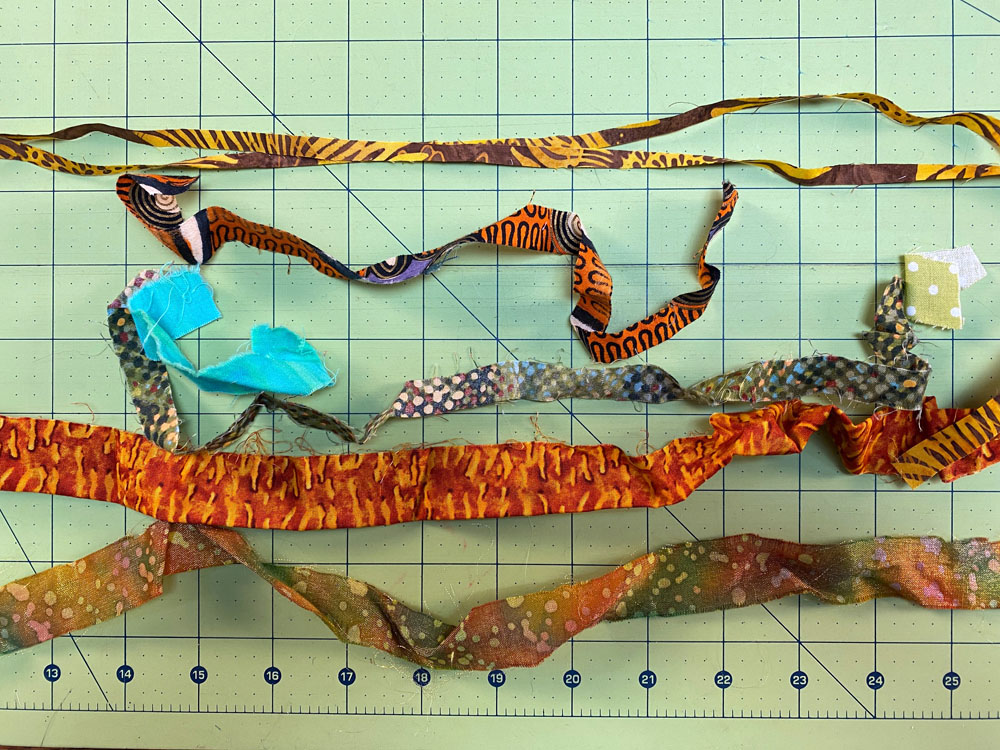
While most of my scrap-generated collages tend to work best with a more randomly shaped scrap, this example illustrates why leftovers of just about any shape can be useful. Even thin strips, some tapering to a point, found a home—creating what I see as a summer sky over an open field behind the fanciful sunflower. Many bits of fabrics made their way into this quilt—earthy browns, splashes of green, patches of flowers, and sunny sky fabrics. Much more variety than if I had been selecting fabric cuts from my neatly folded stash, another reason to give scraps a try.
Oh, and if you dread the idea of ironing all those tiny pieces of fabric before you can use them, remember this trick: simply spread them out as is, as best you can (or pin onto a board like a crazy fringe of fabric), then spritz them with a bit of water. Then take a break. Go make a sandwich, have a cup of coffee. When you return later, they’ll have smoothed out all flat and dry. It’s like magic!
In Conclusion
Of course not all your scraps may make it into neat little boxes, so go easy on yourself if some of them wind up stuck to your shoes or socks and you drag them all over your house. This has certainly never happened to me. Nope.
Save your scraps. In grocery bags, in Amazon boxes, in terra cotta pots—however you see fit. Then remember to use them! You’ll appreciate having them handy—to easily add a variety of fabrics to your next collage project, to share “mementos” of fabrics from one collage quilt to another—start to see your scraps as ready-to-go creative fodder.
I usually have a fabric collage in progress, and when I went to take a shower this morning, sure enough I noticed three different colors of tiny tulle scraps on my bathroom floor. 🙂
Great idea! Love the sorting by color. I have so many scraps from projects I have done. If they are really small, I use them for dog beds!
~Renay
I learned from the best – I now have16 large bins with scraps 1/2 cm to 25 cm – too small to fold is my criteria. They are totally useable. Thank you Susan!
Thank you, Susan for sharing some of your secrets.
I save the plastic containers that pretzel squares stuffed with peanut butter comes in for all my fabric scraps.
Now I’ll also save the lettuce containers.
Thank you,
Leslie Ann
I would like too learn this method. Any classes?
Merry, If you want to learn the method in-person check my schedule for classes. There’s a class that has openings this fall in Wisconsin: Woodland Ridge. However, there is also the Fabric Collage Master Class, which is an online learning resource you can access at any time, for life. I’ve included links below:
https://susancarlson.com/events/
https://susancarlson.com/about-the-fabric-collage-online-master-class/