
Background
About year ago I started incorporating more video into this blog about fabric collage. Video is everywhere these days. It has become or is becoming the preferred media in many online sites. There’s YouTube of course, but also you may notice your Facebook feed is littered with video. And as you may know for many quilting and craft sites video has become an ubiquitous teaching tool.
It seemed like a natural and helpful step to take to use video to help explain some of the ideas and techniques I was sharing each week. It also represented another area where I and my helper-husband Tom had little expertise. But we had iPhones and everybody was doing it. How hard could it be?
The short, unsatisfying answer to that question is: it depends.
It depends on how picky you are as a videographer. And it depends on your audience’s expectations.
Take a look at what an iPhone video looks like without special lights or sound equipment. This recreates an early test Tom did.
Turns out Tom and I are pretty picky. We are perfectionists when it comes to certain things like my art, his writing, and this blog which combines the two. (We are not so picky on things like, oh, say, housekeeping… But that’s another story.) We knew right away we had to do better than that.
Our audience is also picky. Because video is everywhere, people are more savvy than they may know. Their expectations have been raised. How long would you watch a video with tinny sound or a jiggling, out-of-focus or low-resolution picture? You may not even know you are noticing it. You may just be slightly annoyed. But you notice.
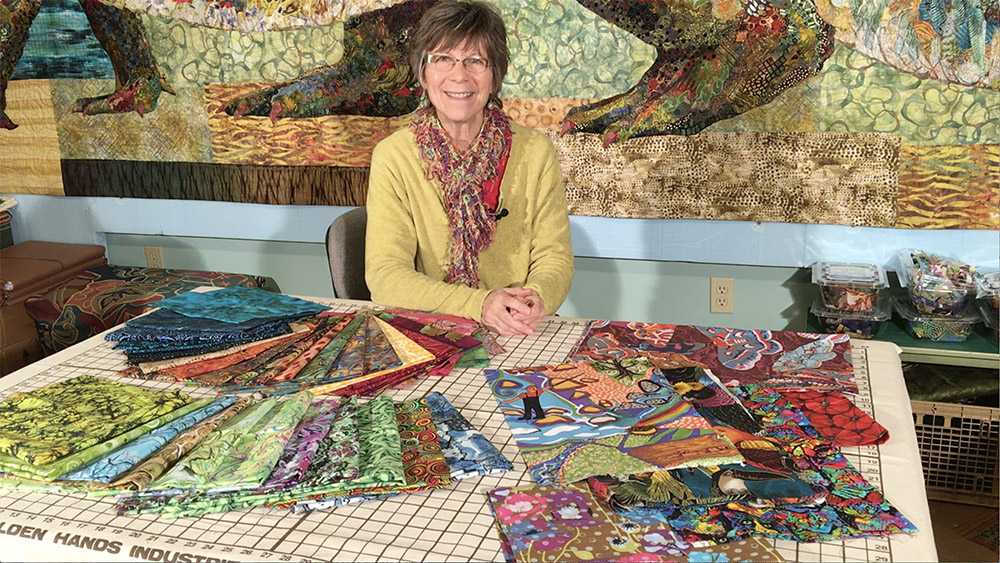
One of the first segments we shot shows that we were trying, despite our ignorance, to produce good quality video. Back in January 2017 we did a video to accompany a blog post called “Choosing Fabric for Fabric Collage.” The post was actually an update to an earlier post that didn’t use video at all.
For that video we had purchased “klieg” lamps from a home improvement store for lights and were using a $10 lapel microphone to record the sound. Obviously we knew we needed lights and a microphone but we were trying to cut corners on the expenses where we could.
Long story short: Tom now has a nice set of lights for doing repair projects and the cheapo microphone is stuffed in a drawer somewhere. We bought a set of three studio lights and a $40 lapel mic.
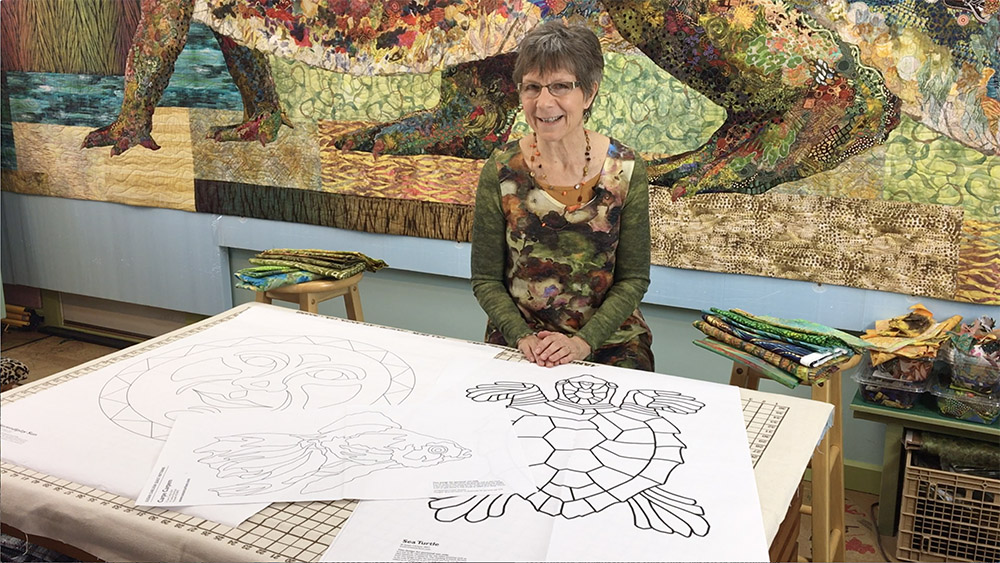
The two photos below demonstrate the difference in the lighting between the first video and one done after the upgrades. Tom has taken stills from each video so you can see them side by side (or top to bottom). Notice how harsh the shadows are in the first. The lighting is very uneven—too bright toward the center and fading to shadow at the edges. The second, with upgraded lights, is clearly more even and, importantly, more flattering.
Now as for the sound, it’s a little more subtle but you can hear the difference in the clip below, which features a bit of that first video and a bit from a later one. The first section with the old mic is a little muddy, a little ragged, almost echo-y. The second section is cleaner and clearer.
It’s not professional grade television quality video and sound (yet). But it is an improvement.
Production
Maybe we should start with a written script, but we don’t. Most of the videos are simply recreations of instructional talks I give at certain times in the classes I teach. So I know what I want to say. The trick is to sound natural saying it and remembering to cover all the points. But like any skill you practice, I think I’m getting better at it over time.
I have a grouping of clothes that I call my “teaching wardrobe” and usually I choose from them for the videos. I have the superstition that if I put on clothes that I feel comfortable teaching in, it’ll put me in the right frame of mind and I can pretend I have a class of eager faces in front of me.
However, the dangly necklaces that I also enjoy dressing up in for teaching, may need to stay behind for videos. It seems I sometimes gesture too much and they hit the clip-on mic, something that’s not noticed until Tom is back on his computer for edits. Oops.
Tom’s first step though, is to set up the lights. The photo below, where I was having fun with some sheers, shows what the lights look like. Typically they won’t be that close to me, but it gives you an idea. One on each side and one above.
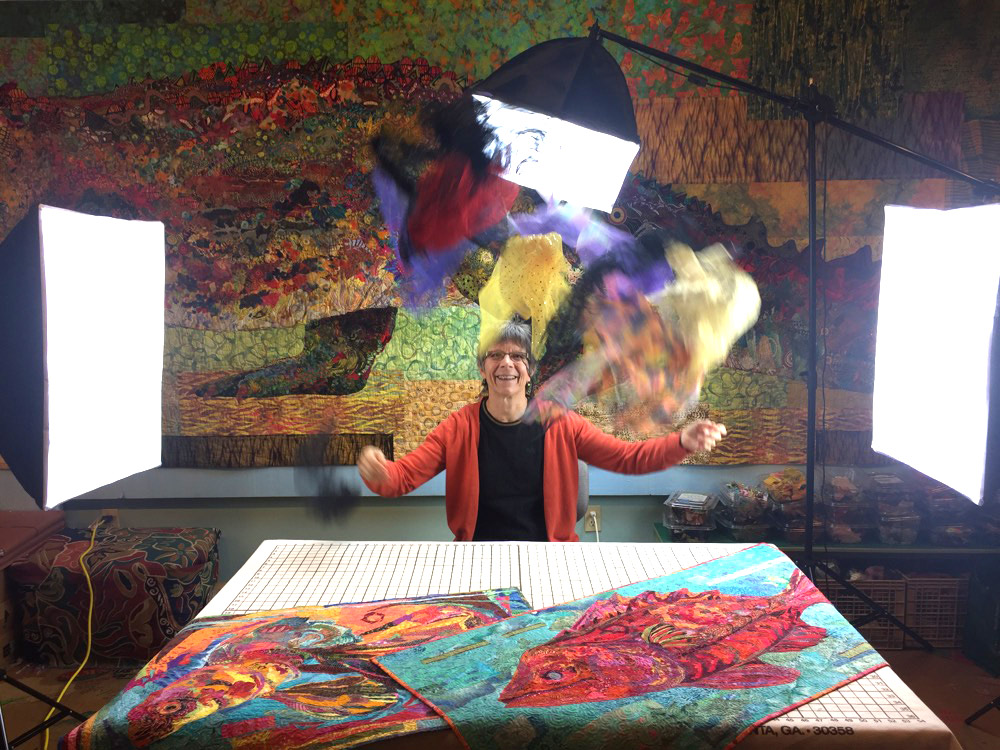
We also use the bank of natural-light fluorescents I use to light the pinning wall behind me. So between the two we get good coverage.
The set is pretty much the same each time. I have a work table in front of my pinning wall (currently the display wall for Stevie the twenty-foot long crocodile, a.k.a. “Crocodylus Smylus,” ).
Then Tom sets up the camera. For everything so far, we have used our iPhones to record the video. The lapel mic plugs directly into one of the phones, which is usually mounted on a tripod and takes an overall shot of me and my work surface, like the shots in the photos above. Tom will either set up a second tripod or more commonly simply hand-hold the second iPhone in order to get closeup shots.
How does Tom manage to get the closeup shots but not be in the picture? There’s a very low-tech solution. He usually stands on a stool, just out of the shot, and holds the camera over the work table. So when you see the shot of me talking to the camera, you should imagine Tom hovering just out of the frame and above, like a mountain lion or vulture. Good thing I trust him.
That’s it really. Decide what I’m going to say. Light the lights, plug in the mic, roll cameras, try to remember the sequence of what I want to say. That’s not the end of the production, however.
Post-Production
In a typical video, I try to do everything in one or two shots. Maybe I’ll do a brief introduction and then cut to the main part of the talk. But in the end the bulk of the footage is made up of two shots, an overall and a closeup. Both these videos run the entire length of the scene.
Tom uses a video editing program to cut back and forth between the two shots, usually starting out with an overall, and cutting to the closeups where appropriate.
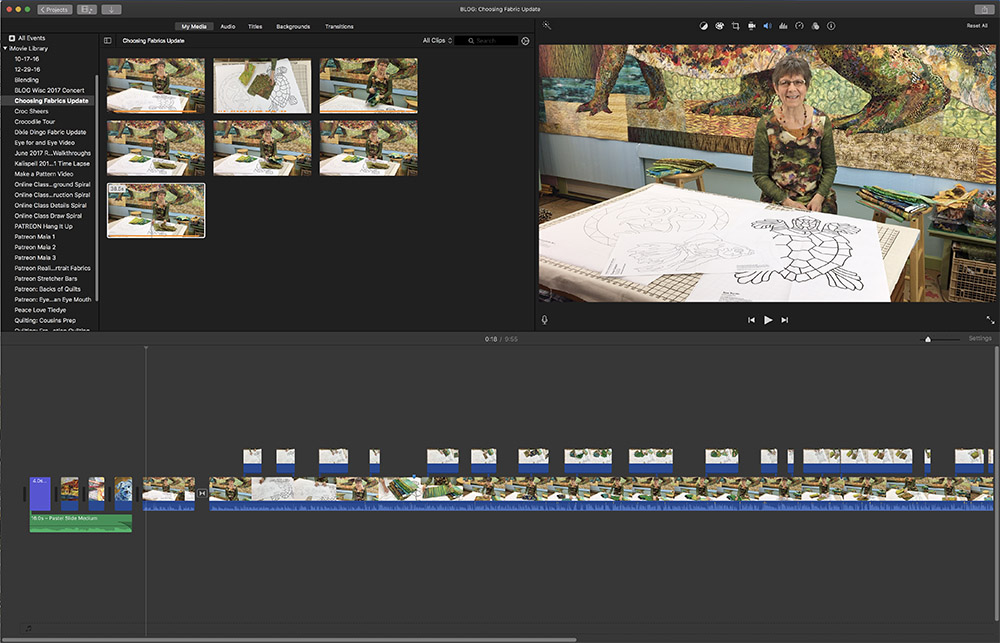
There are three main areas in the editing software. Above left is the raw footage. Bottom is a timeline of the scene with the two shots, overall and closeup. Above right is a preview of the edited video.
Tom also inserts a title screen at the beginning and adds transitions such fade-to-black at the end of the video and sometimes between scenes.
Lastly, Tom uploads the finished video to YouTube.com. He then embeds a code in the blog that makes it magically appear in the post. Abracadabra!
Post Post-Production
We haven’t stopped trying to improve the video. In fact, we just purchased two new cameras. They are digital SLR (single lens reflex) cameras that shoot at a higher resolution and allow for optical zoom for when we need to really show detail.
This too will be a learning process. In fact, just this week we tried using one the new cameras to reshoot a video for the online class. Some of the students in the current trial run of the class noted that when I drew a spiral for the spiral exercise, the pencil lines really didn’t show up—so we re-shot that particular video. However, we wound up re-re-shooting it because the closeup was out-of-focus. In the end the new video is a big improvement. The (sound removed) excerpt below shows a comparison between the original video closeup and the new one.
We’ll keep on learning better ways to provide the information you want. We hope you’ll keep on reading.
Thank you Susan for sharing. Best of luck filming. Looking forward to your online class.
I thought I understood what goes into a video, but you and Tom take it to another level.
Loved your description of how you select fabrics. I needed to be encouraged to buy larger scale prints. I now see their value (usefulness). We all need to be encouraged to buy more fabric…right? BTW, we ate lunch together during Art Quilt Tahoe 2016 when there was a confusion of dining hall schedules and we were taken out for lunch. I couldn’t squeeze in to say hello when you spoke at the Flying Geese Q.G. in Irvine, CA.
Wow, neato! While I’m not planning on starring on or producing video any time soon, I appreciate the work that goes into it. Like any other art, it takes a lot of experimentation & practice … this post shows Tom’s skill set growing. As someone who is being rewarded with his efforts, I say, “thanks, Tom!â€
… Susan, you’re doing a pretty good job, too … 😄😄😄
Good work. I appreciate your attention to these technical details. Your videos are always a pleasure to watch,
Thanks for the behind-the-scenes on shooting videos. I’m even more impressed and appreciative of your sharing your expertise with us! Makes me want to up my Patreon support! Great lighting improvements. One suggestion (for us losing our hearing), is to not let your voice drop at the end of sentences. I don’t want to lose any of those words. Thanks again for an instructional blog post!
Can I suggest another you tube teacher?
https://m.youtube.com/user/dottotech
He does a lot of tech topics including making videos.
What a LOT of work you two put into the production of the blog and the videos. It’s a wonder you ever have time to teach, let alone time to create your masterpieces!
I love your blog and hope to take one of your classes in the near future. You made a comment of “bank of natural-light fluorescents I use to light the pinning wall behind me”. So my question is what kind of lighting do you have in your studio and were did you purchase them. I currently am taking over the basement and need lots of light. Thanks for the hard work you and your husband do for these videos and blog.
The primary lighting for the studio is simple track lighting that you can buy at any home improvement store. I have two rows with about six lights each that can be focused wherever I need them. The bulbs in them are full-spectrum fluorescents.
You and Tom make a great team. Thank you for all the hard work you both put into teaching.