A couple major changes to the marabou stork to report this week.
First of all, she’s changed her gender. I’ll explain why in a minute. For the time being she will no longer be known as Oscar (as in garbage-loving Oscar the Grouch) but as Chloe. Marabou Storks are common in many parts of Africa, though they’ve been dubbed the unofficial bird of Uganda. There they are called the Kaloli Bird—close enough to Chloe for me. Actually, my husband Tom came up with the nick-name. Anything to stop me from calling her Scrappy (her interim name). I do like Kaloli too and may work it into the official title of the finished quilt.
There are almost always changes that happen midway through pieces. For example, I had to redraw the front leg on “Crocodylus Smylus” three times before I was satisfied. My cat Djinni’s tail had to be moved during the making of “Golden Temple of the Good Girls.” In the last post about the marabou stork I described how I opened her beak. This week I take the change a bit further. Read on.
Winging It
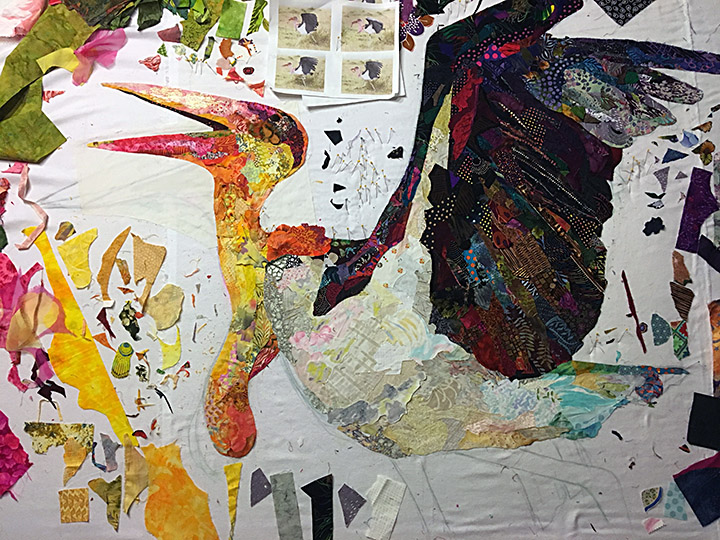
The next step was to work on her wing. The wing is mostly black, but in order to give it form I have to separate out some values. Lighter darks in the highlights, darker darks in the shadows. And of course I’m not just using blacks and grays. There’s lots of color in there—greens, reds, blues, purples, browns. As I’ve said before, color is irrelevant.
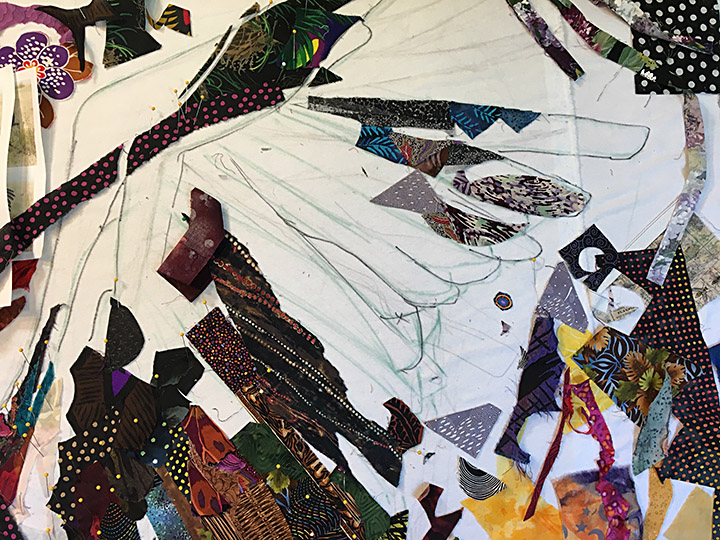
Above is a small example of cutting to the guide lines. On the left are the scraps set in place. To the right they’ve been snipped to those guide lines and separated, making even smaller scraps to use later! Yes, I save them, and usually use them. It’s kind of an obsession.
There are lighter values of dark in the upper part of the wing. As I move up, gaps are filled in.
As the wing continues to expand, the edges disappear over the edge of my drawing table. Soon I will need to slide the foundation fabric down to finish the top of wing. Once that’s done I’ll move it to my pinning wall in order to be able to work on the legs and background while seeing the whole piece. But before I can do either of those things I need to glue and remove all the pins.
To Glue, Perchance to Dream
I use pins to hold things temporarily in place. It’s quick and easy, but when there are lots of pins it starts to look chaotic. Taking time to glue the pieces down and remove the pins calms the waters, so to speak, making the piece so much smoother and flatter. The pins add a distracting dimension that is rather a relief to be rid of after a while. I tell my students it’s a nice relaxing break sometimes to just sit back and glue.
Him to Her
Opening the stork’s mouth made a big difference, making the piece more dynamic and starting to give the stork some personality. To me, it also made her look more feminine. But these sorts of revelations while always a surprise are also expected.
When I closely compared my piece to the original photo (by Joel Davidson), the one with her mouth open, I realized her head was tilted up more than I had it (the mouth also has a deeper opening, but that’ll be for the next draft!). The tilt was pretty subtle but it did give her a different look. I decided I liked the way it put an interesting curve on the back of her neck. It would be nice composition-wise.
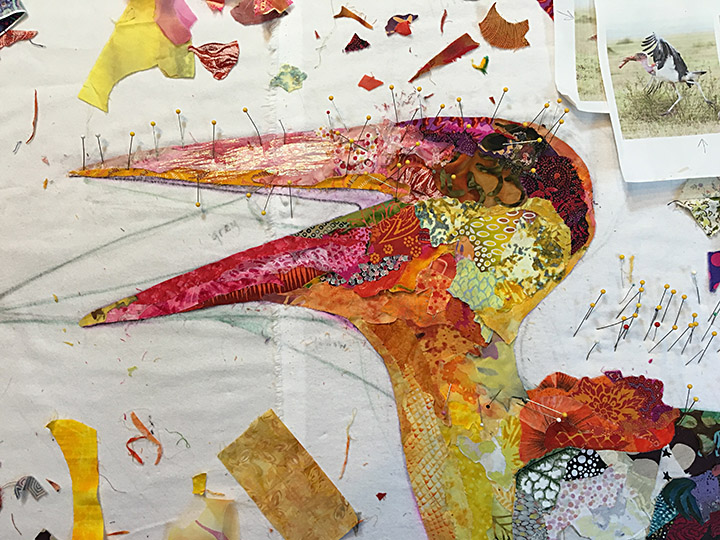
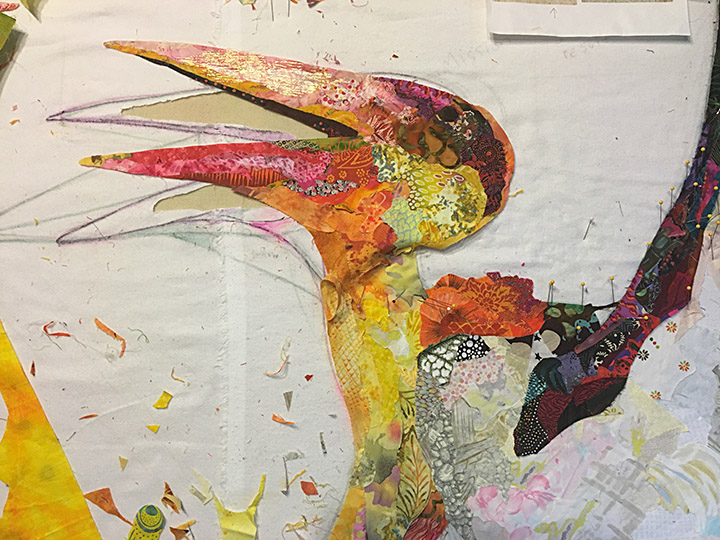
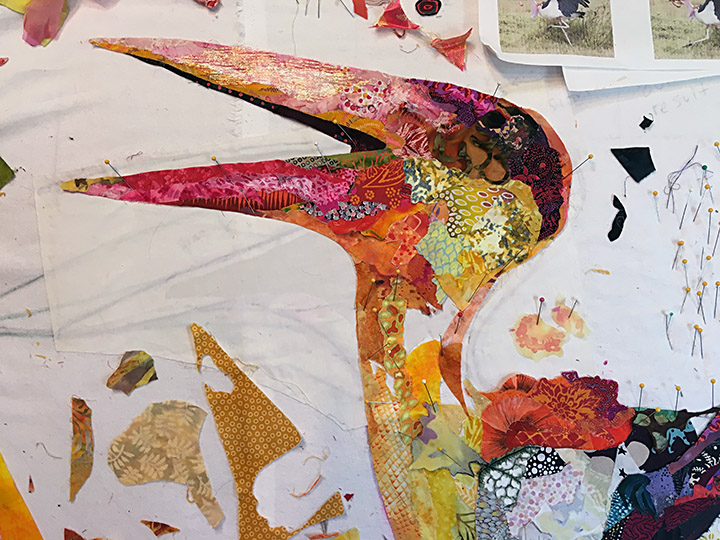
Since all those little pieces were now glued down onto the foundation fabric, the easiest way to change the angle of the head was to to actually cut through the foundation fabric, as seen in the photos below.
I am able to slip my handy-dandy pelican-bladed applique scissors underneath the collaged edge and cut inside the drawn line. This releases the head as a whole and allows me to reposition it to see if my hunch was right.
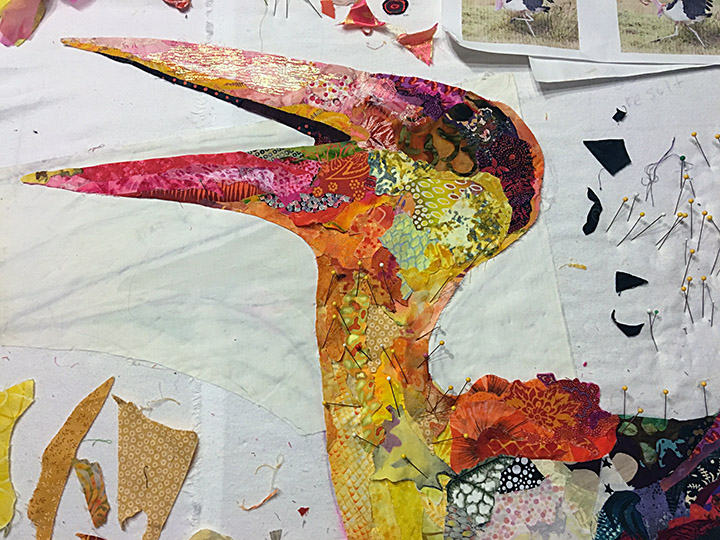
Yep, I liked better. I then fully separated her neck from her body in order to stretch it out, feeling a little like Dr. Frankenstein (pronounced fron-kan-steen. RIP Gene Wilder). In the above photos I auditioned the head at three slightly different angles.
The angle I chose in the end was the third and final one. Somehow, in my mind, it clinched the idea of “him” being a “her.” The new pose changed her from a potentially grumpy Oscar to a happier more joyful Chloe. Rather than an intimidating curmudgeon I see her as a free spirit.
For those of you who may have read the book, I imagine she’s the Jonathan Livingston Seagull of her species, a bird who pushes the boundaries of the accepted ways of being a marabou stork. Maybe she’s even a vegan, like me.
Once I had settled on the angle of the head, I simply filled in the hole I had cut with a swatch of muslin, gluing it (of course) onto the foundation fabric. The muslin also covered the many lines I had drawn attempting to get just the right beak placement.
A few more holes to fill and a few more scraps to glue.
Chloe the Kaloli Bird is well on her way to flying off my pinning board and onto my pinning wall—currently occupied by 20 foot Stevie the Crocodile. Might get crowded, but I think I have it figured out. I don’t quite know what the background will be yet, I still like the idea of green, but African-themed is tempting. Maybe Chloe has some ideas she’ll share.
So wish us luck. The deadline is fast approaching, but deadlines are good—’cause one way or another, things get done. I can’t wait to see what other changes are in store for Chloe, read all about it in a few weeks.
————
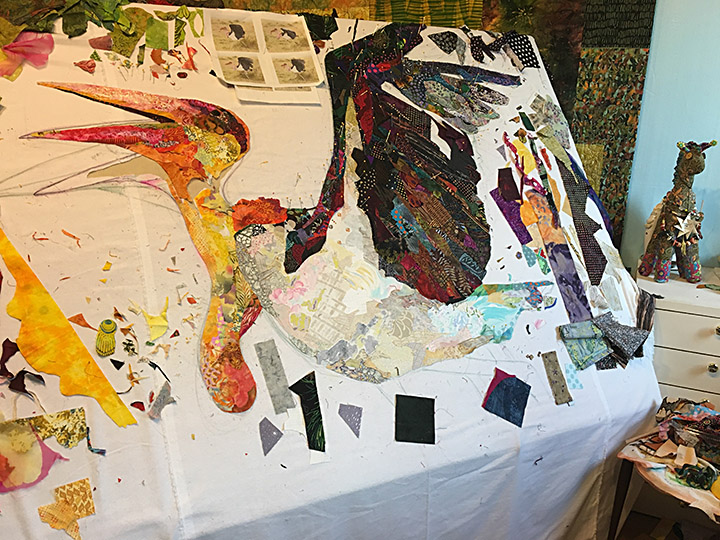
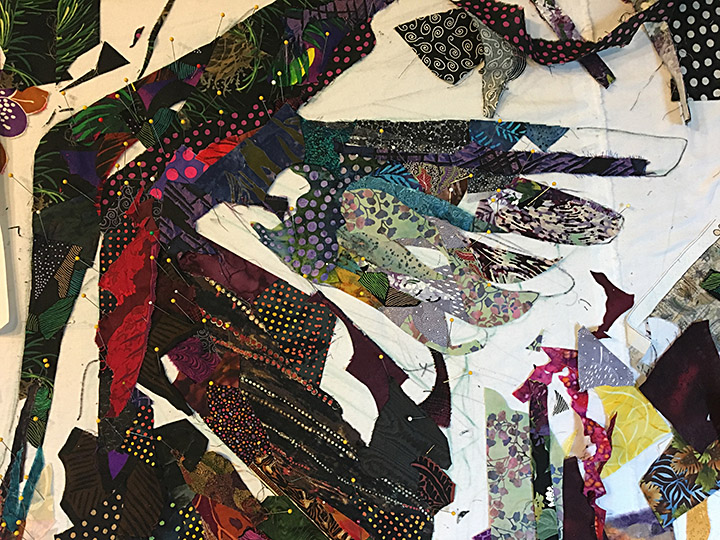
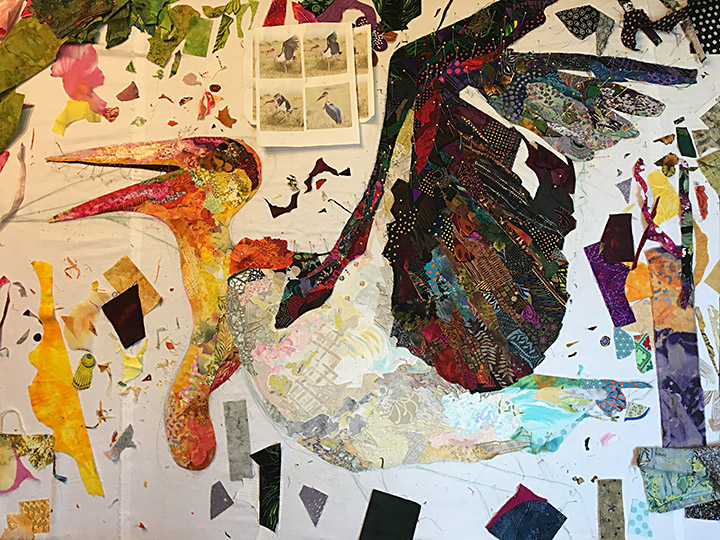
To read more click on these links to the other posts in the making of this quilt:






Susan,
I’m so impressed with your creativity! I can’t wait to meet Chloe in person in October.
Joel
The quilt will already be in Houston by then I’m afraid, Joel. Sorry to disappoint. You’ll have to come back to Maine another time at least.
Watching this process is fascinating! Chloe is developing before our very eyes. I’m so glad she (so far) doesn’t have a big ugly hunk o’ meat (bone?) in her beak.
Looking forward to seeing her in all her glory.
You’re right, the new angle of the neck makes her look like she’s dancing! Good luck and happy snipping on the final stages of another amazing creature!
Maybe Chloe is doing the Conga or the Cha Cha Cha!
I love ready your stories and how Chloe is coming alive! Your creativity amazes me! Can’t wait for the next post!
Thank you for sharing your process. Chloe is already breathtaking!
What is the glue you use?
I use Aleene’s original tacky glue. See my previous blog post “Why Glue?” For more details.
Susan, It is inspiring to have a virtual front row seat as you’re creating your newest “specimen”! I marvel at how a simple change has made such a difference in the attitude of this piece. As you mentioned your looming deadline, has your sweet mother cleared her calendar? I loved the photo of her helping with binding Stevie the croc! Best to you–Houston is going to be amazing!
Fascinating and inspiring are the words that come to mind as you share your progress on Chloe. Thanks so much for your generosity in sharing your process. Can’t wait to see the finished ol’ girl!
I am blown away, Thanks
Truly fascinating to watch your progress. Thank you so much for sharing.
I really like how Chloe the Kaloli Bird is growing and transforming! Love the new name and personality – she just gets better with each update. I feel like I am in a class with all you have shared and with the changes (and why) you have made them. So educational and inspirational.
Love the neck change! Gives her more motion and character. Chloe is strutting her stuff. Thanks for taking the time to share so much of your creative process!!!
Love the neck change! Gives her more motion and character. Chloe is strutting her stuff. Thanks for taking the time to share so much of your creative process!!!
Love the neck change! Gives her more motion and character. Chloe is strutting her stuff. Thanks for taking the time to share so much of your creative process!!!
i love the background. it reminds me of the ying-yang fish in your Serendipity
quilt book ( a much loved old friend). i too will never be able to take one
of your courses, in person that is. Is it time you began to think about another
book? For now, a million thanks for taking the time to share with us.
Never say never. I am working on developing an online course which you may find affordable and/or convenient.
Susan, I love your marabou stork collage quilt!
How did you finish the edges?